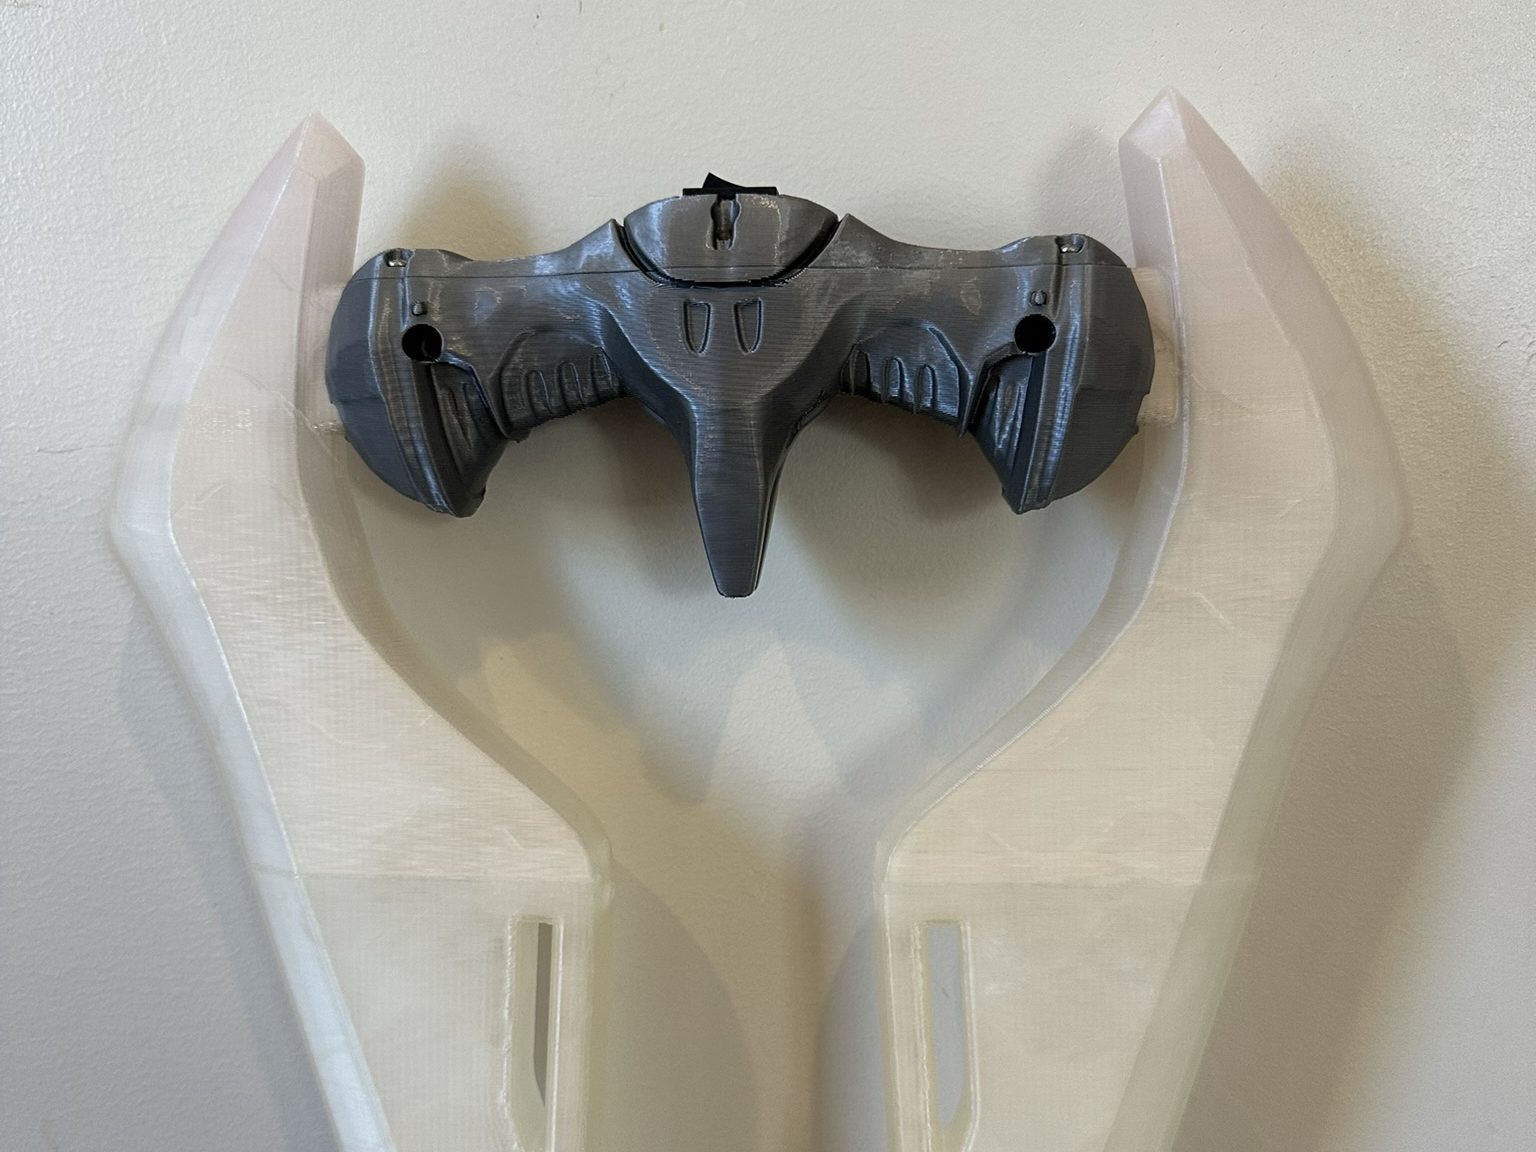
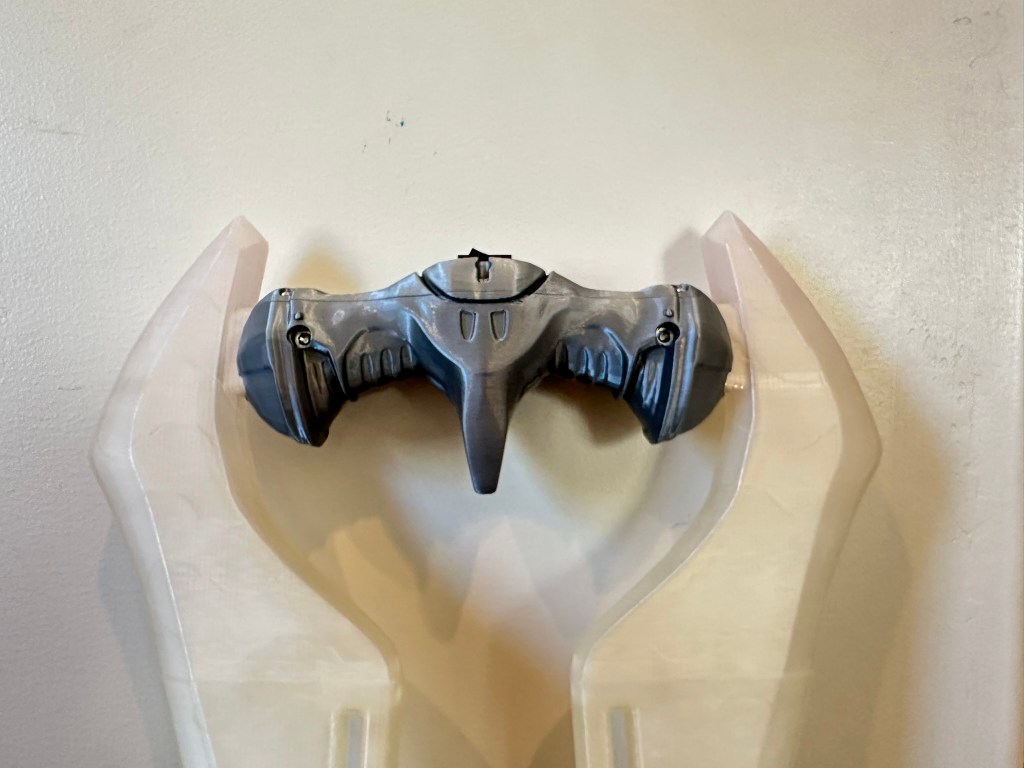
Halo Sword (removable blade) Assembly

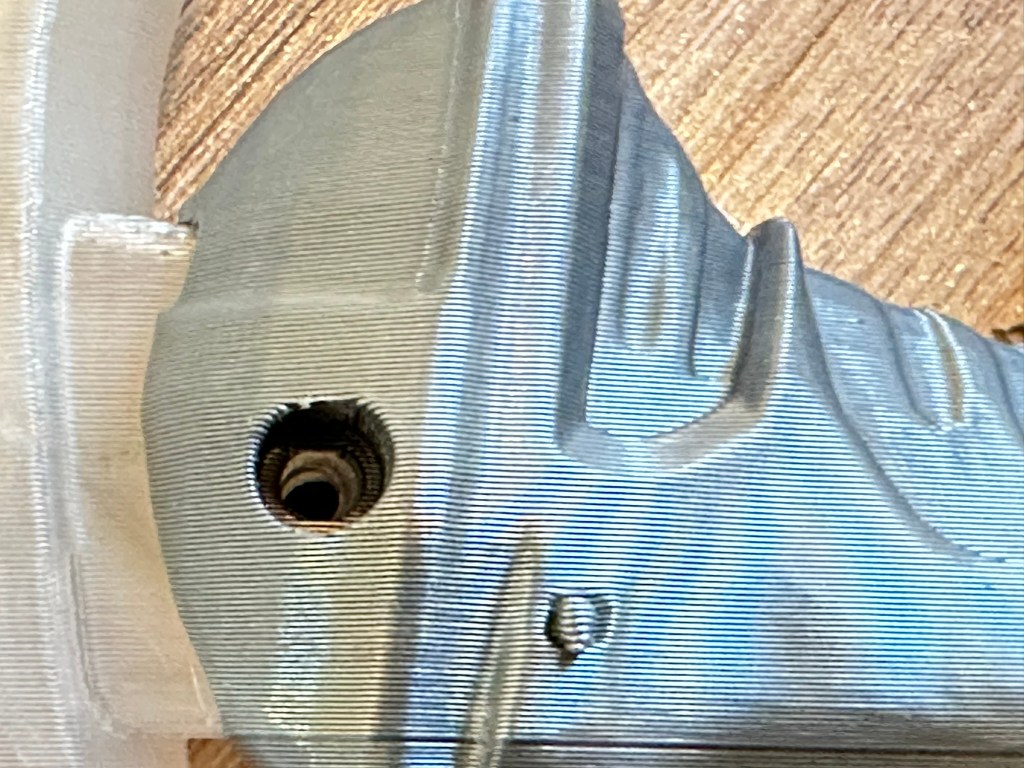
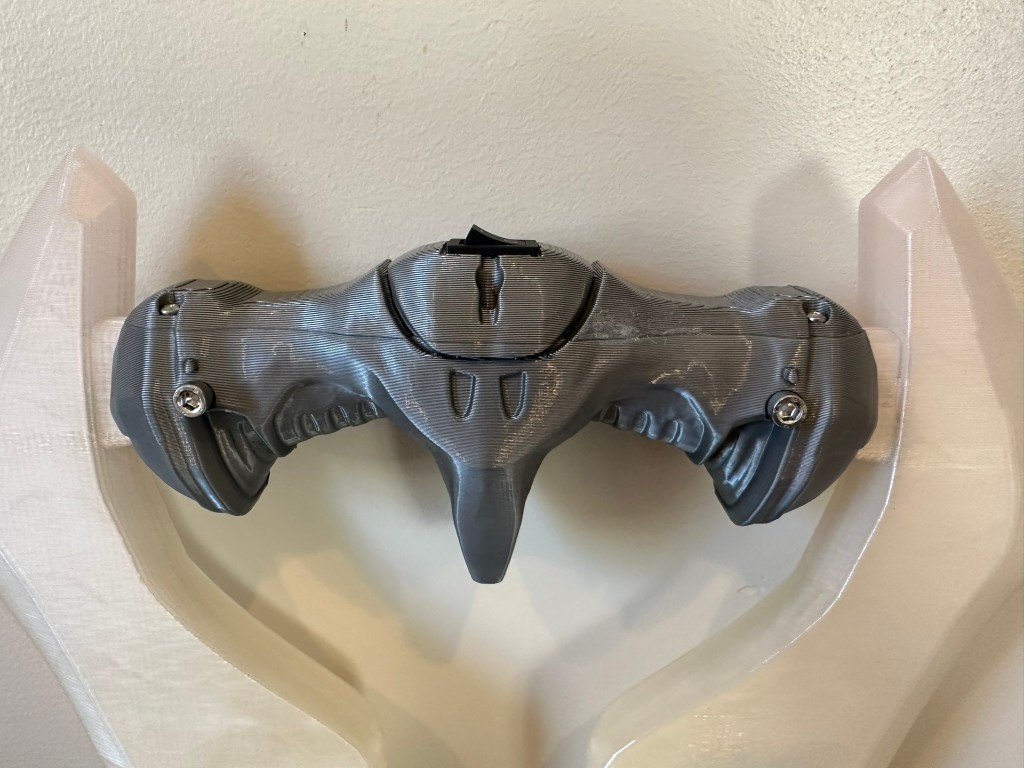
• • • This is for newer swords with the hex screws • • •
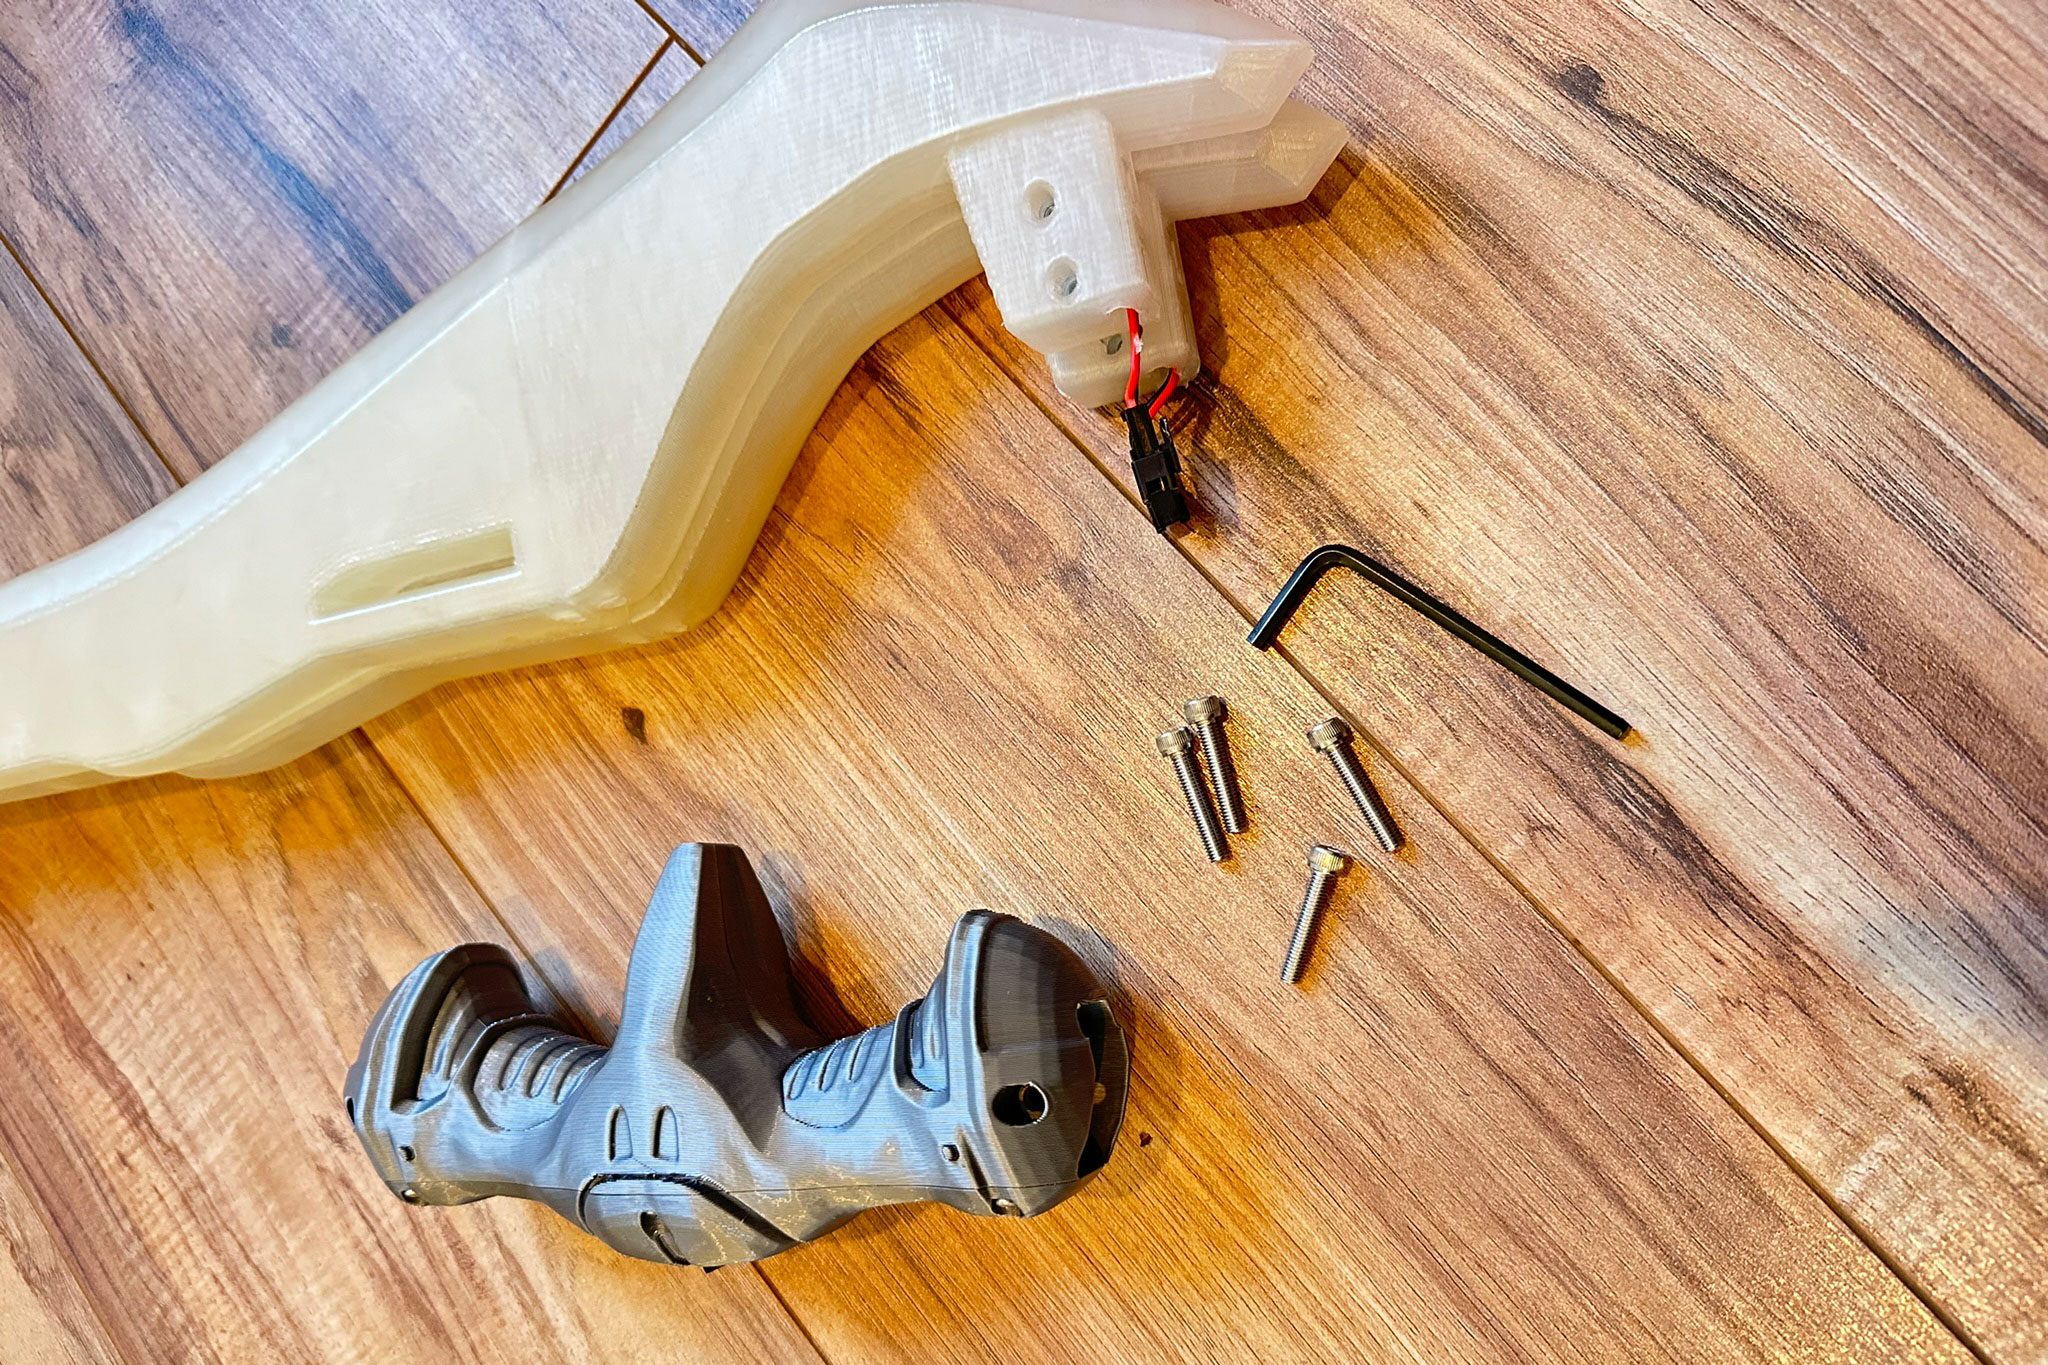
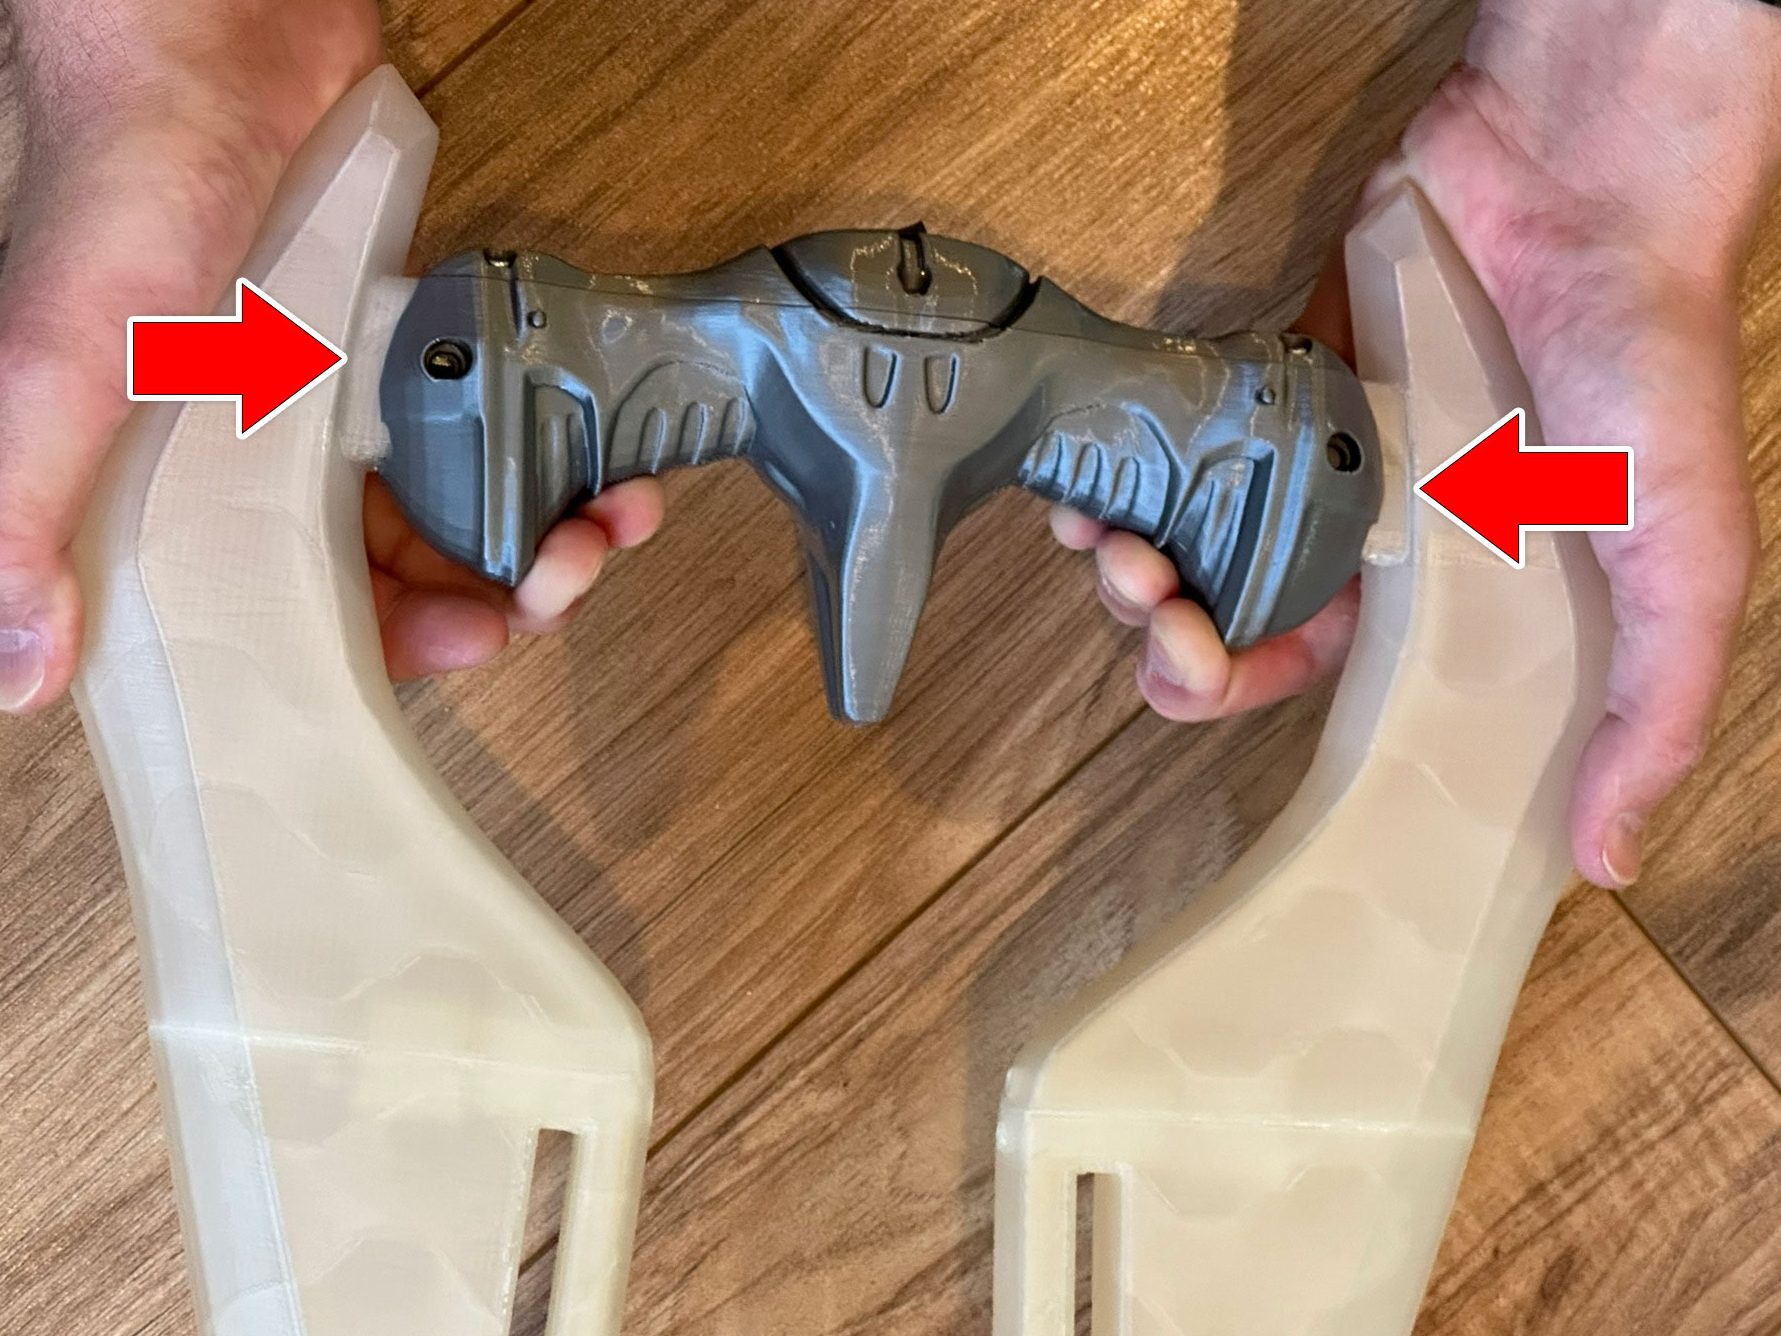
Assembly

1. Plug one of the blade connectors into the handle connector.
2. Plug the second blade into the other side.
3. Firmly press the 2 blades in place, you will likely feel a pop when they snap into place.
4. You can look in the screw holes to verify the blade sword lines up.
5. Before you put in all the screws you might want to turn it on and verify it’s working. If it doesn’t turn on check the blade plugs.
6. Orient the sword with the blades facing down so that the nuts slide into place.
7. Verify that the silver nuts in the hole are centered. (If you aren’t sure if they are flip the sword and you can see them slide out of position).
8. Start screwing in the 2 screws facing out but don’t fully tighten them yet.
9. Flip the sword around and insert the last 2 screws.
10. You can now fully tighten all 4 screws but don’t over tighten.
11. To remove the blades, follow these steps in reverse.

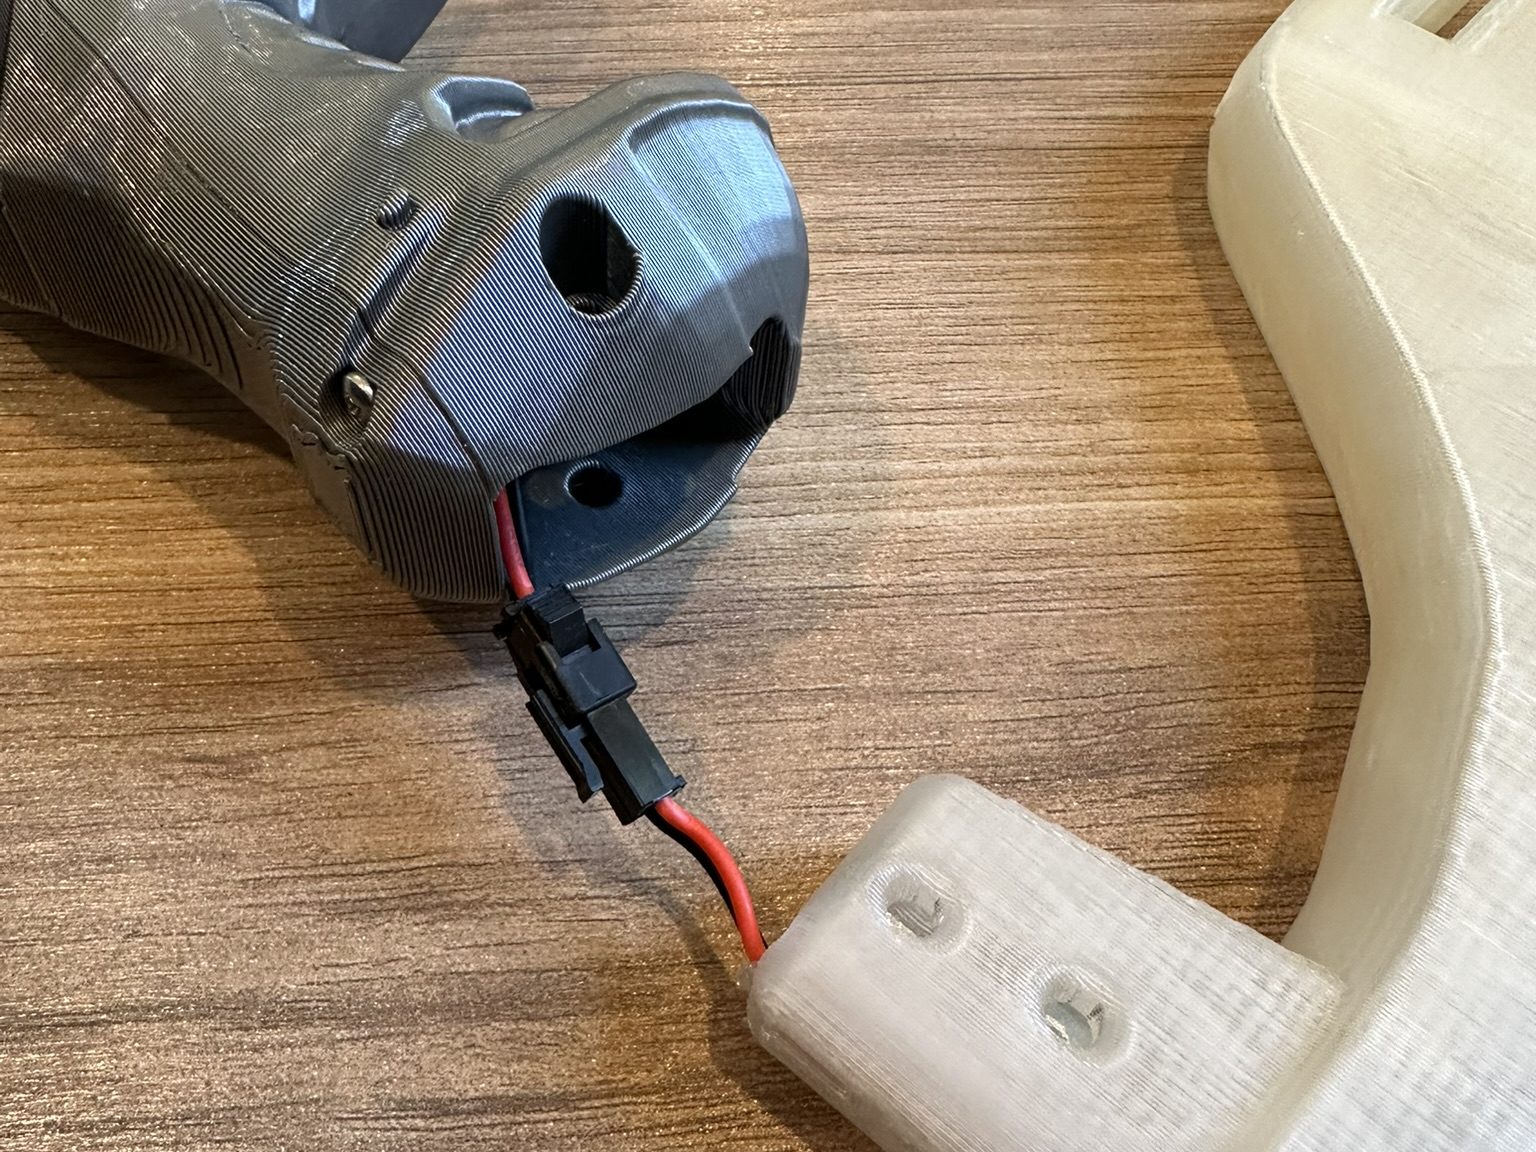
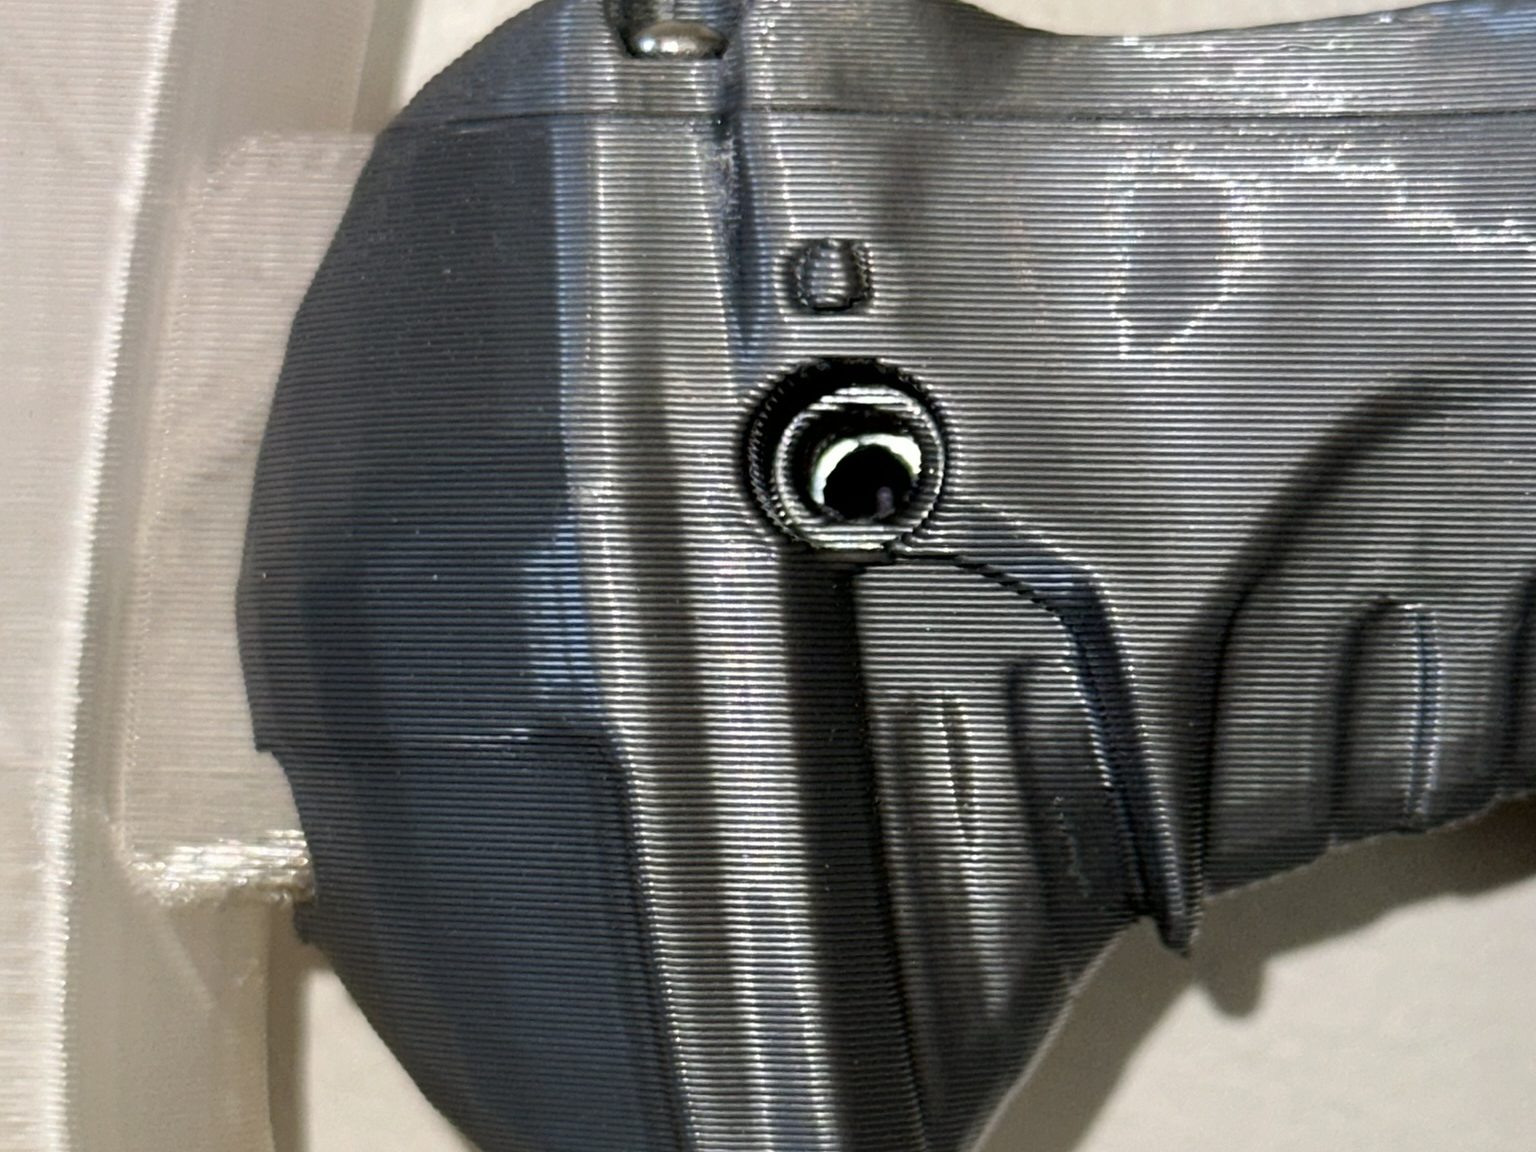
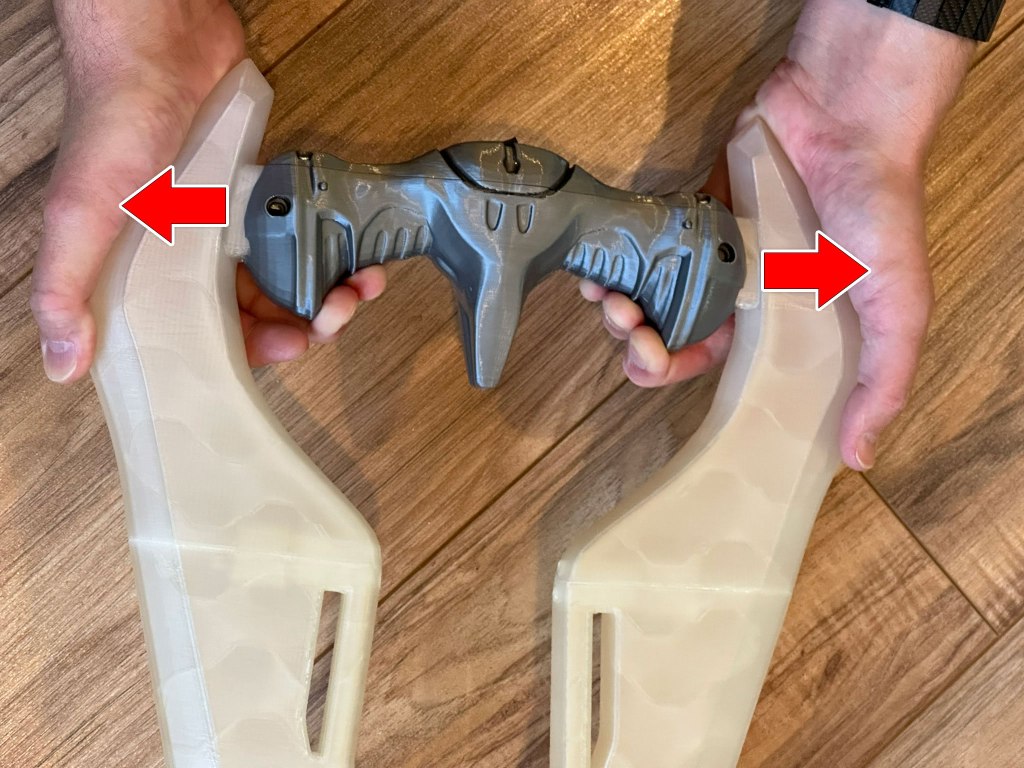
!!! WARNING – be careful when removing the blades from the handles. The wires are short and if you yank them out hard you could damage the wires or connectors.