
Mark2 Raygun
• • • • • • • Assembly Instructions • • • • • • •
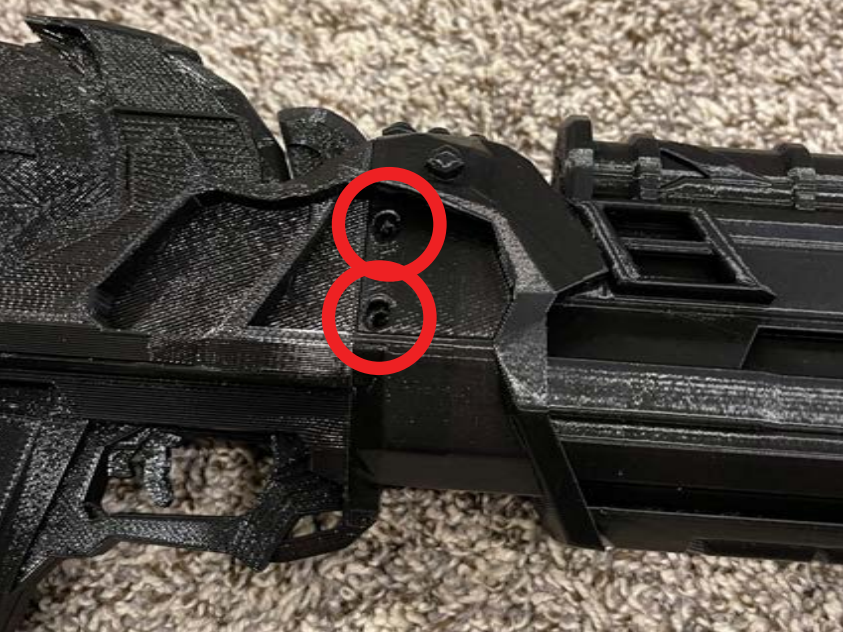
Assembly
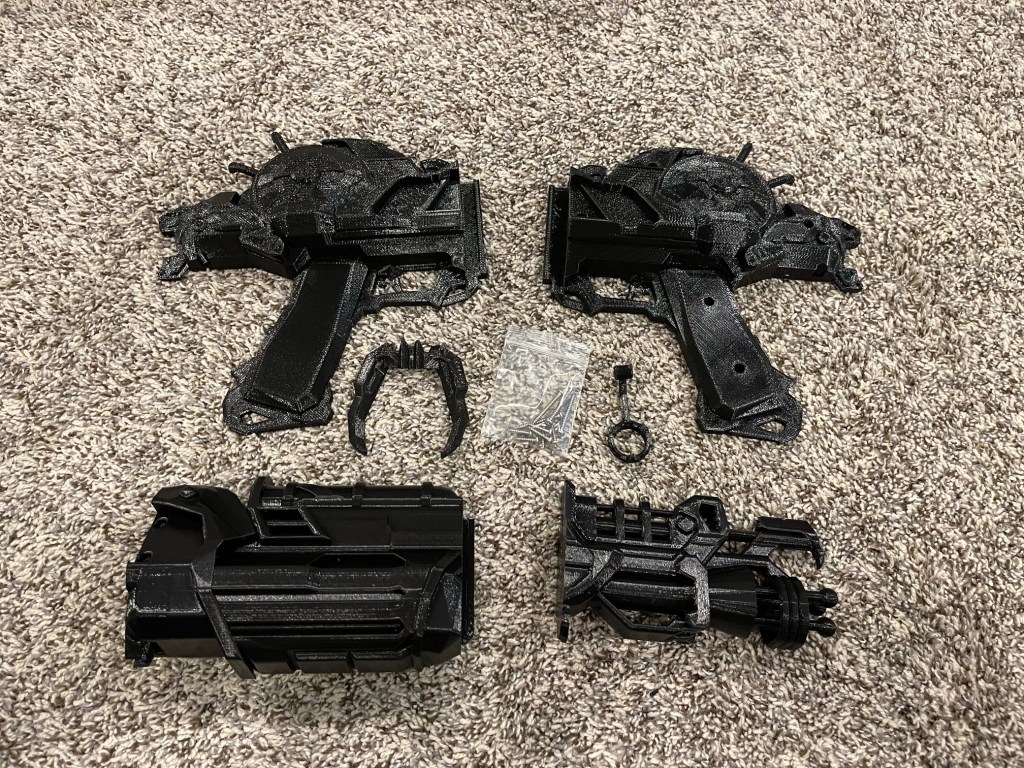

body pieces.
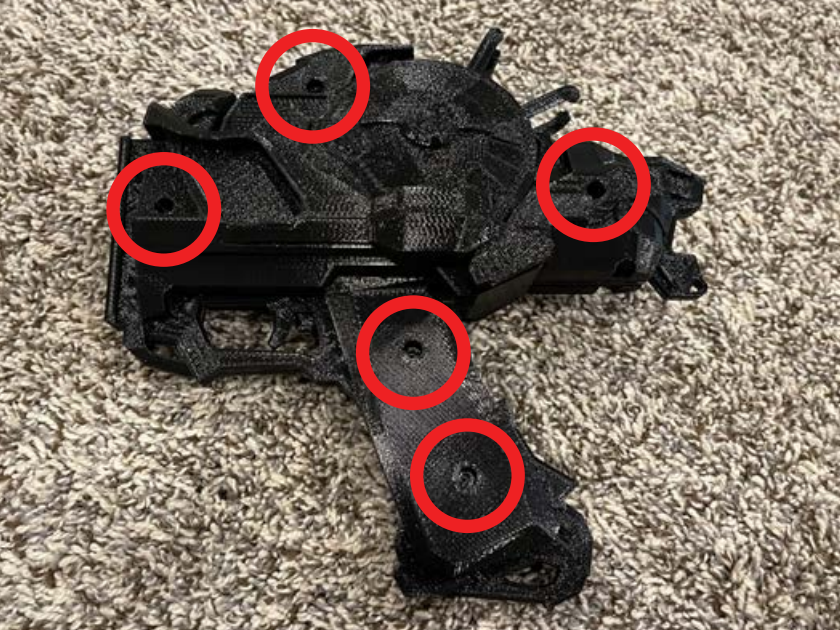

and body.
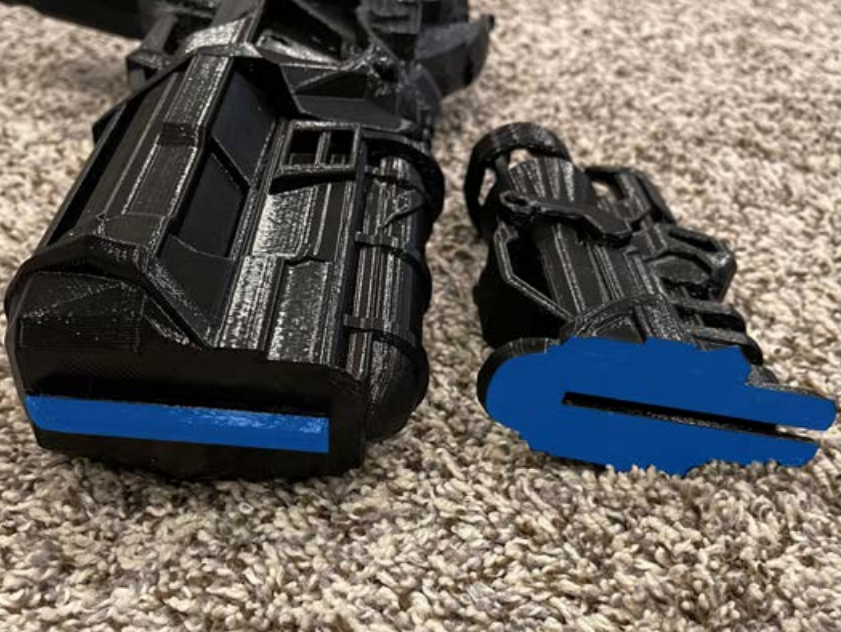
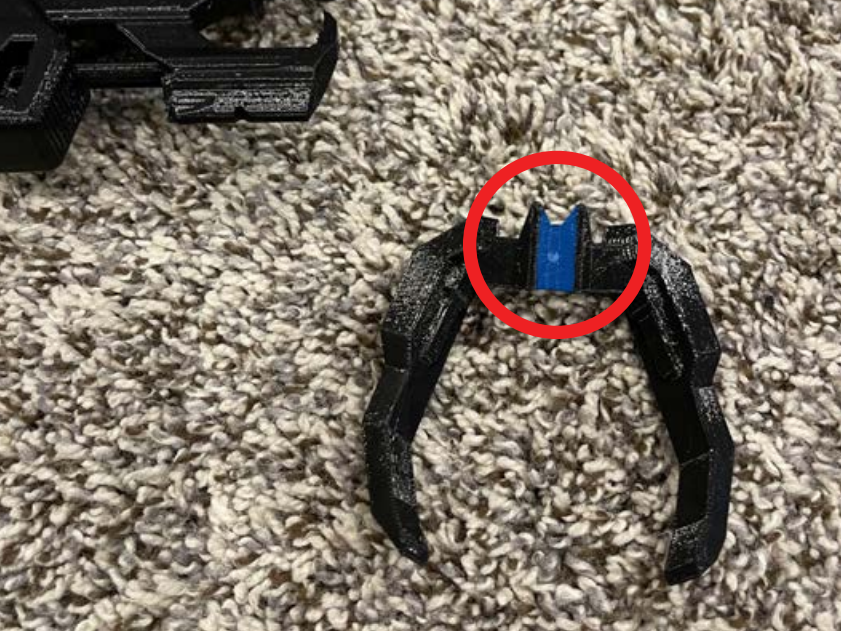
of the gun.
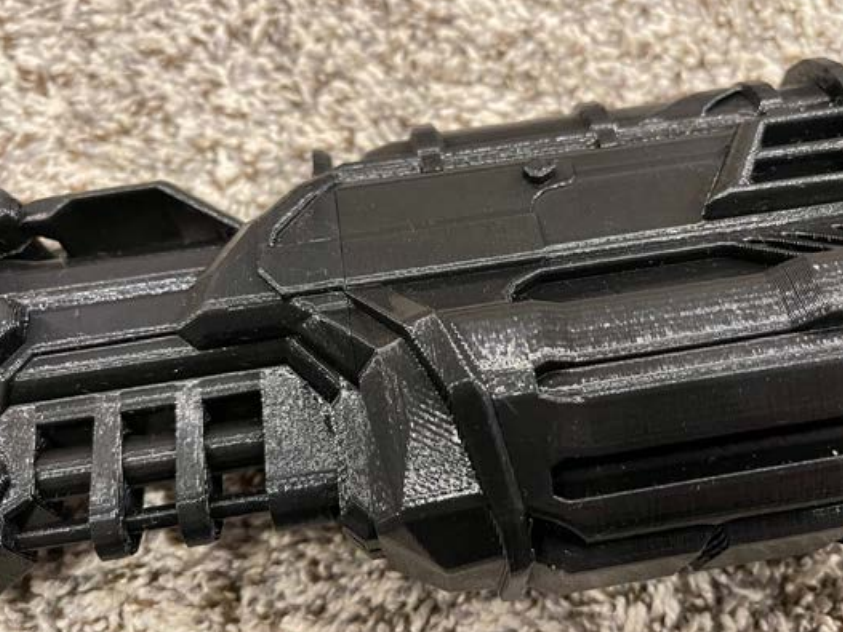


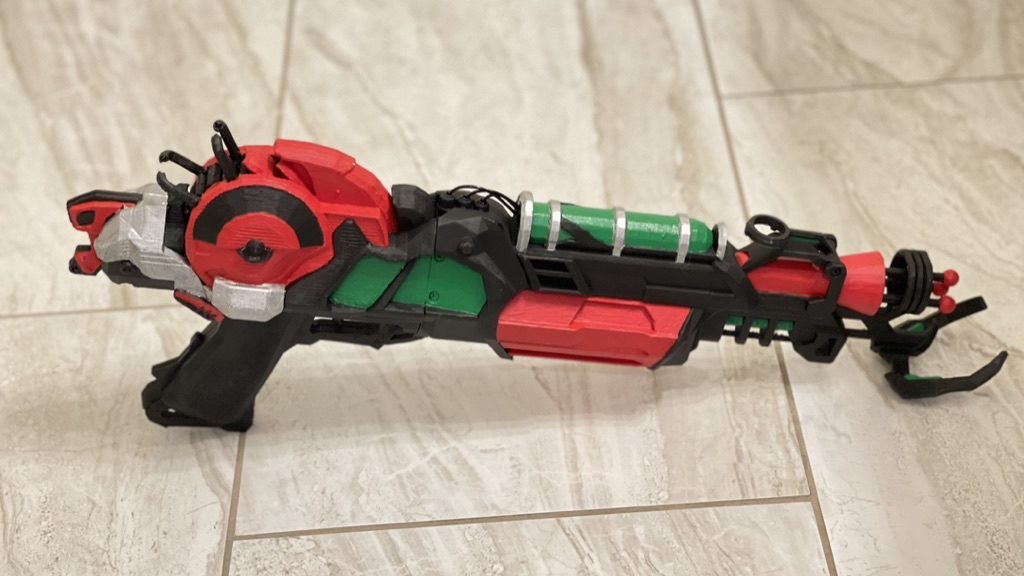
Painting
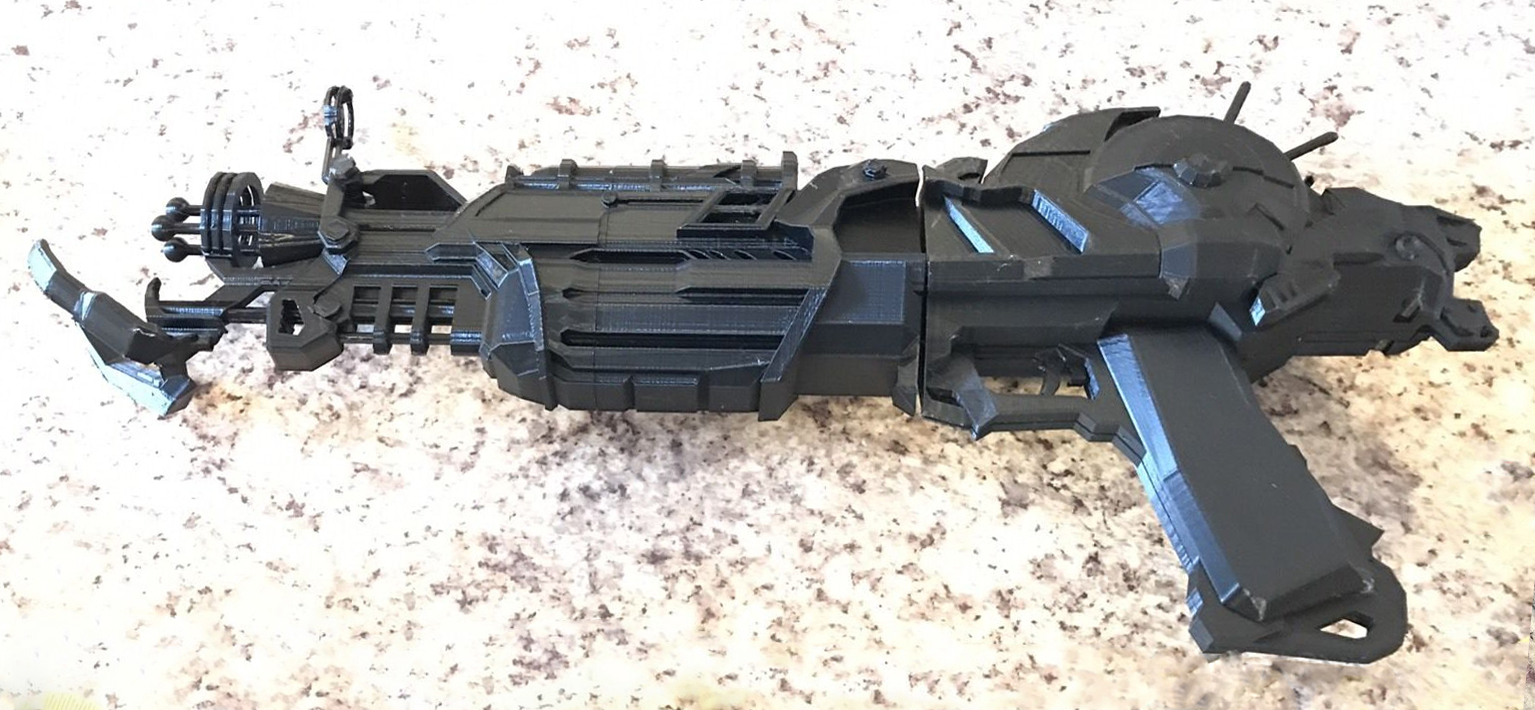

here is an example of how I painted the above model. You can fill the connecting parts with model putty but I didn’t
bother with that. I also skipped the primer. I use Vallejo paint. I brush painted one color at a time on every surface
of the gun. I let it dry and then moved on to the next color. I went over each color 2 to 3 times to help fix overlaps
and missing spots. Let it fully dry before adding another layer. Once you are happy with your paint job seal it with
spray on lacquer
