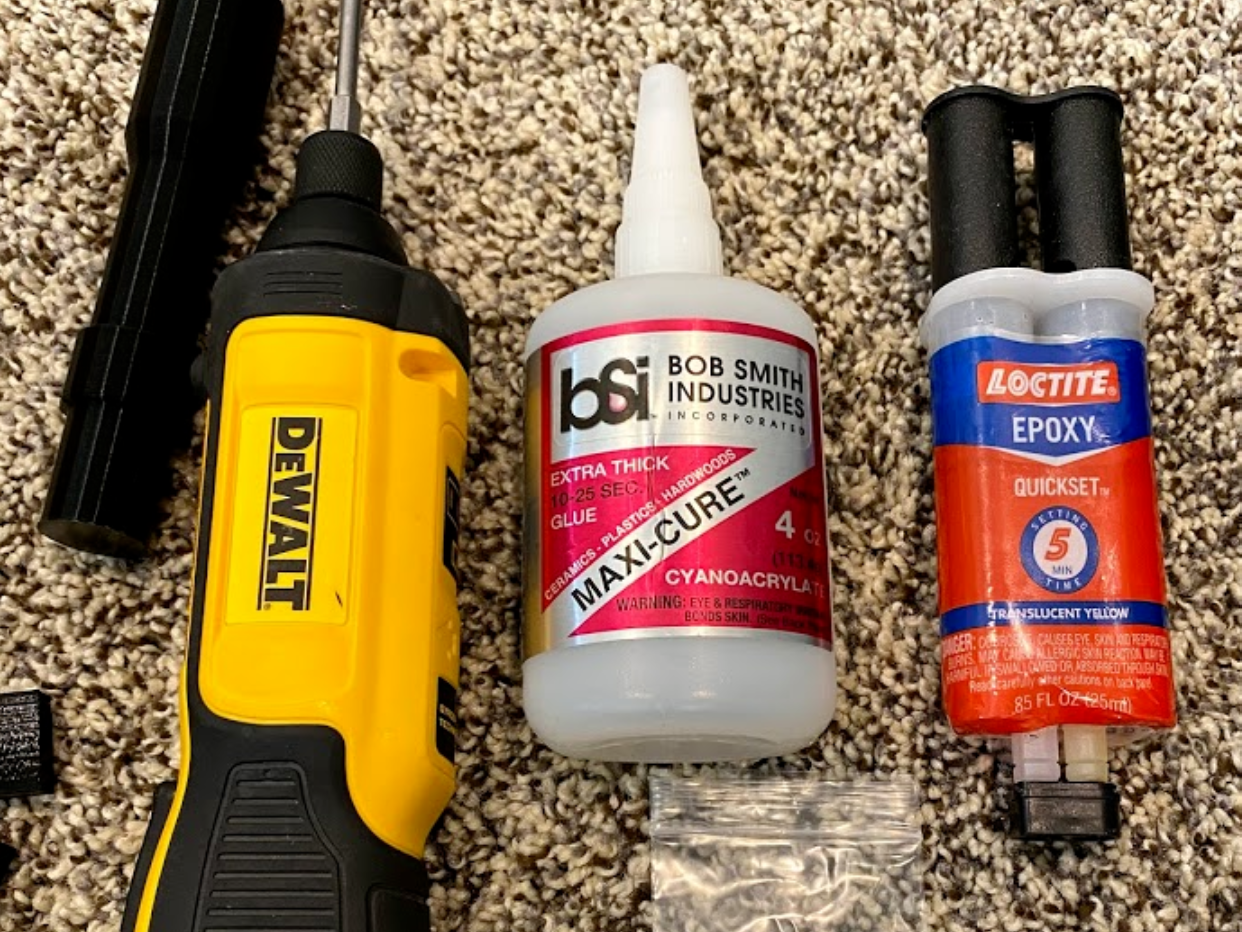
1. Tools needed: Phillips screw driver and superglue or epoxy.
2. Starting on the main front fork: apply glue to the connecting surfaces of the pegs and to the holes, then insert the tip parts.
3. The wood dowels will go through the entire gun to give rigidity and support. Starting with the front fork: apply glue to the surface that will connect the next piece, apply glue up and down all sides of the the wood dowel.
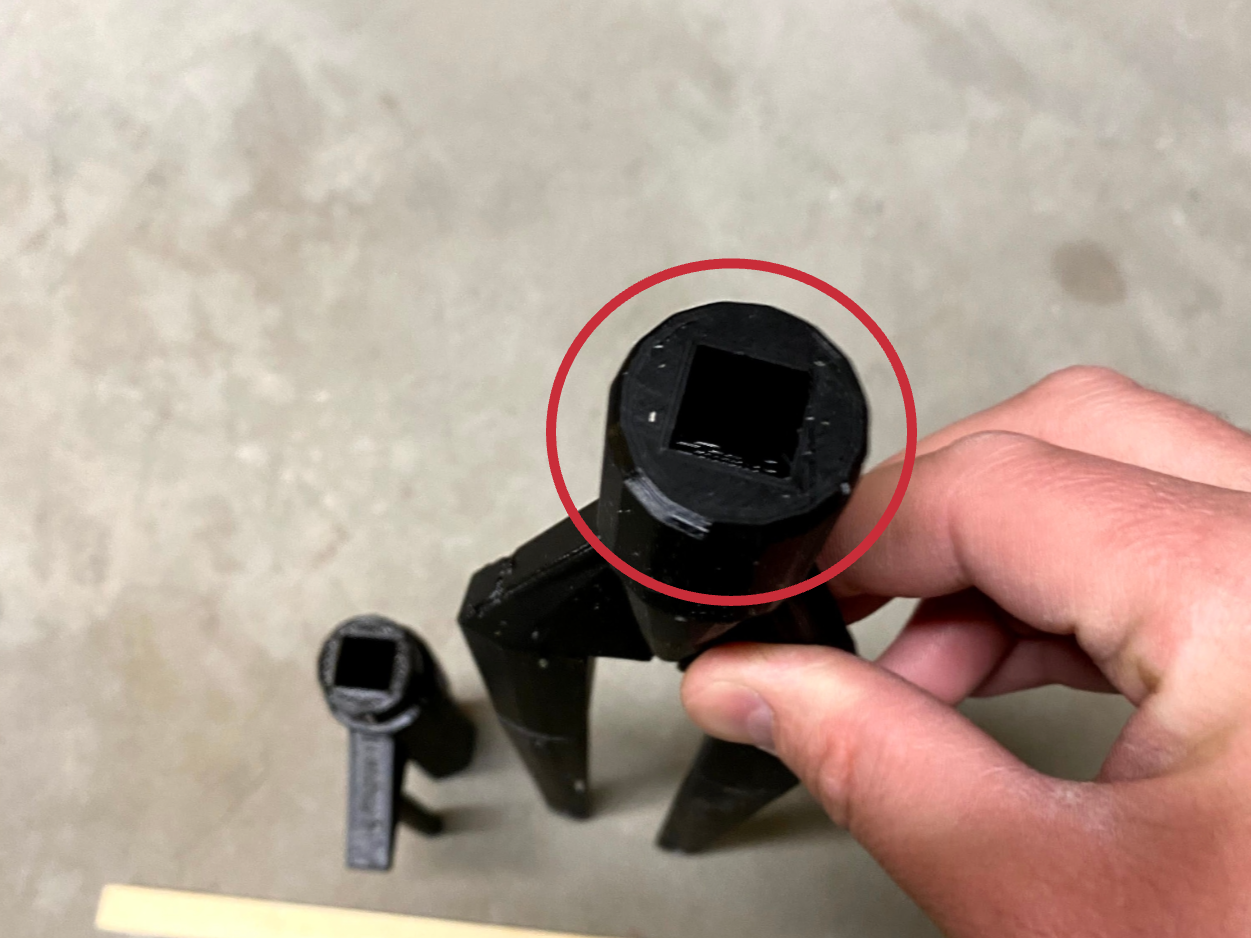
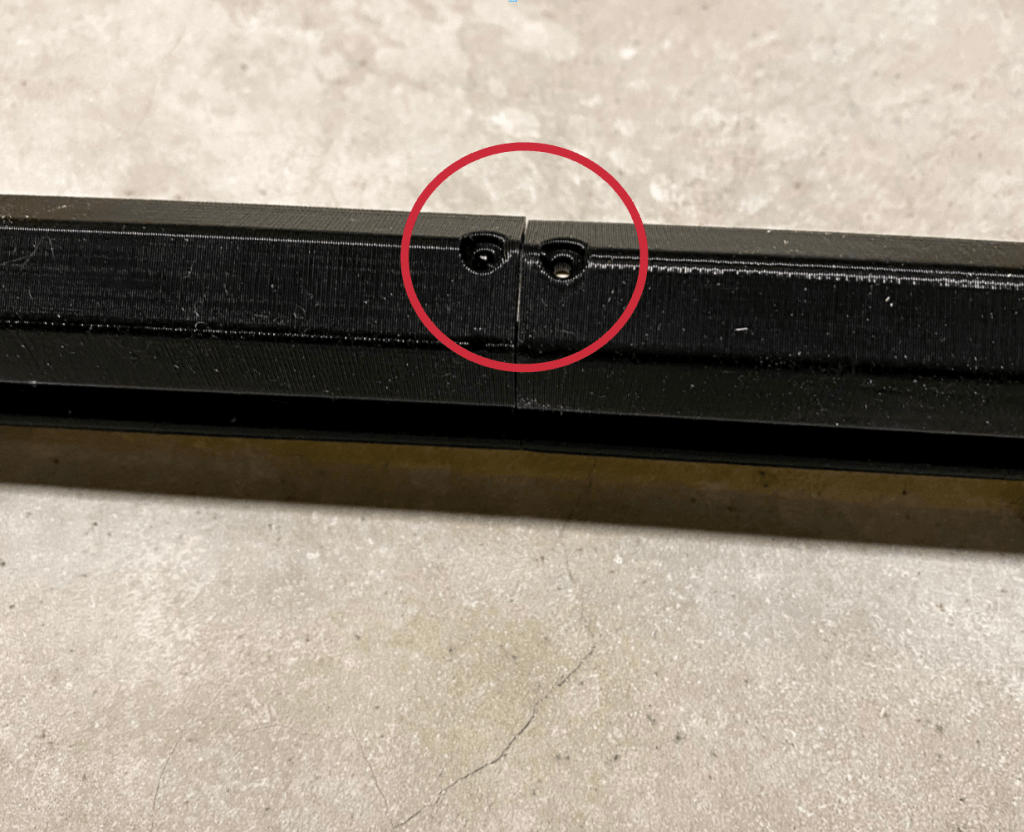
4. Put the parts together as shown above with the dowel down the center, then screw in the screws circled above.
5. Next glue the connecting parts (put a dab of glue on the bottom connector) and screw on the next section.
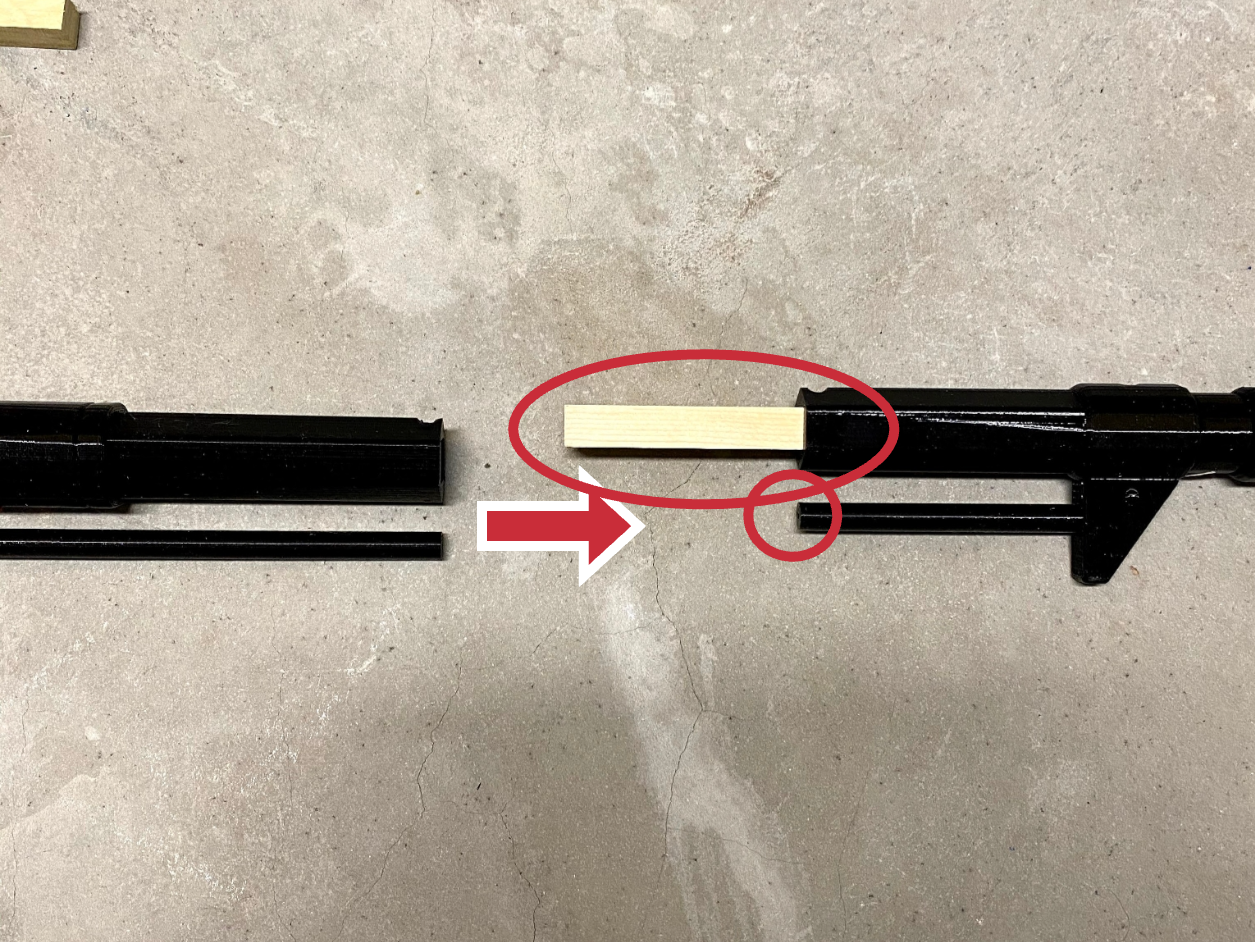
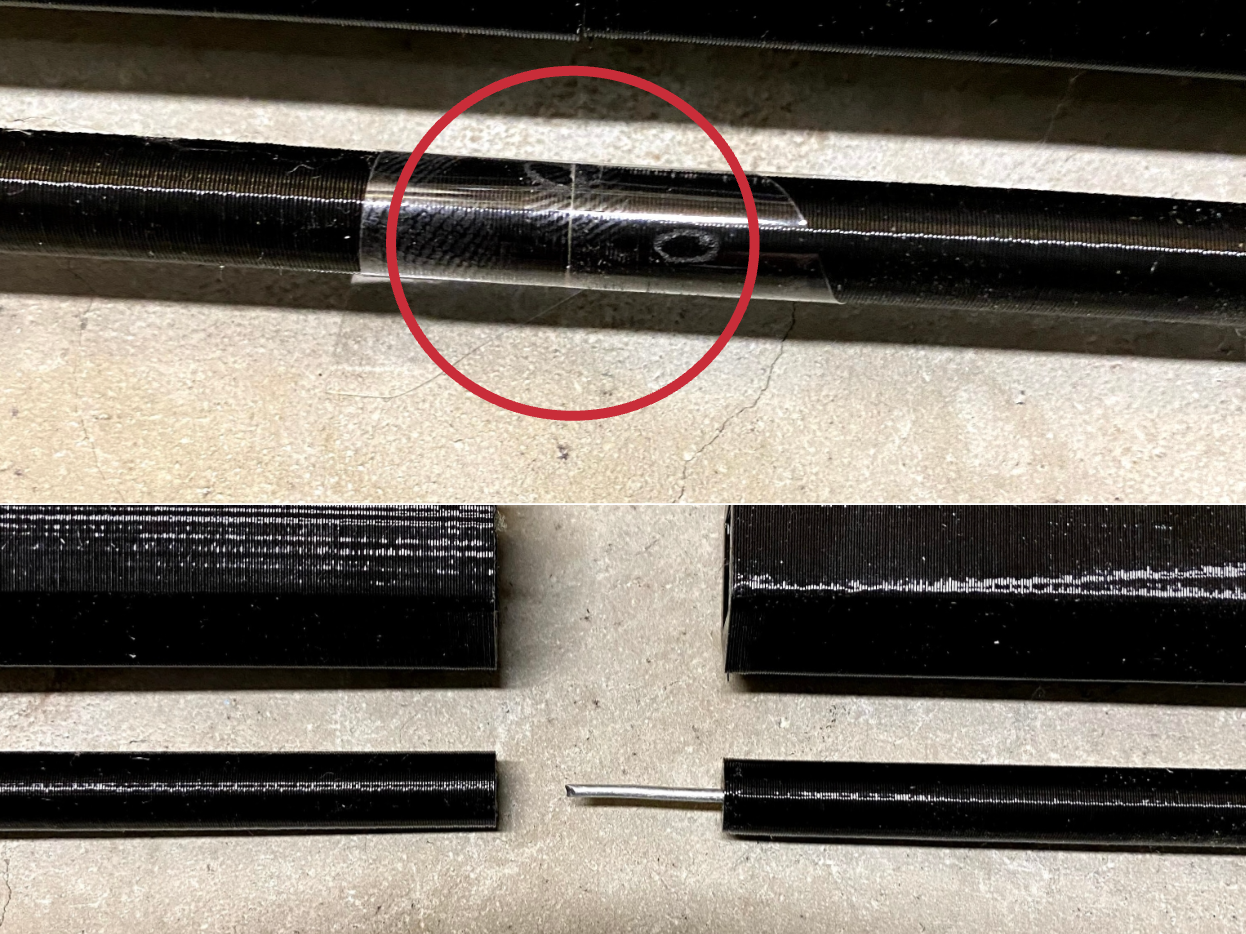
6. Tape the small part while the glue dries. Newer models have a pin to hold it together as shown in the bottom picture. For older kits you could drill holes in both sides and use a paperclip if you really wanted to.
7. Glue connecting surfaces on the 2 parts shown.
8. Work your way back following the same pattern of gluing the dowels and connecting parts then screwing them in.
Painting
The gun is ready to be painted. I plan on putting together a video showing that process. But until that is finished, here is an example of how I painted the above model. You can fill the connecting parts with model putty but I didn’t bother with that. I also skipped the primer. I used vallejo paint colors: gun metal, oily steel, black, brown and gold paint. I mixed oily steel and gold for the golden silver parts. I painted one color at a time on every surface of the gun. I let it dry and then moved on to the next color. I went over each color 2 to 3 times to help fix overlaps and missed spots. Let it fully dry before adding another layer. Once you are happy with your paint job seal it with spray on lacquer.