Lay out the parts to get an idea of how they go together. This will keep you from accidentally putting it together wrong. Follow the instructions, there are a few steps that need to happen in order. There is only one size of screws in this kit so no need to worry about which ones you use.
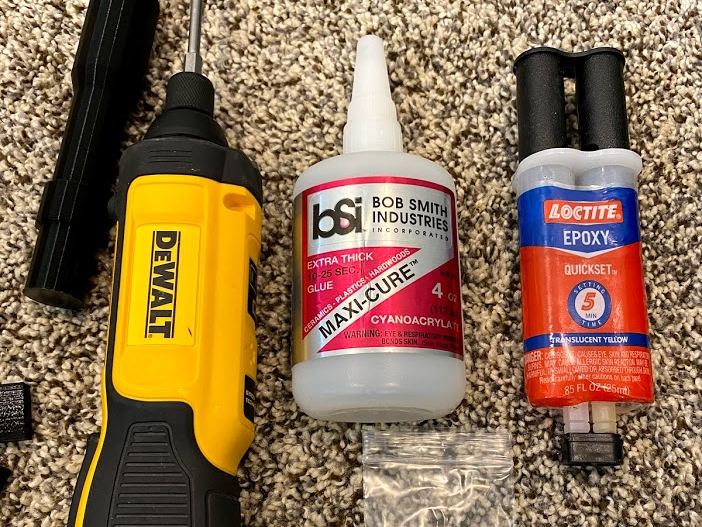
1. Tools needed: Phillips screwdriver and superglue or epoxy.
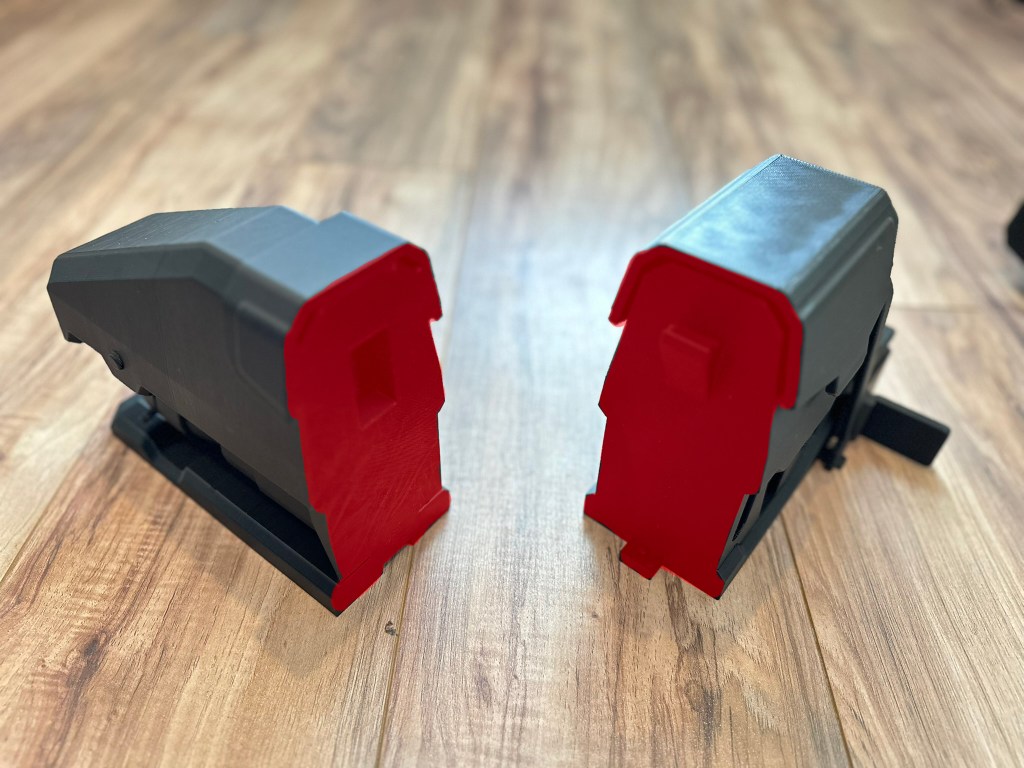
2. Starting with the top section. Glue the following connecting surfaces on the 2 parts shown.
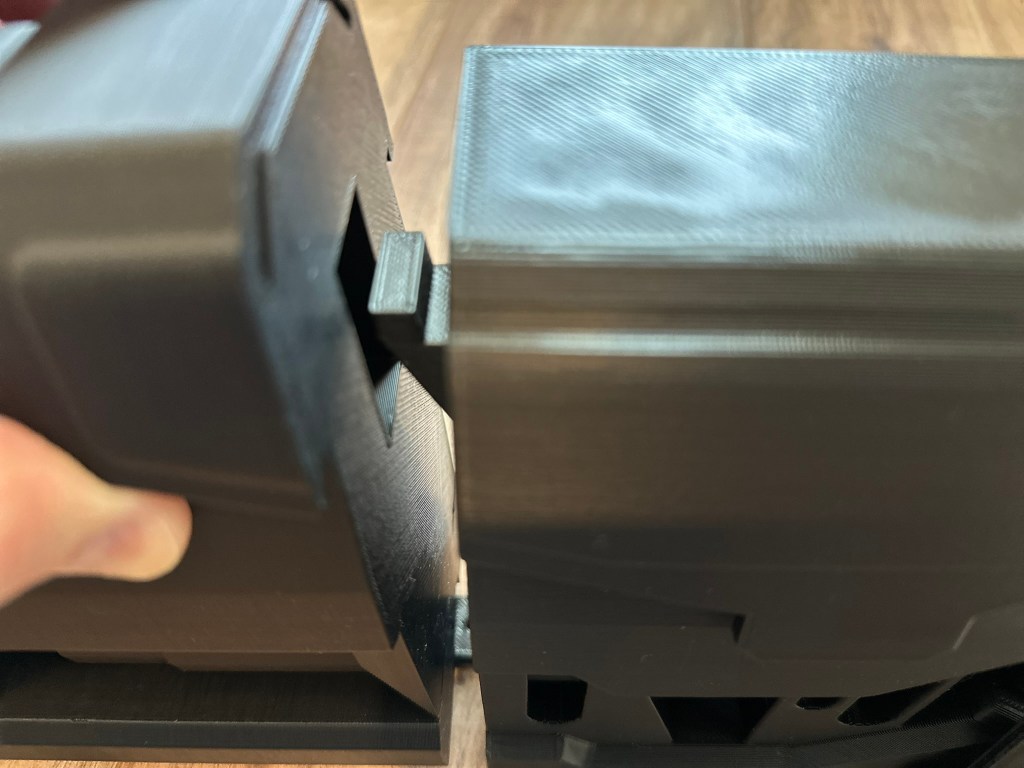
3. Slide the pieces together as shown.
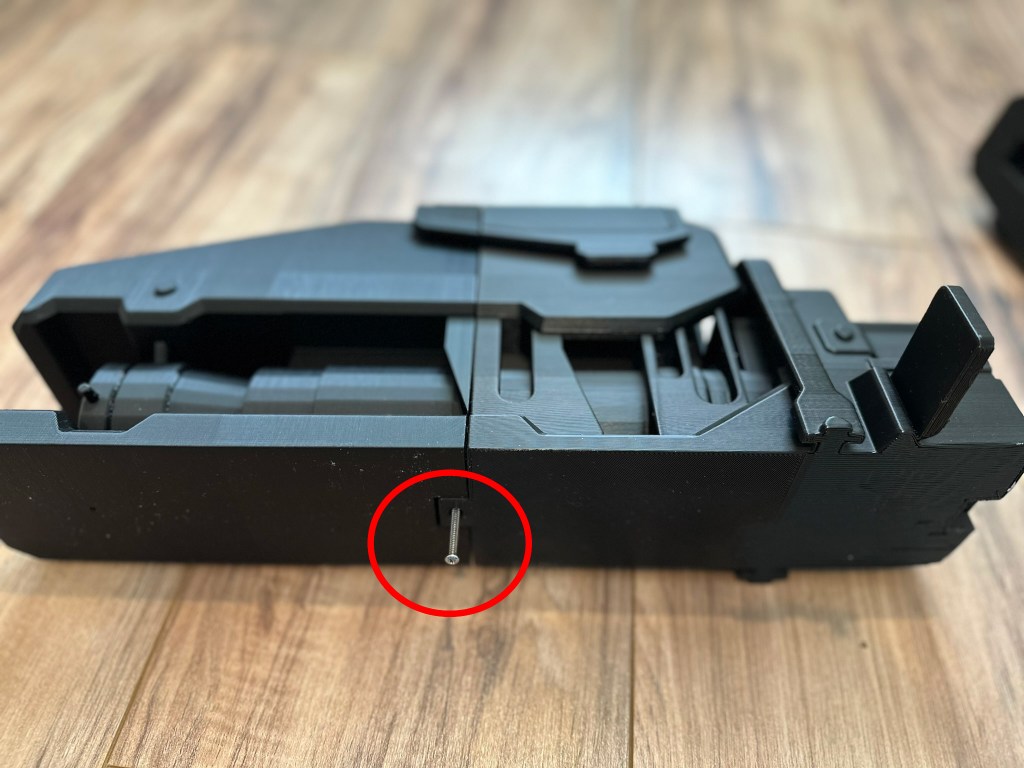
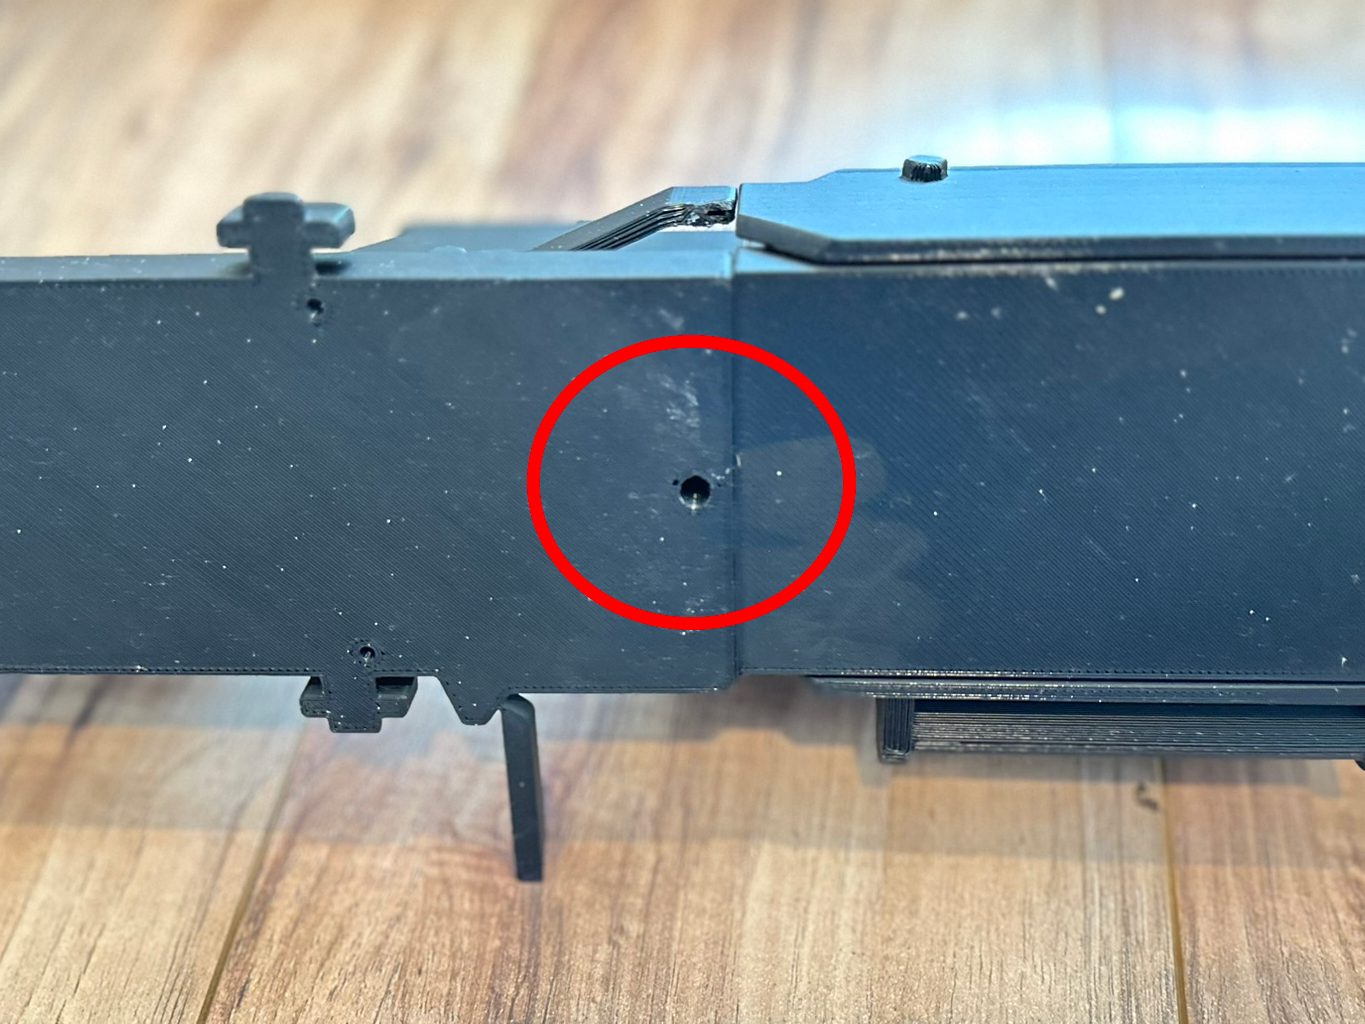
4. Screw the parts together with a 1″ screw.
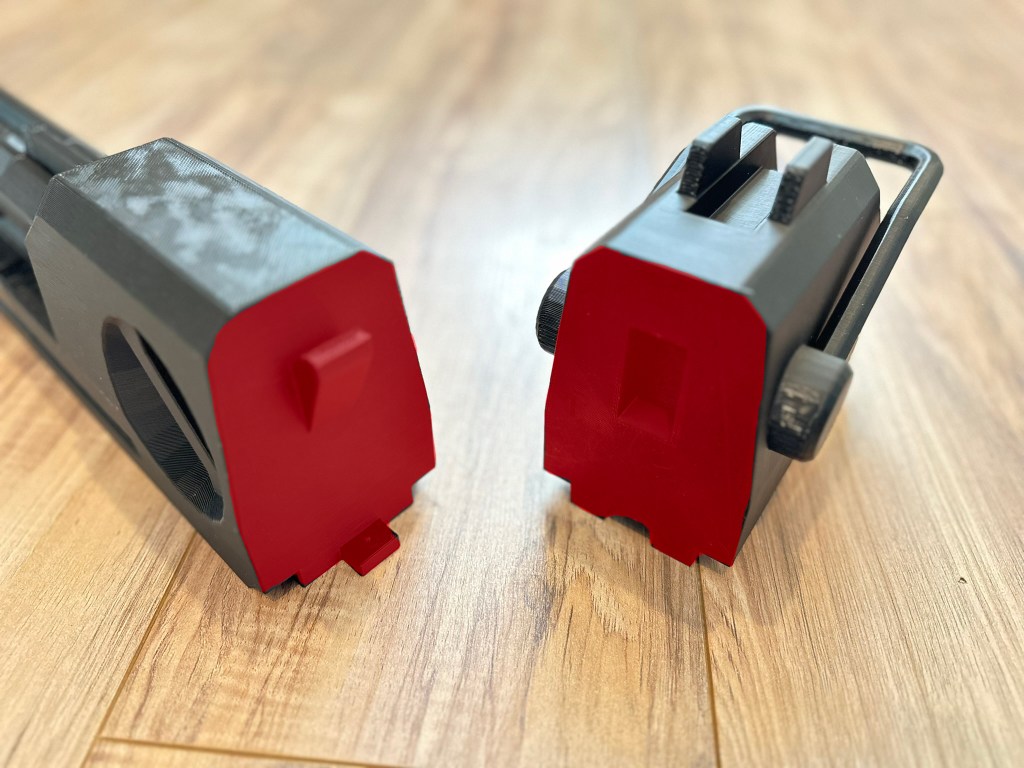
5. Glue connecting surfaces on the 2 parts shown.
6. Screw the parts together with a 1″ screw.
7. Glue connecting surfaces on the 2 parts shown.
8. Screw the parts together with a 1″ screw.
9. Glue connecting surfaces on the 2 parts shown.
10. Screw the parts together with a 1″ screw.
11. The top should now be finished. Move on to the bottom.
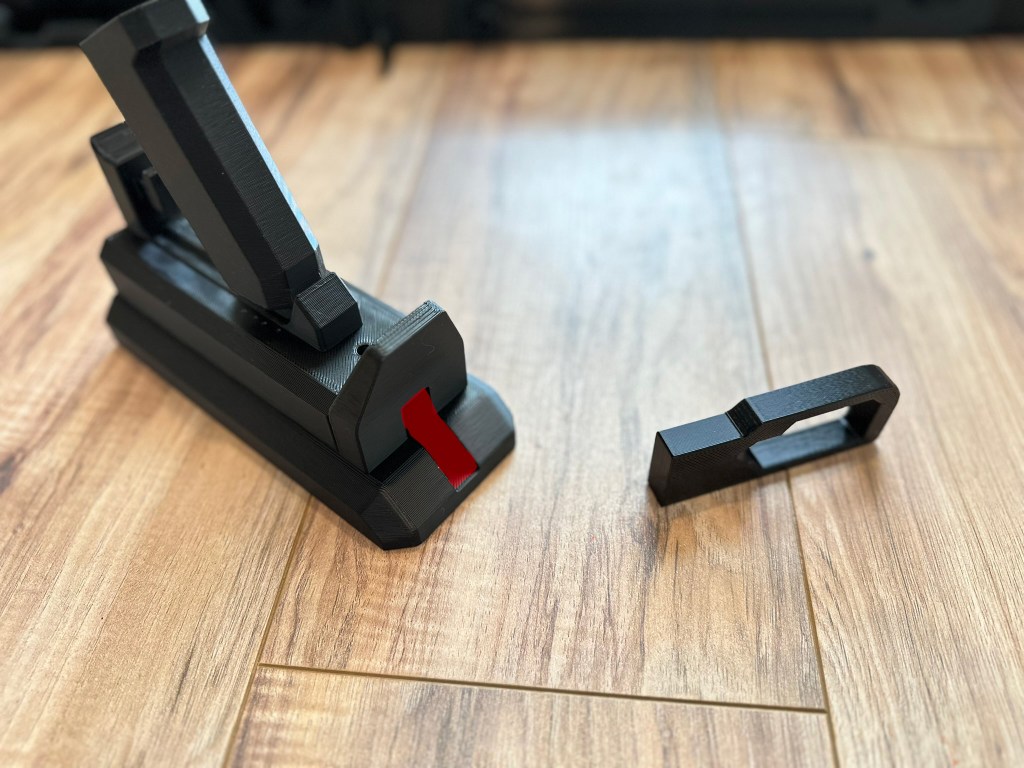
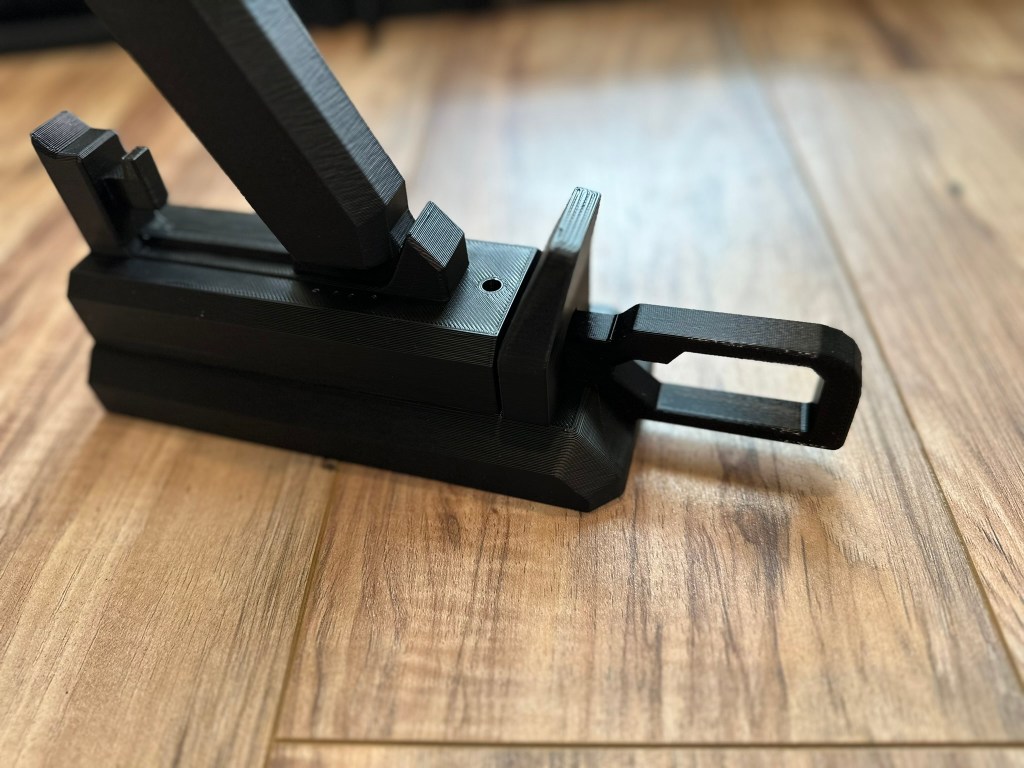
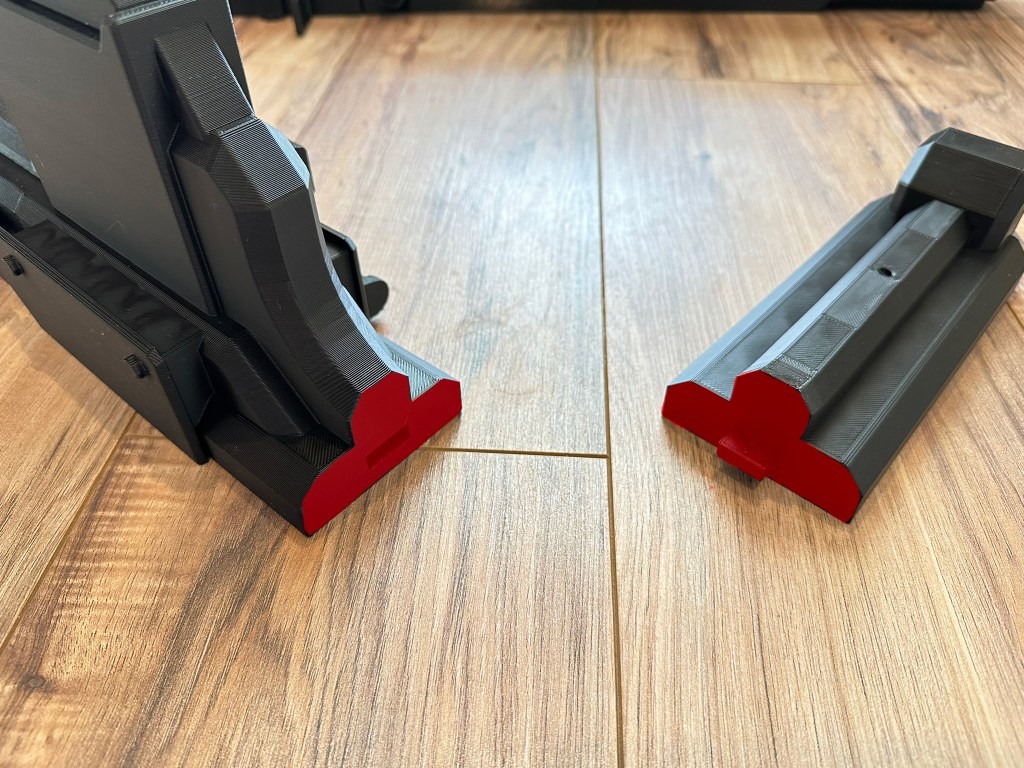
12. Glue connecting surface as shown.
13. Insert the small part in the orientation shown.
14. Glue connecting surfaces on the 2 parts shown.
15. Screw the parts together with a 1″ screw.
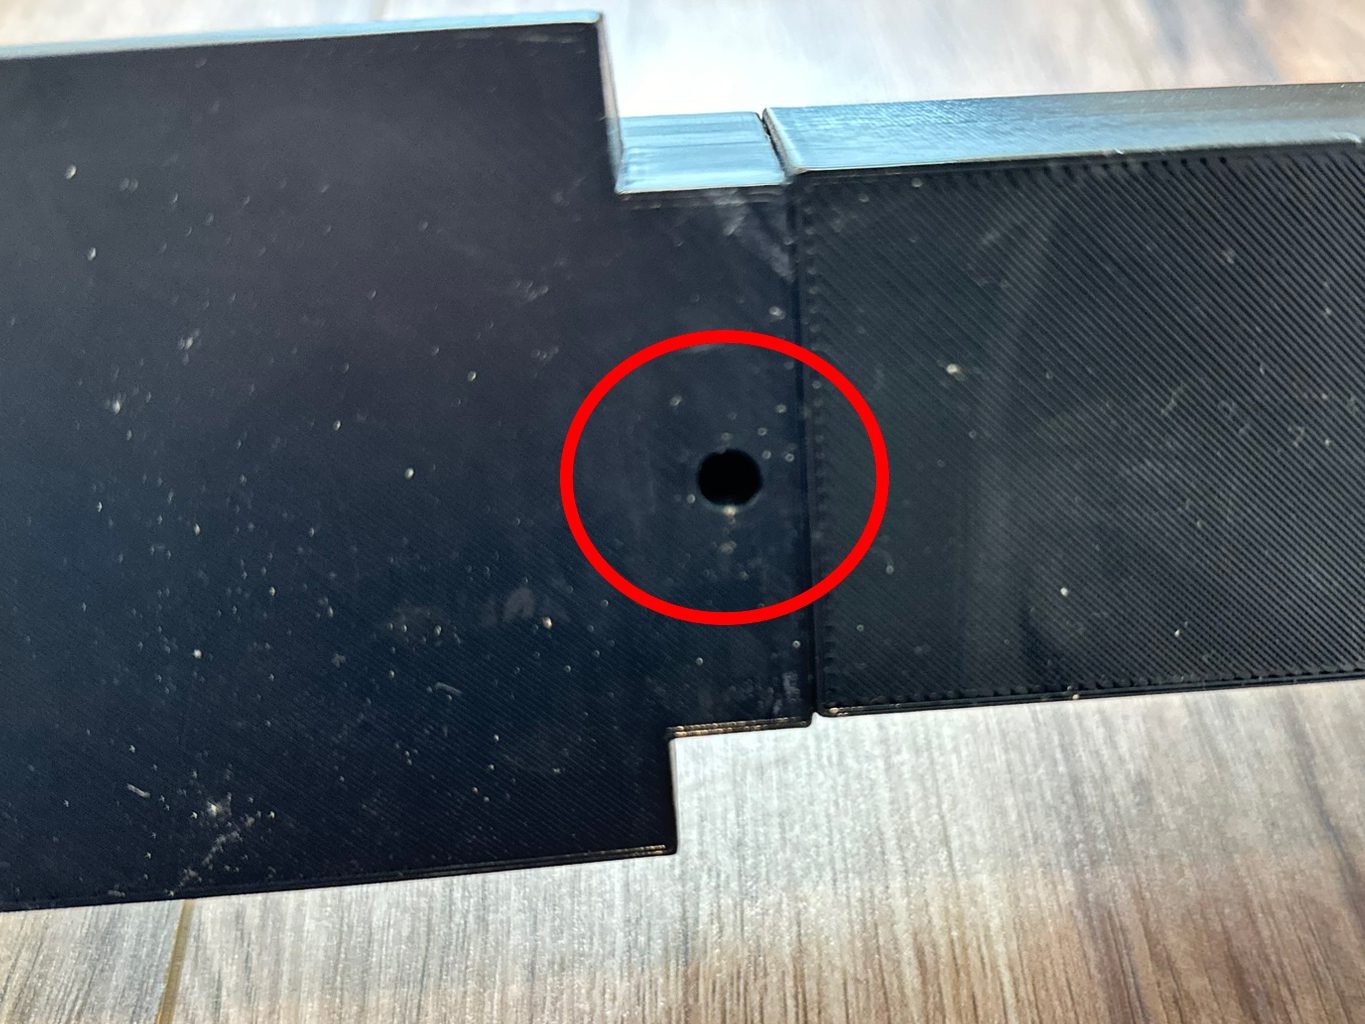
16. Glue connecting surfaces on the 2 parts shown.
17. Screw the parts together with a 1″ screw.
18. Glue connecting surfaces on the 2 parts shown.
19. Screw the parts together with a 1″ screw.
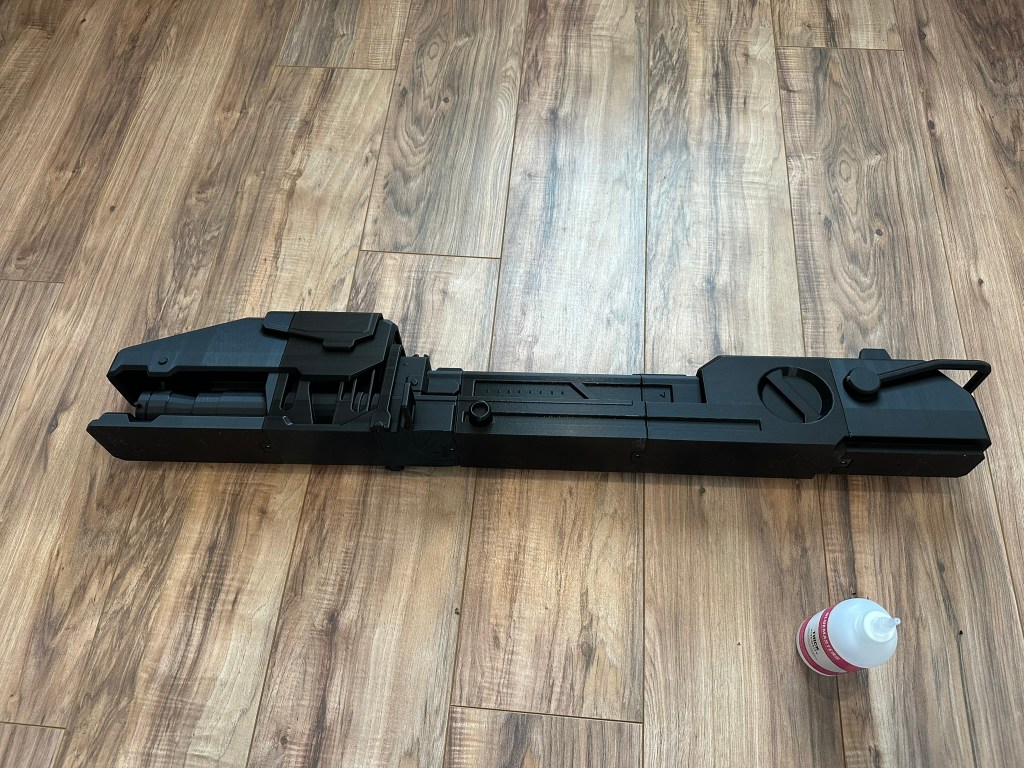
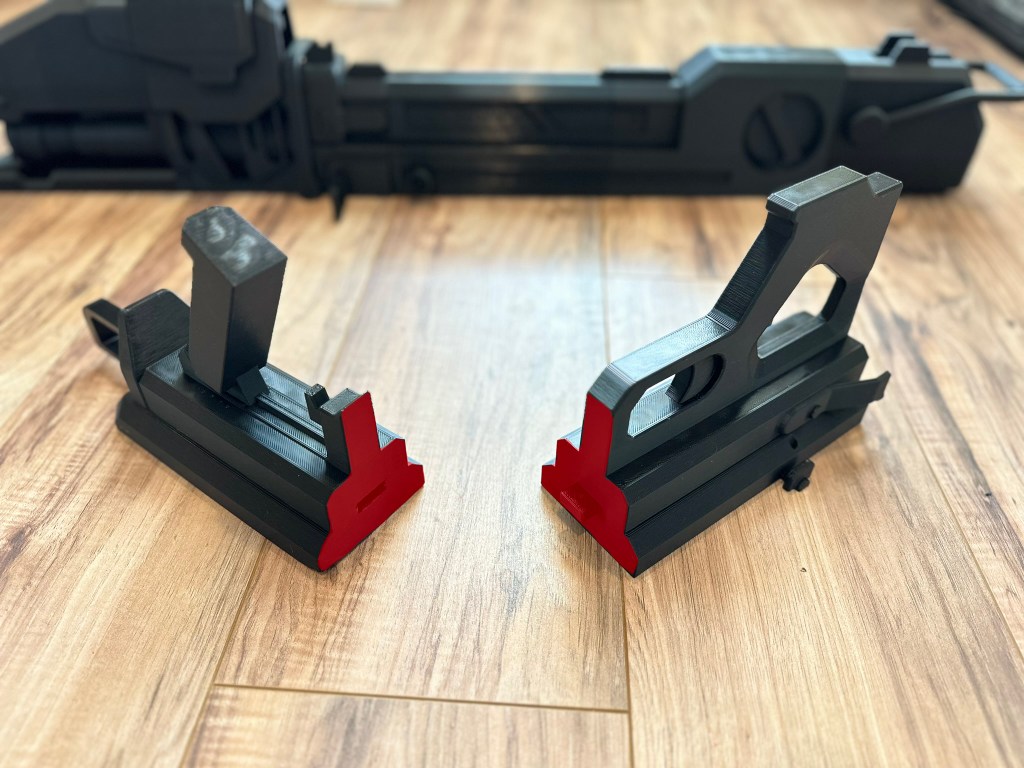
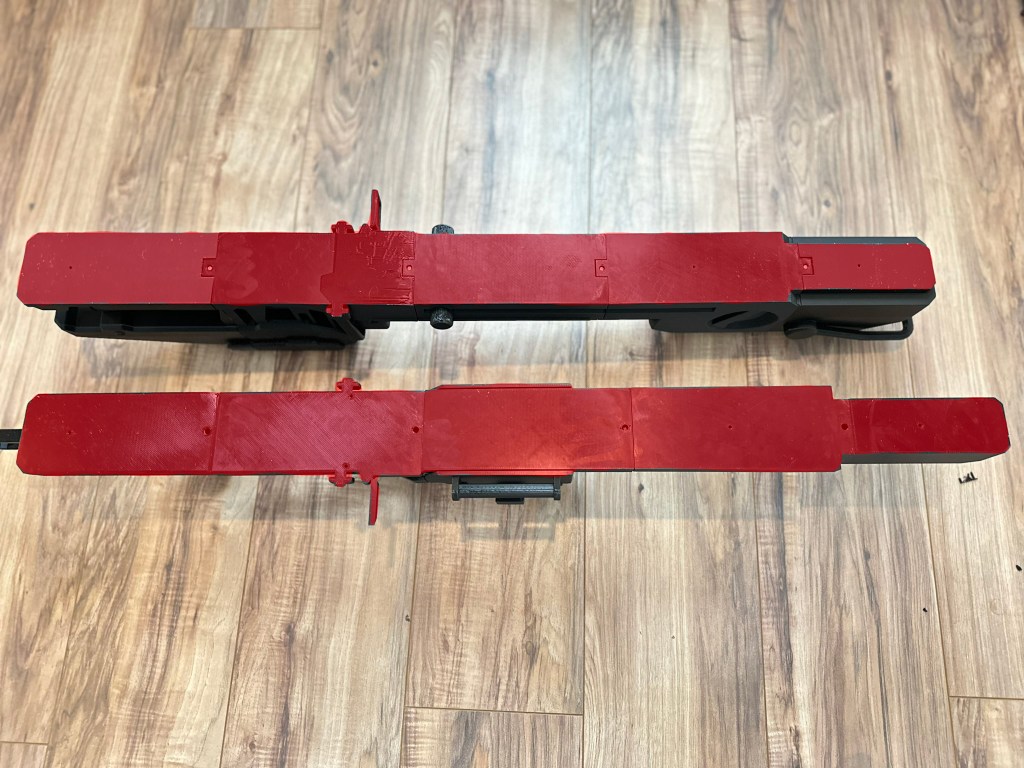
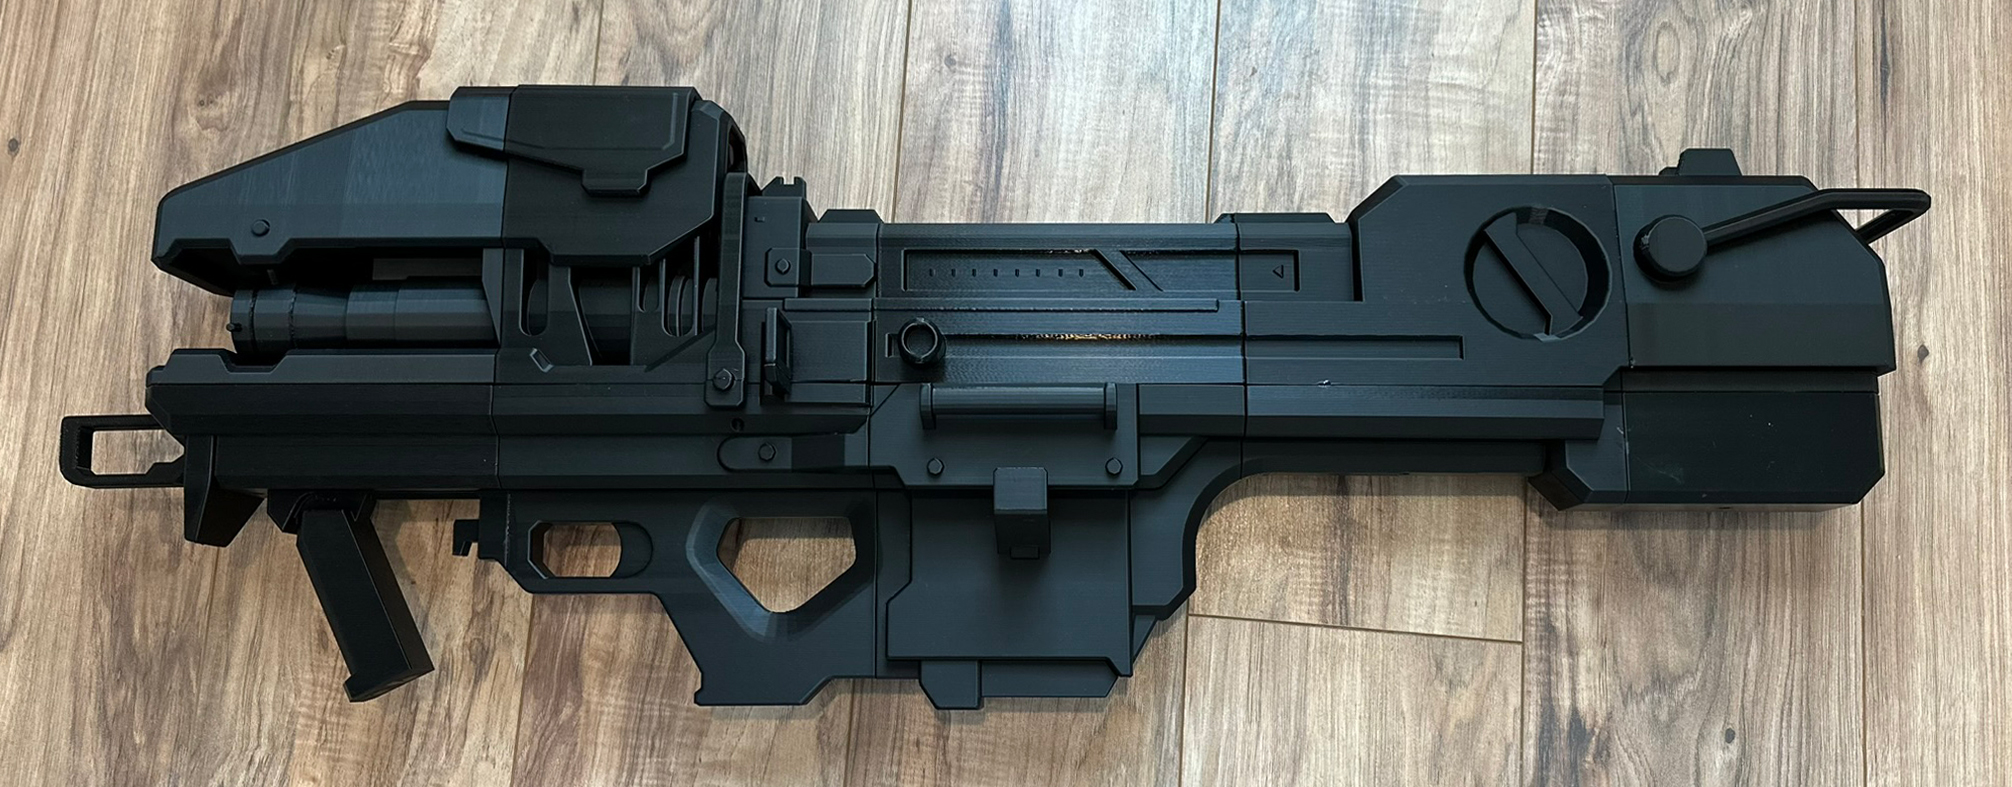
20. The top and bottom sections should now be assembled as shown.
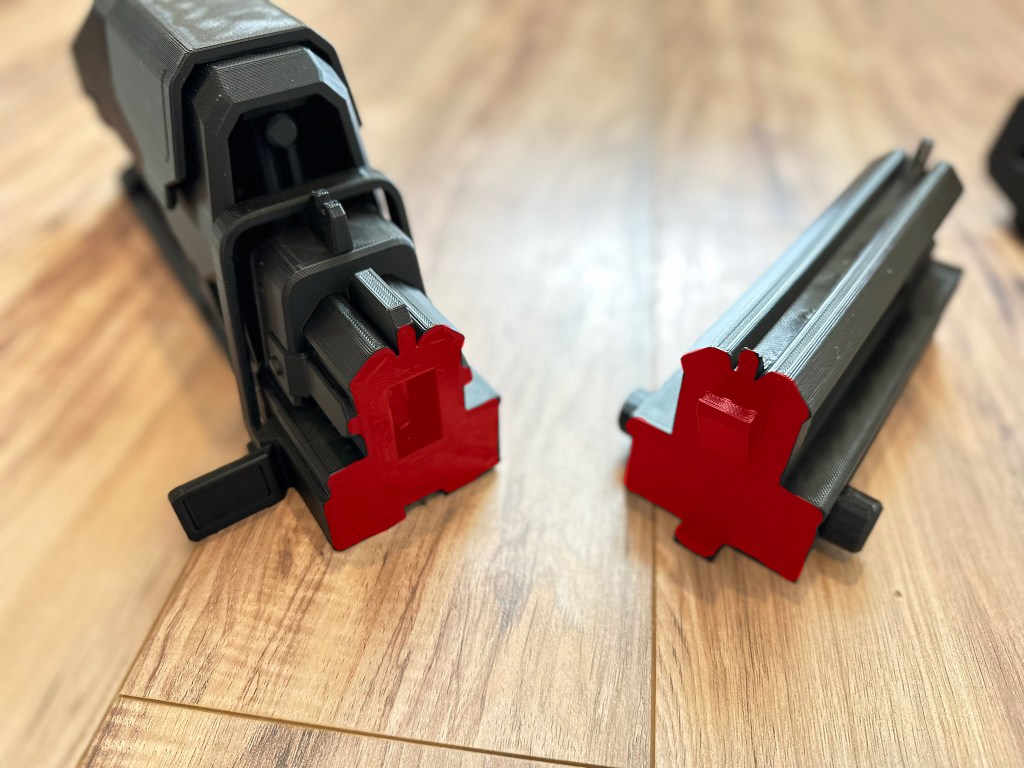
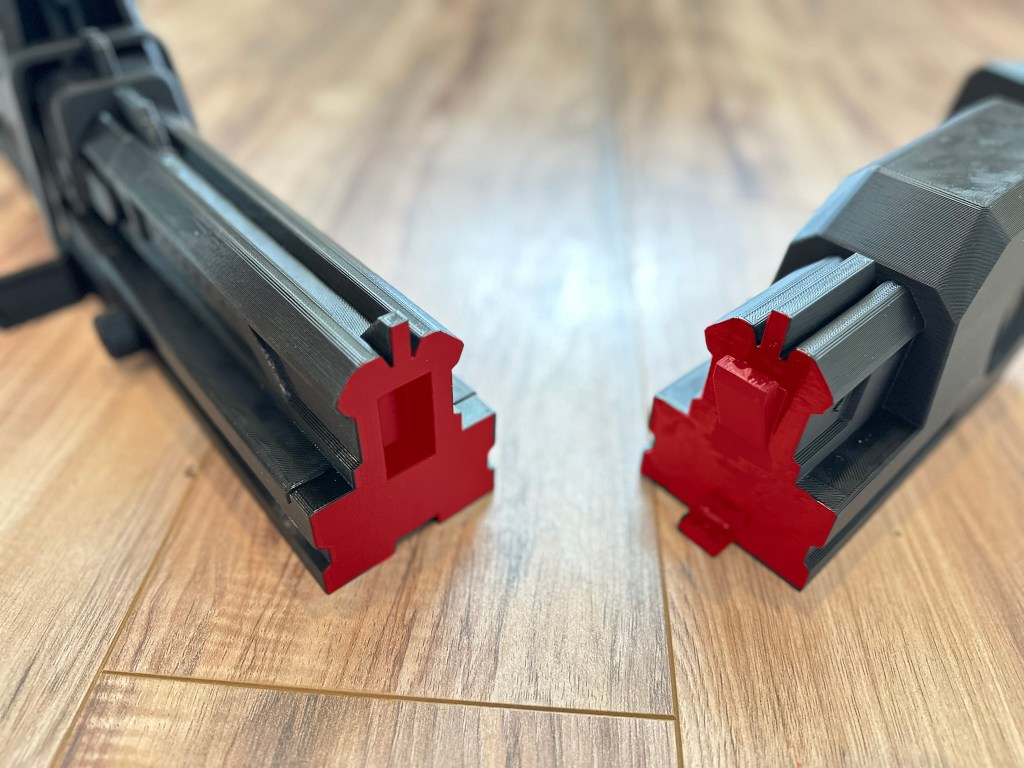
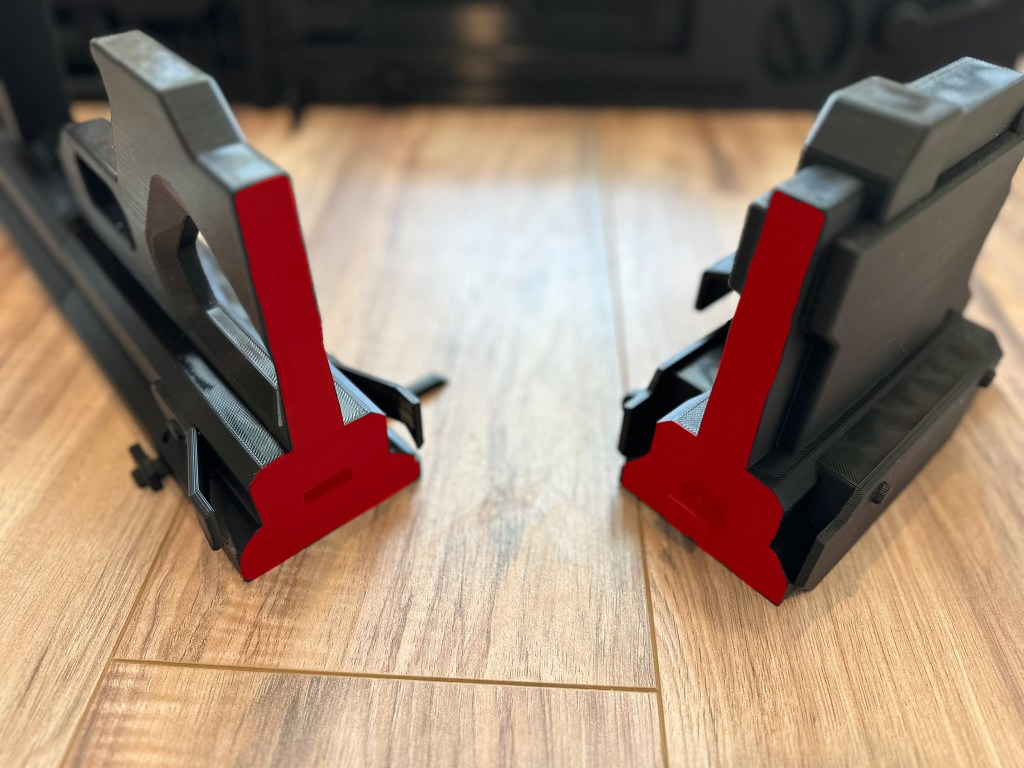
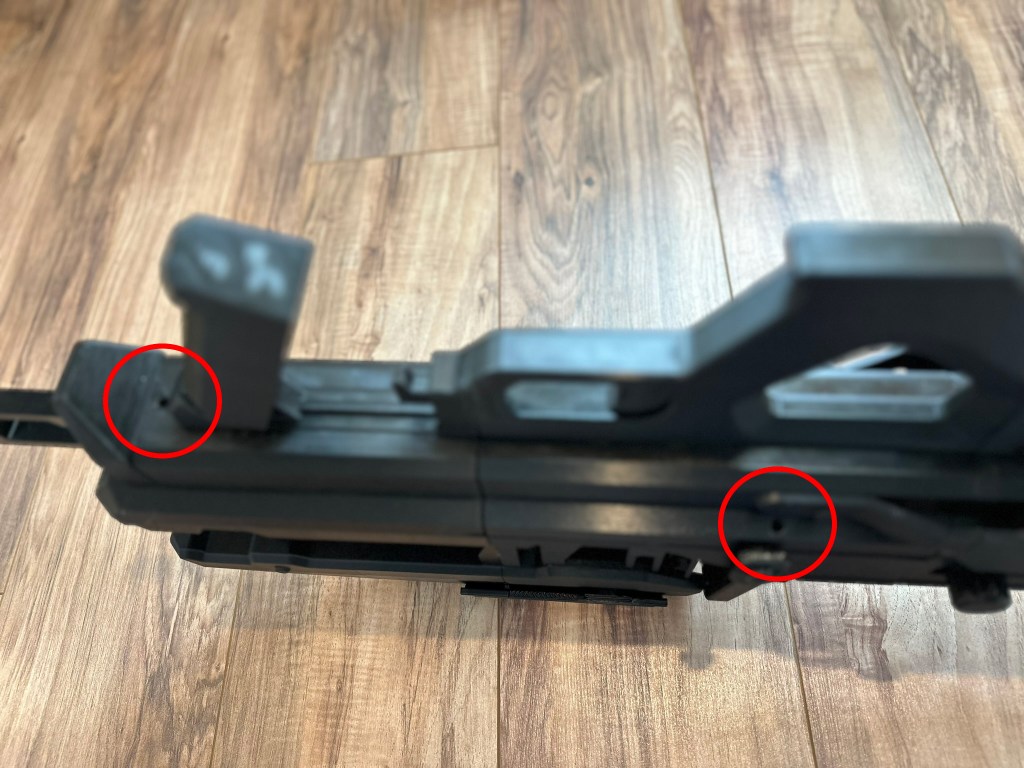
21. Glue connecting surfaces on the 2 sections as shown.
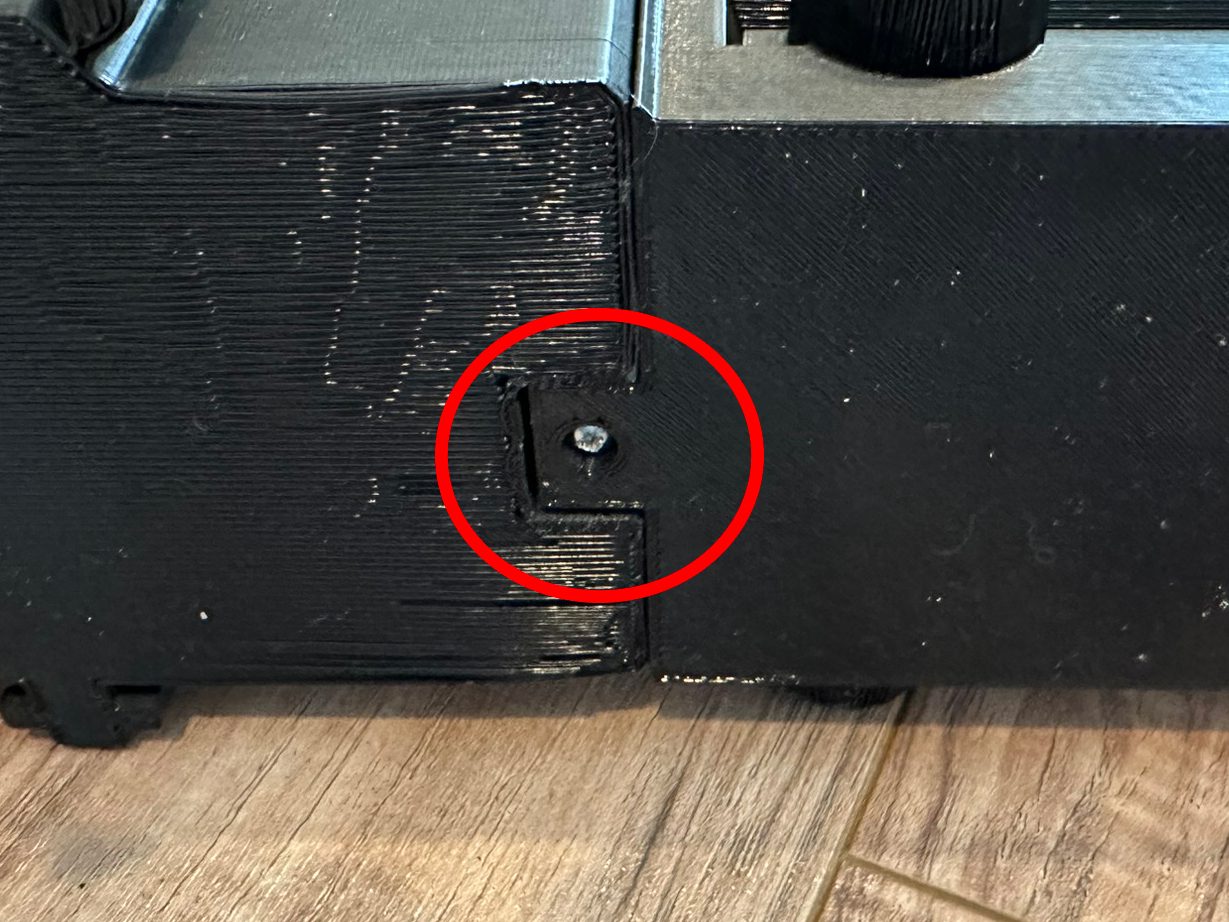
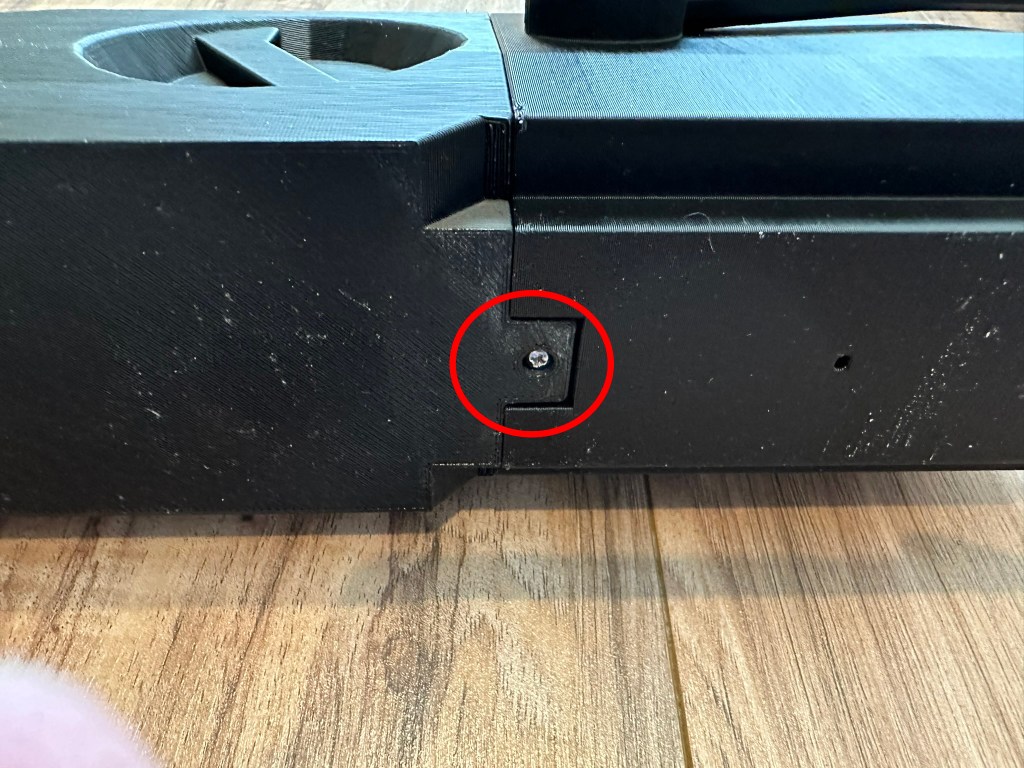
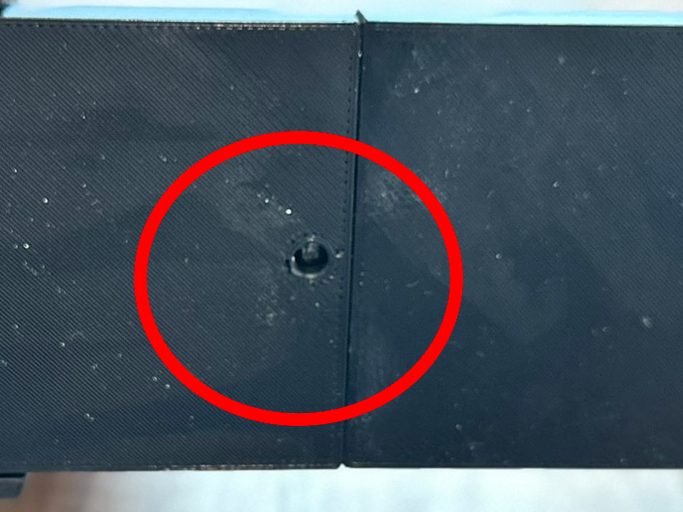
22. Place the 2 sections together and start screwing in the 3 screws shown. (There is a screw on the opposite side not shown in the picture).
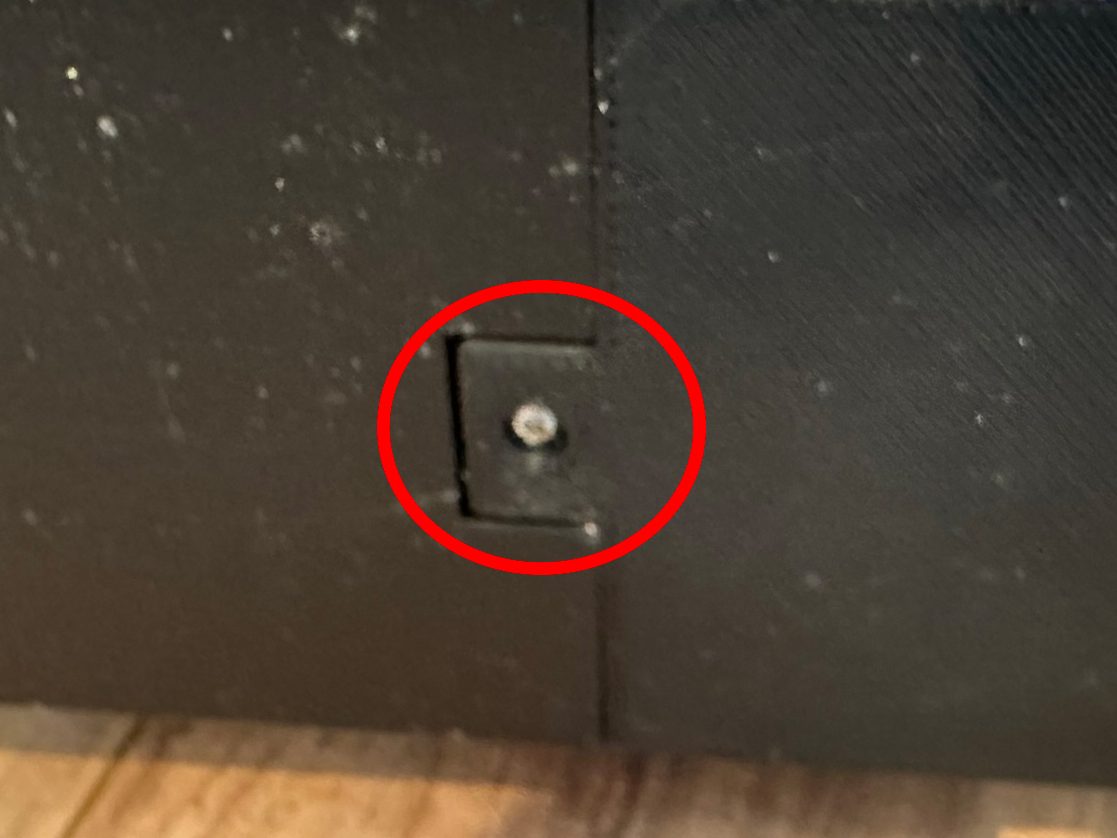
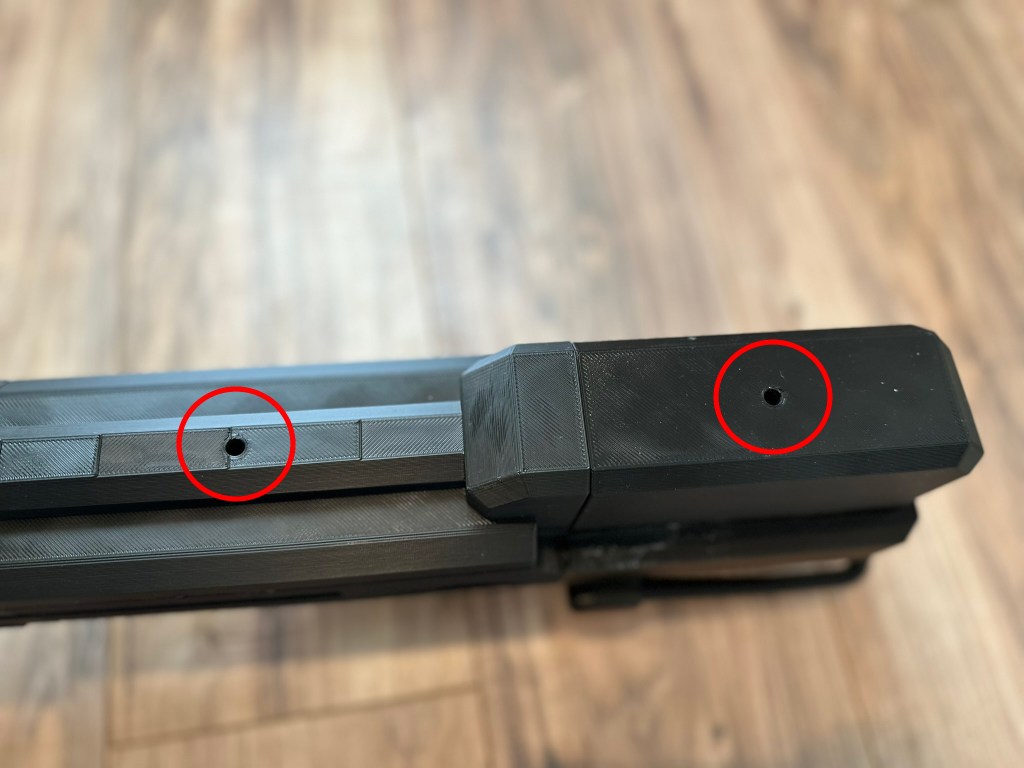
23. Screw the last 2 screws in the back section.
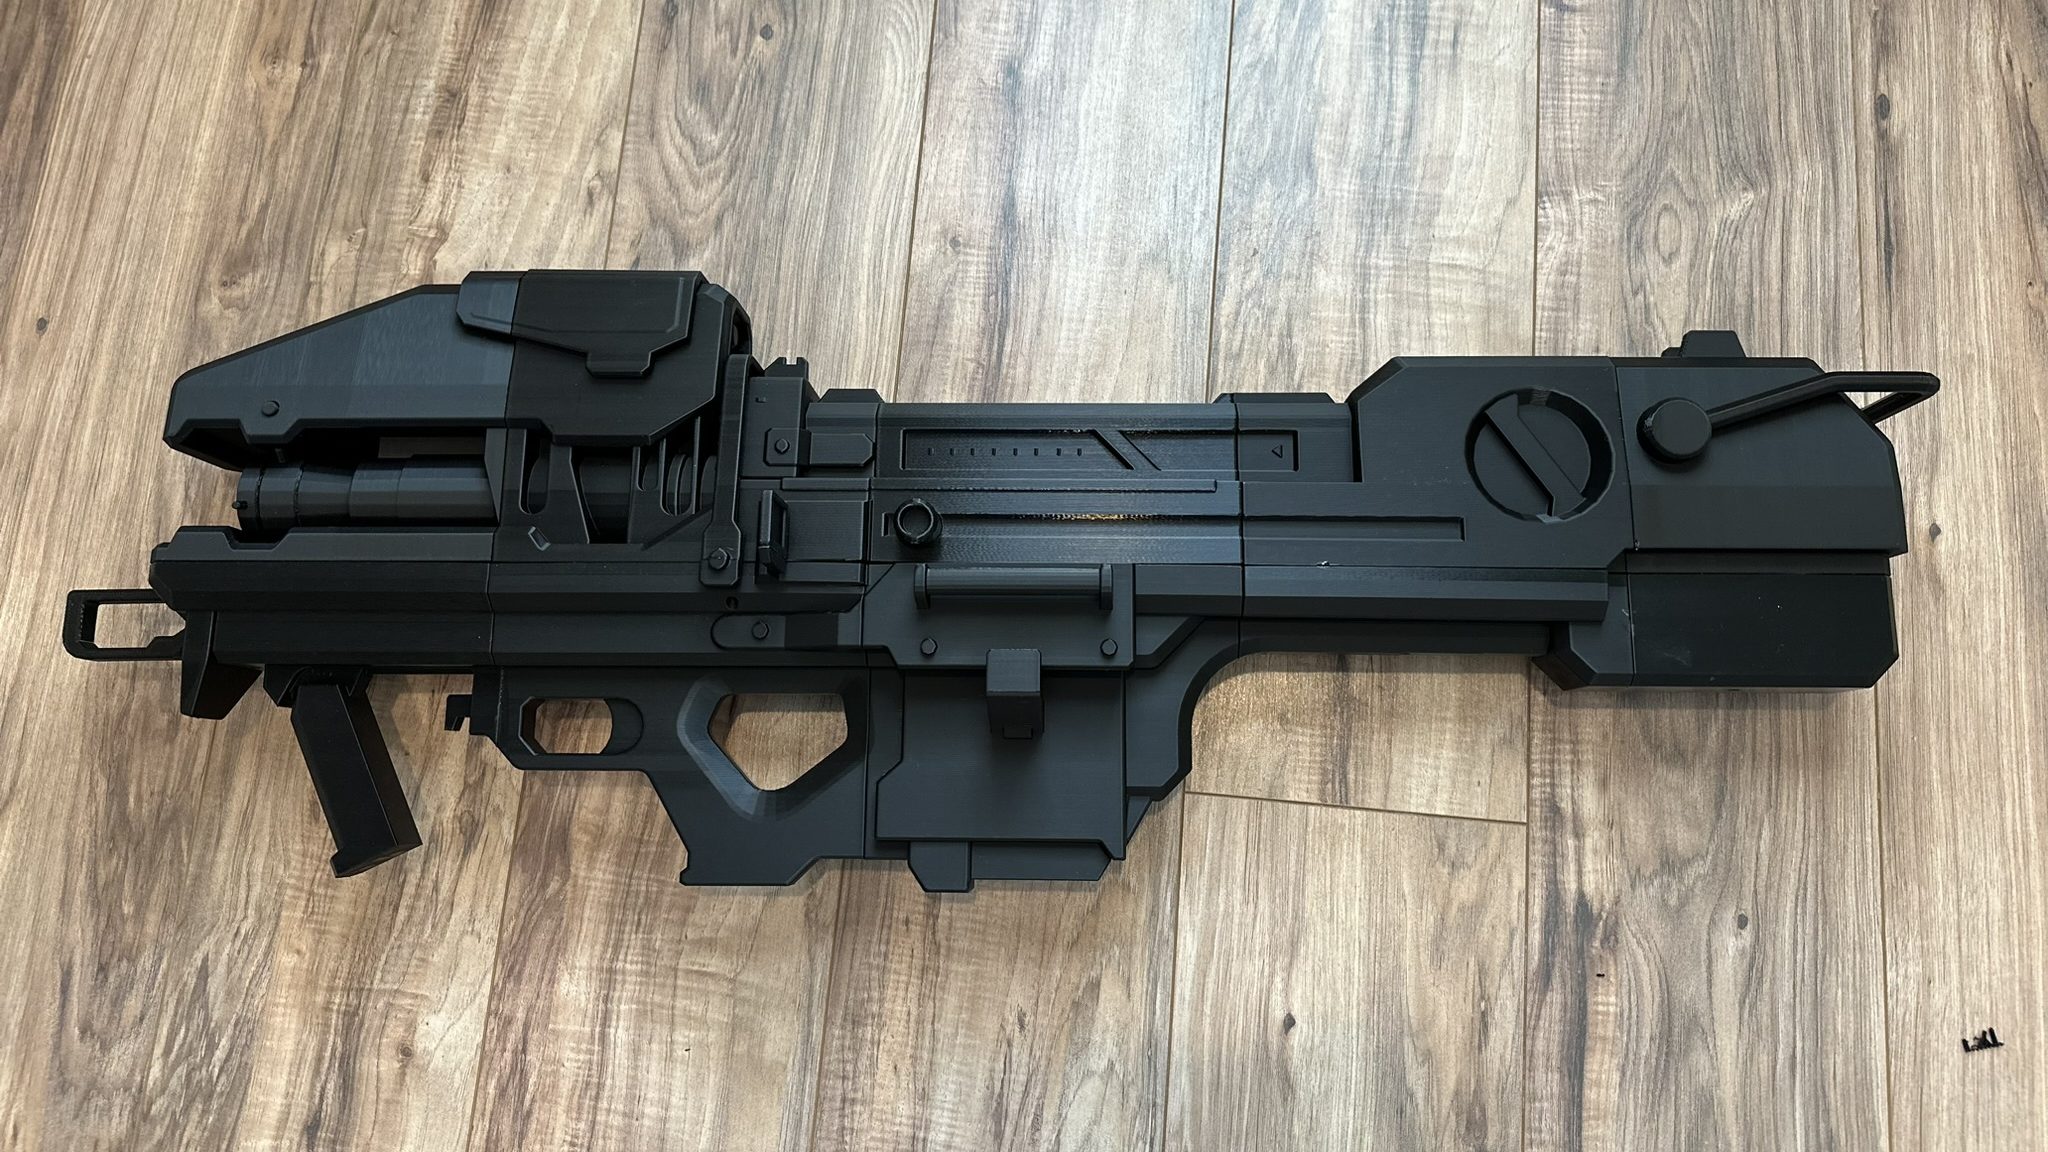
24. Celebrate your achievements.
Painting
Your final product is only as good as your patience. I rushed mine and it didn’t end up as nice as it could have. Take your time on all the steps below and the final result will be awesome.
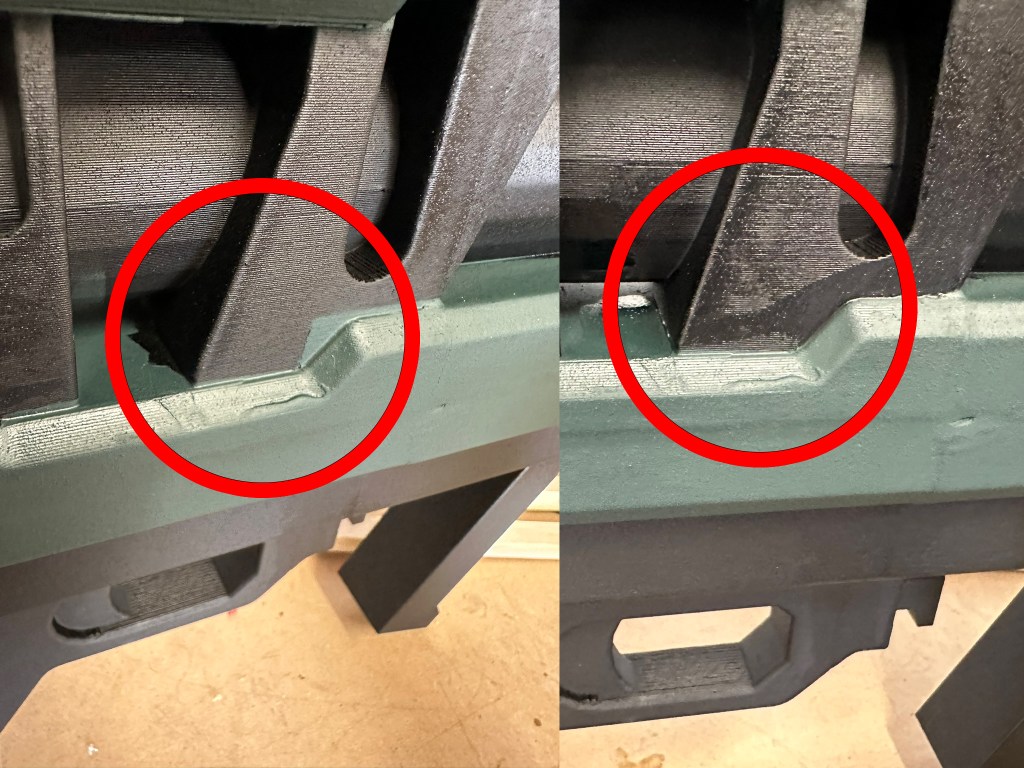
1. Optional – Use Bondo brand “Glazing & Spot Putty” to fill in the cracks. I prefer this to bondo because its easier to sand and you don’t have to mix it. 2. Fill in the cracks with the putty using a putty knife. I went a bit too thick which ended up being a pain to sand. Less is more in this case.
3. Once the putty dries sand it smooth with 320 or 400 grit sandpaper. You could start with a grittier sandpaper and work your way to a smoother one for a better finish. In this example I used 320 grit and called it good.
4. Blow off dust, then clean it with a wet rag. Let it fully dry.
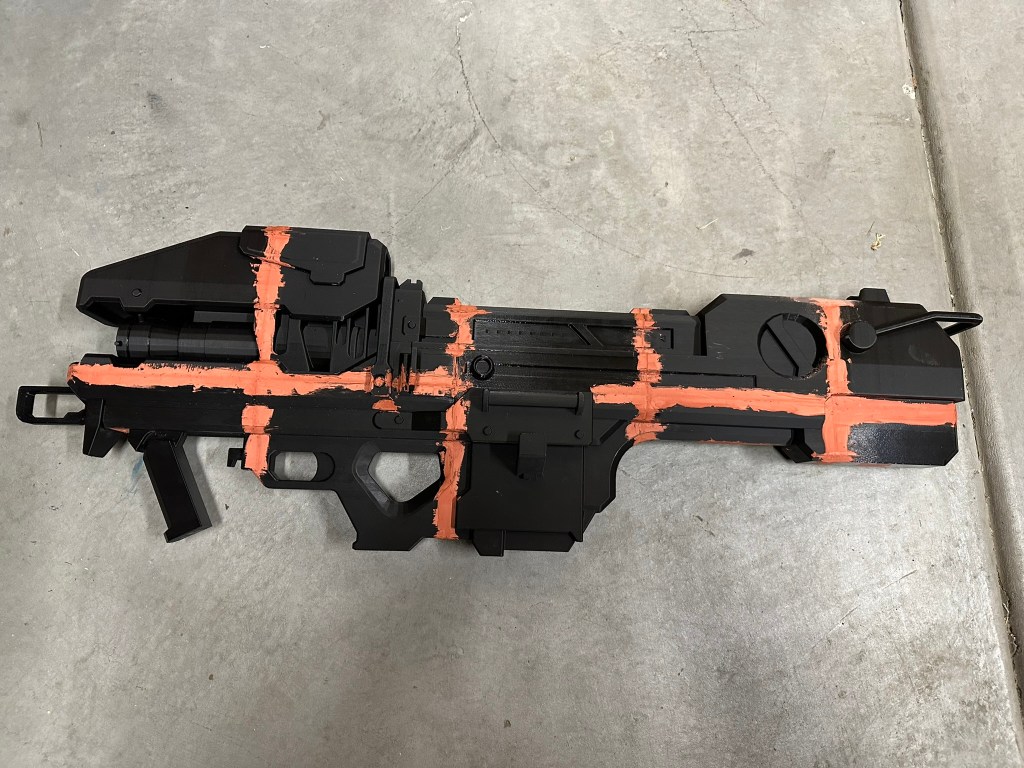
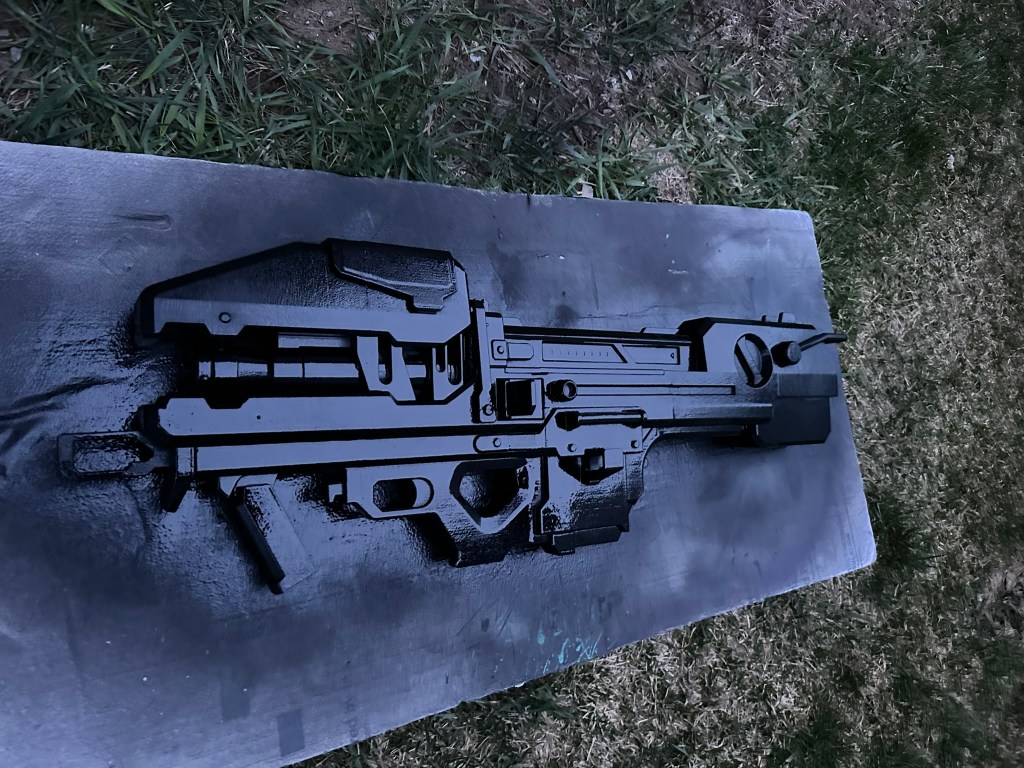
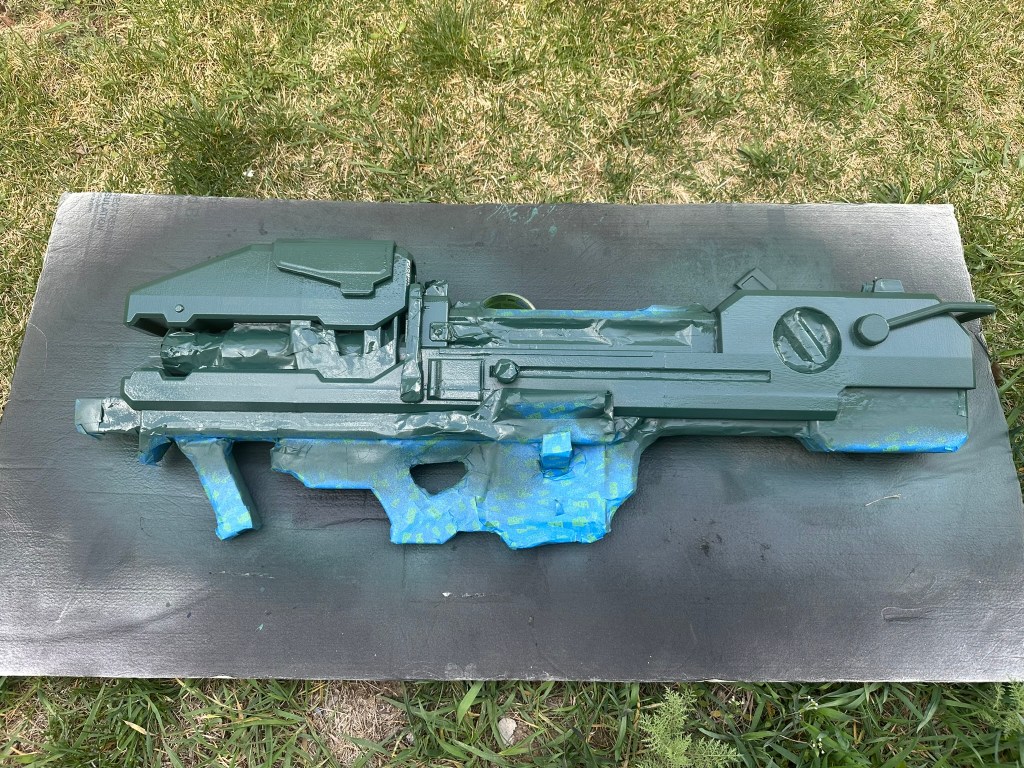
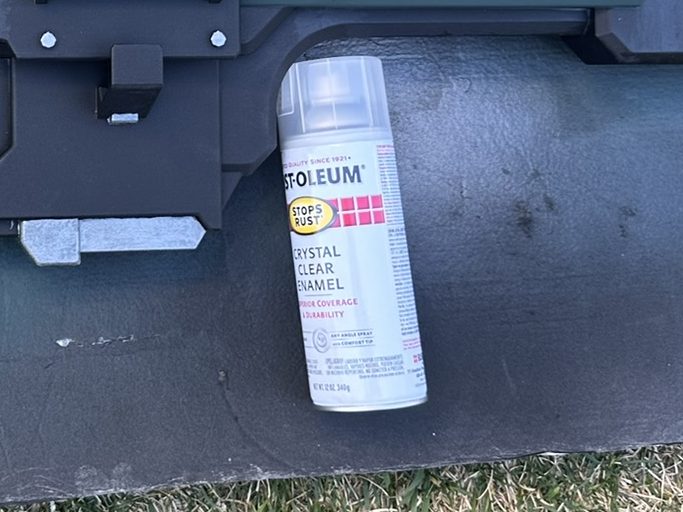
5. Apply black coat of spray paint.
6. Once paint is fully dry and hardened tape off the parts that need to stay black (I forgot to get a picture before painting, sorry). Take your time on this part to save you effort later. Then apply a coat of green paint.
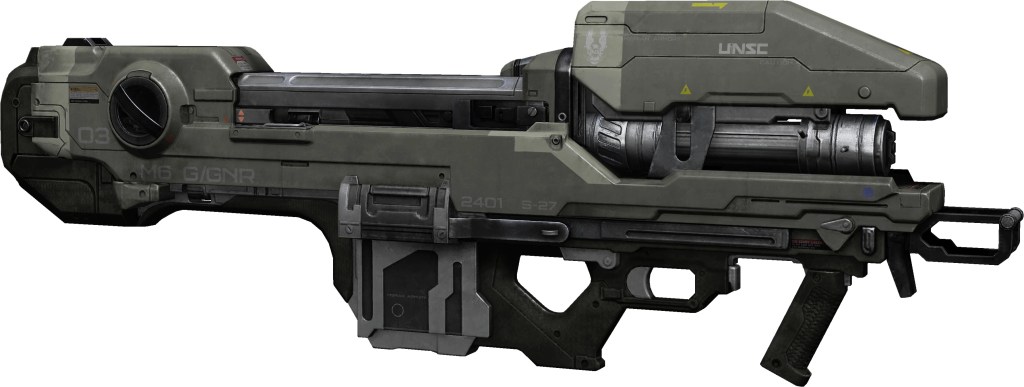
I loosely based my paint job off this picture. Use this to decide where to tape off.
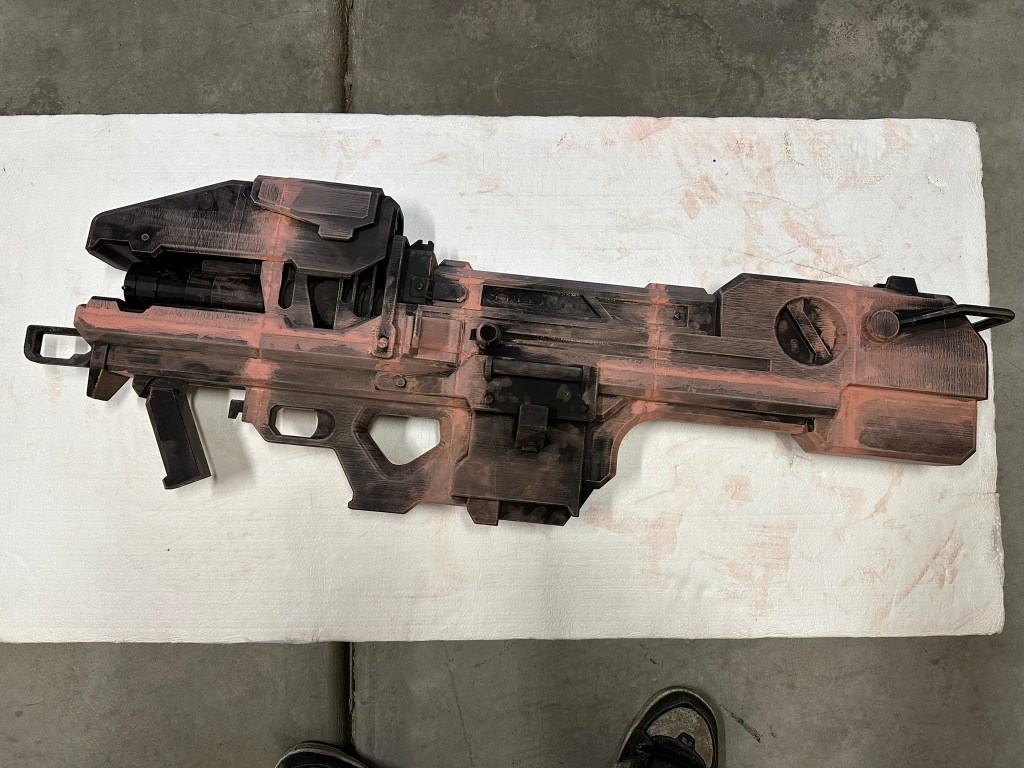
7. Once its fully dry remove the tape from the back section.
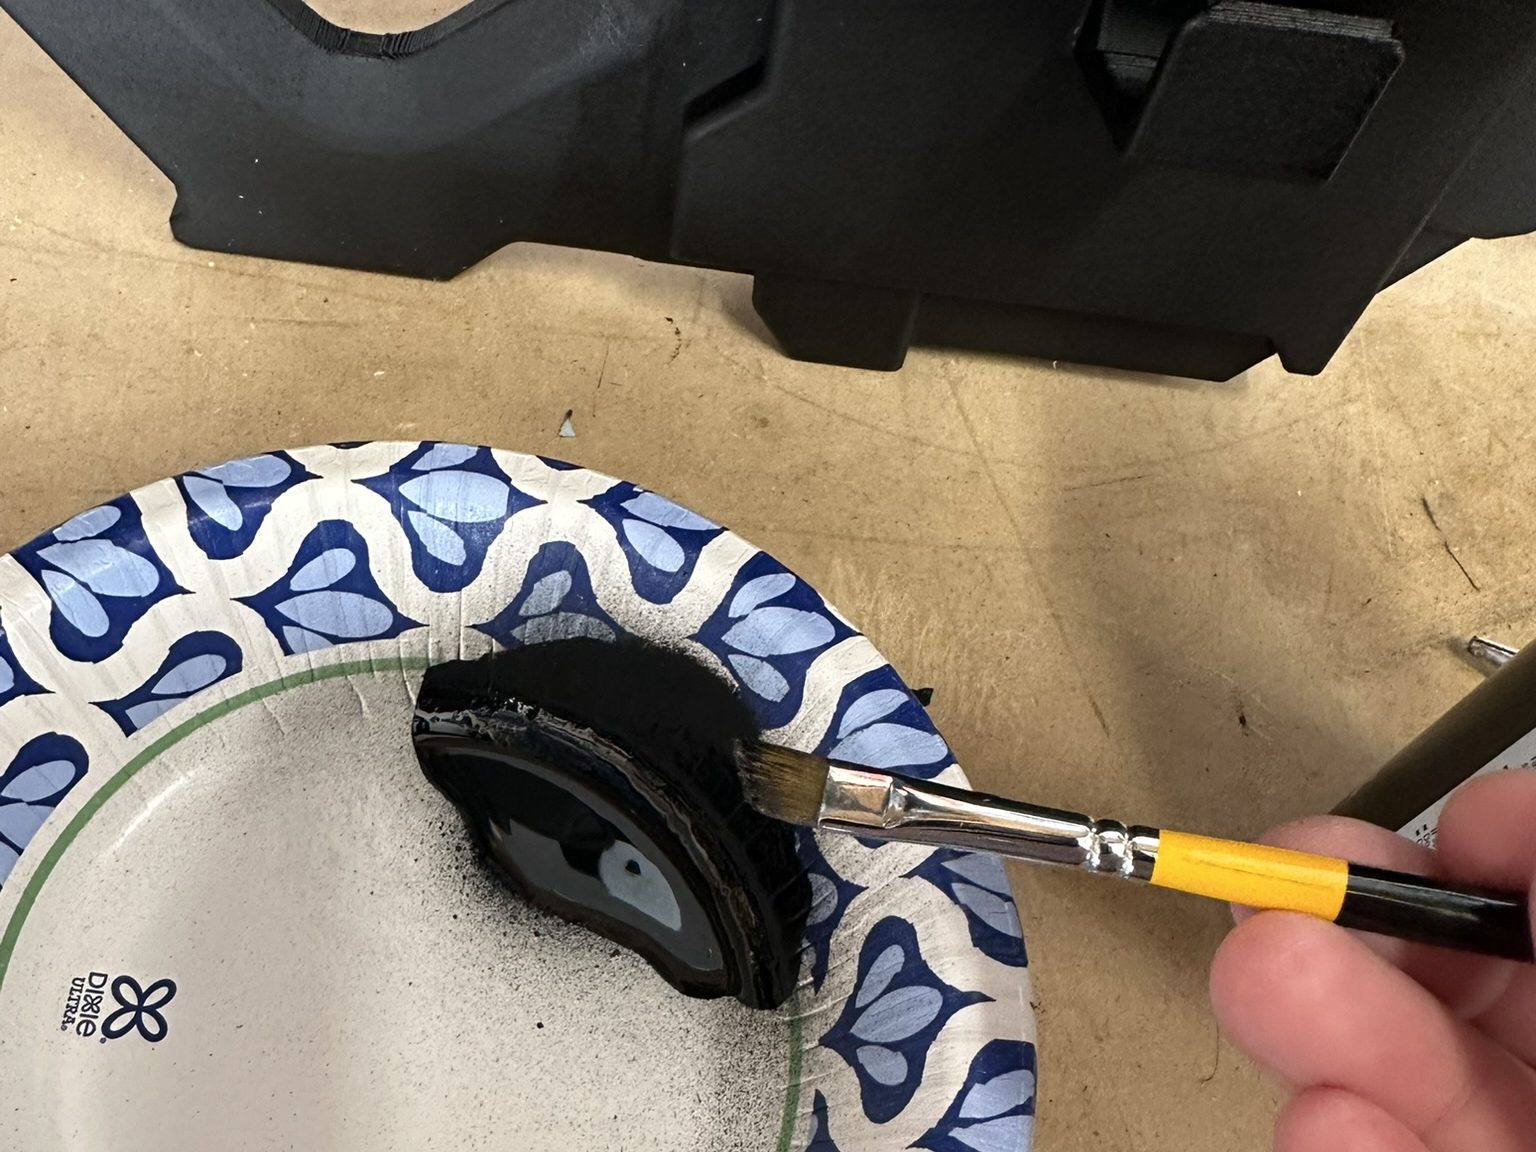
8. Spray puddles of black and green spray paint in bowls or containers then carefully touch up blemishes and spots with small paint brushes. I went over the entire gun with green, then repeated the process with black. I ended up touching up a few times.
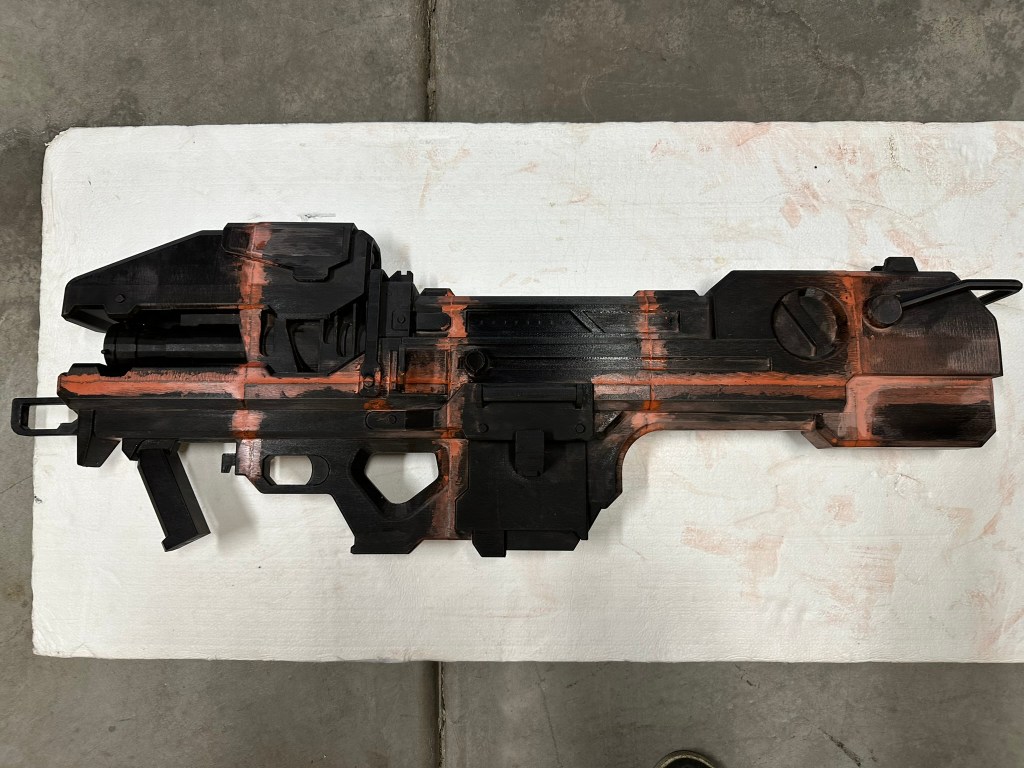
Example touchup
Example touchup
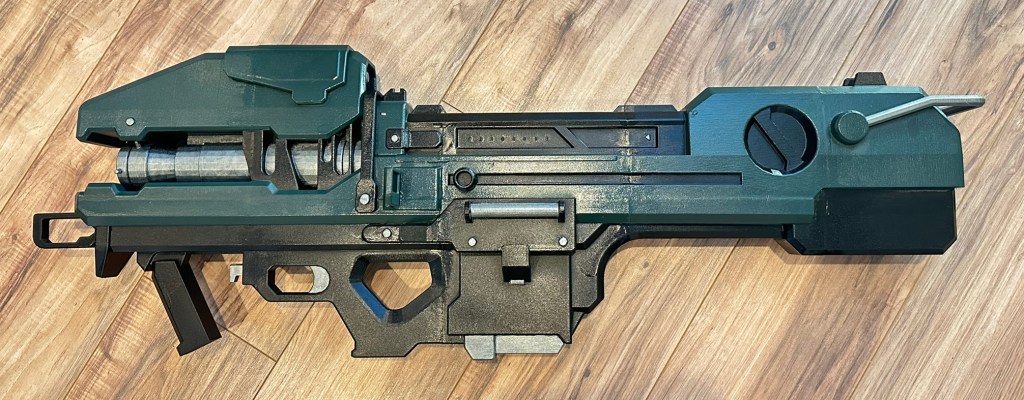
9. Hand paint the silver sections with acrylic paint. I used Valejo oily steel paint. I ended up touching up one more time with green and black after the silver because I was reckless. See the last picture for a color reference.
10. Once you are happy with your paint job seal the deal with spray lacquer. 11. Let it dry, then celebrate your achievements.