Halo Sword – Internal Power
• • • • • • • Solder Assembly Instructions • • • • • • •
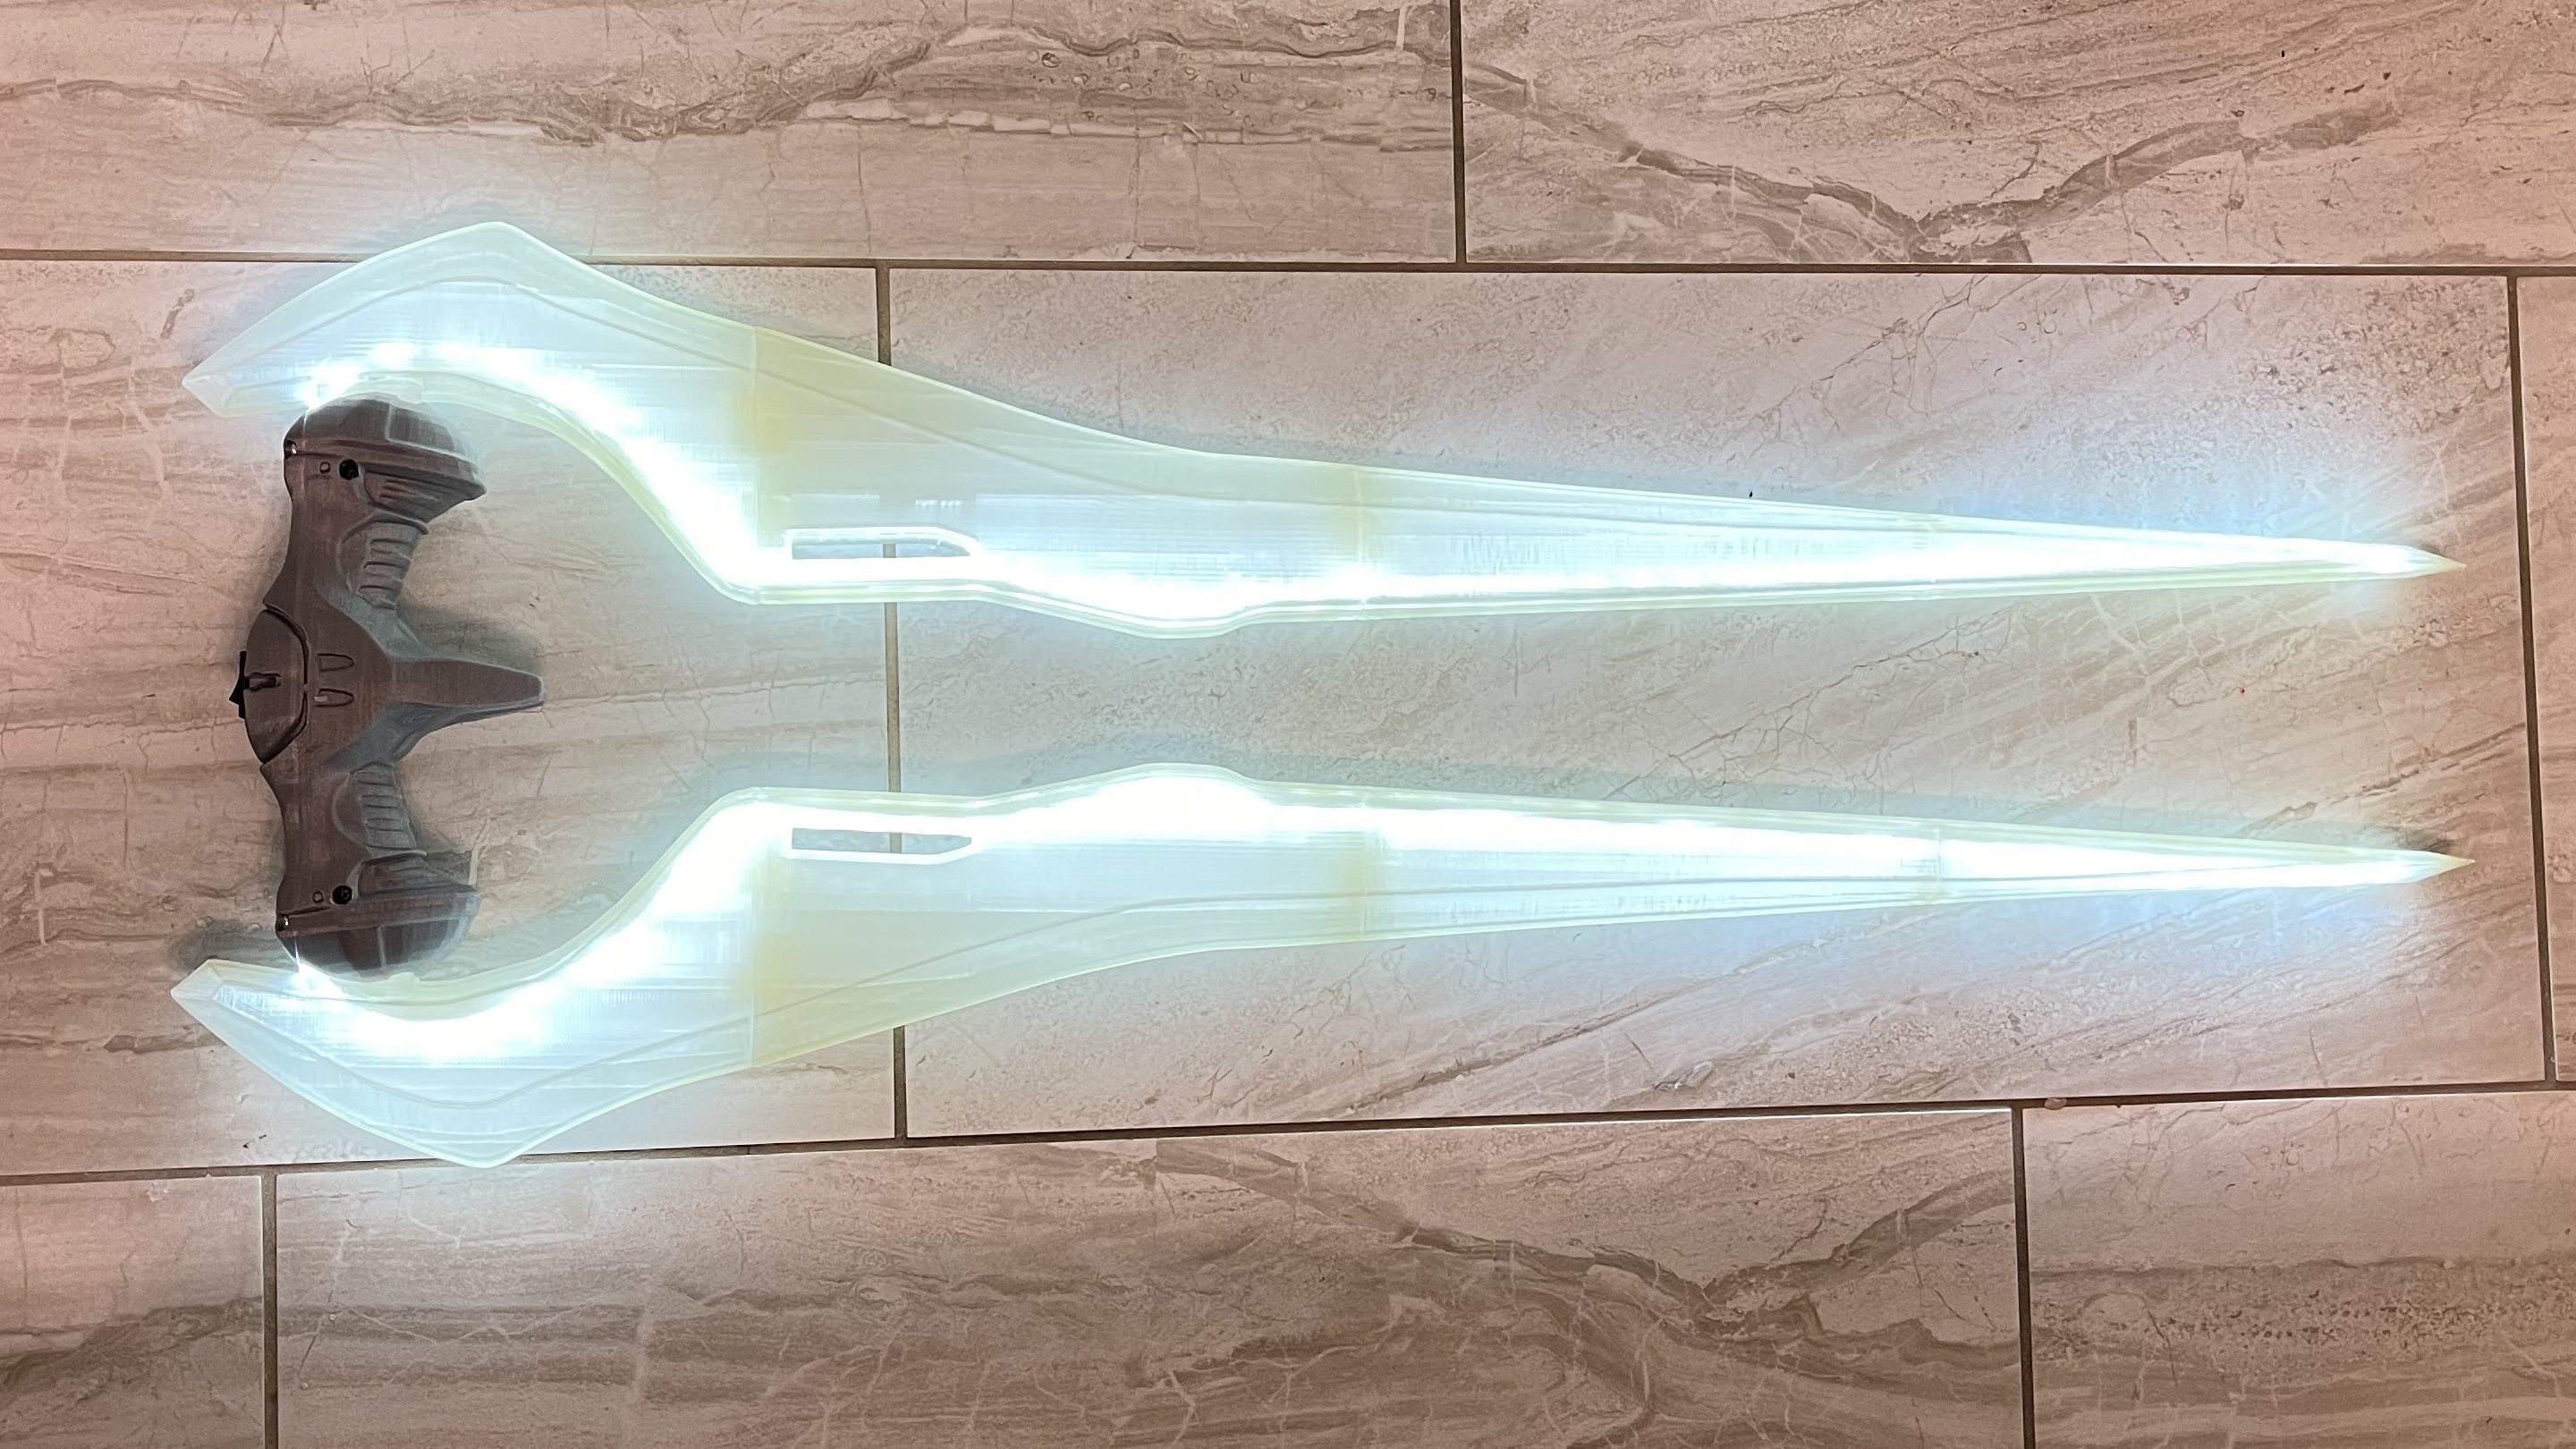
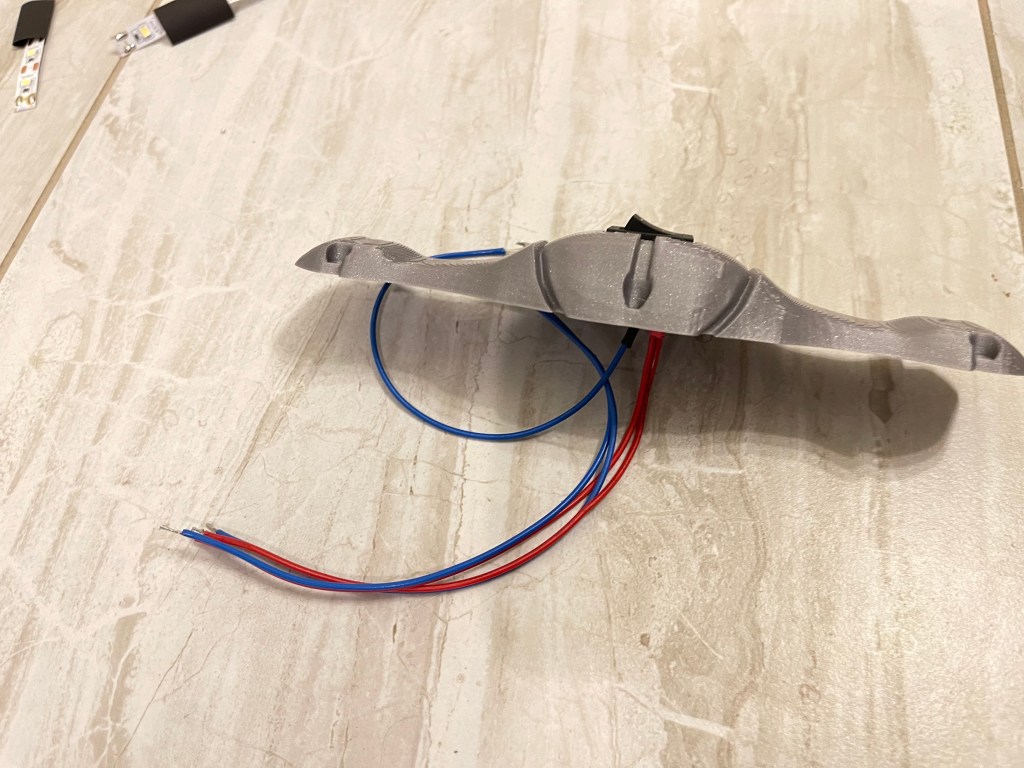
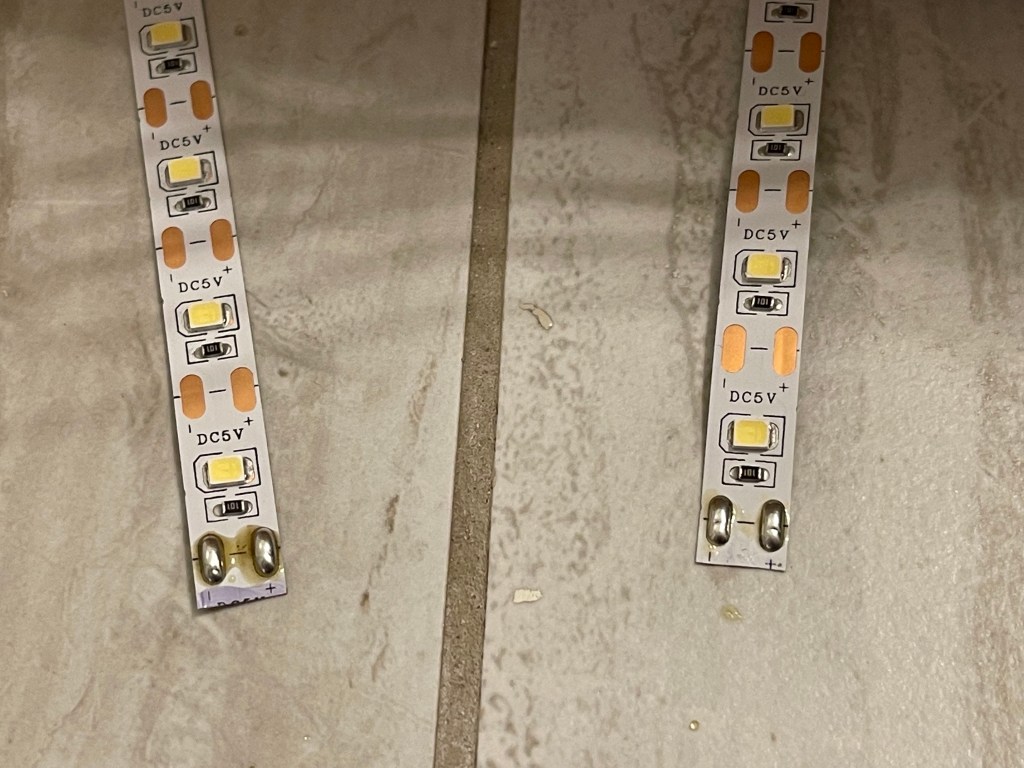
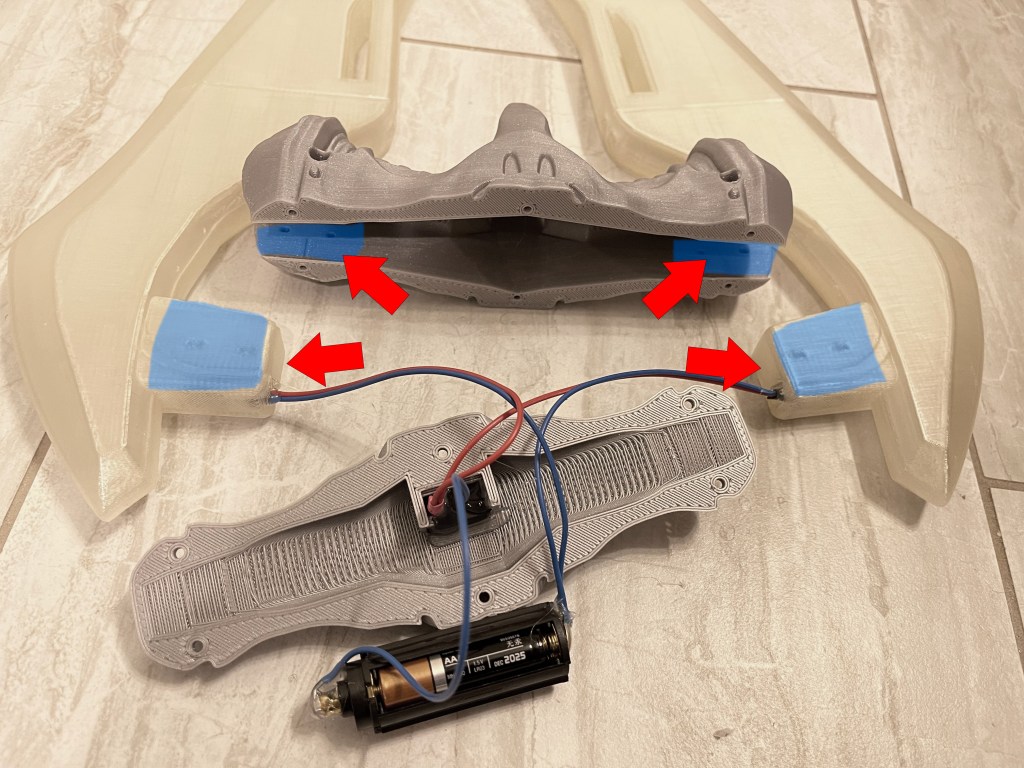
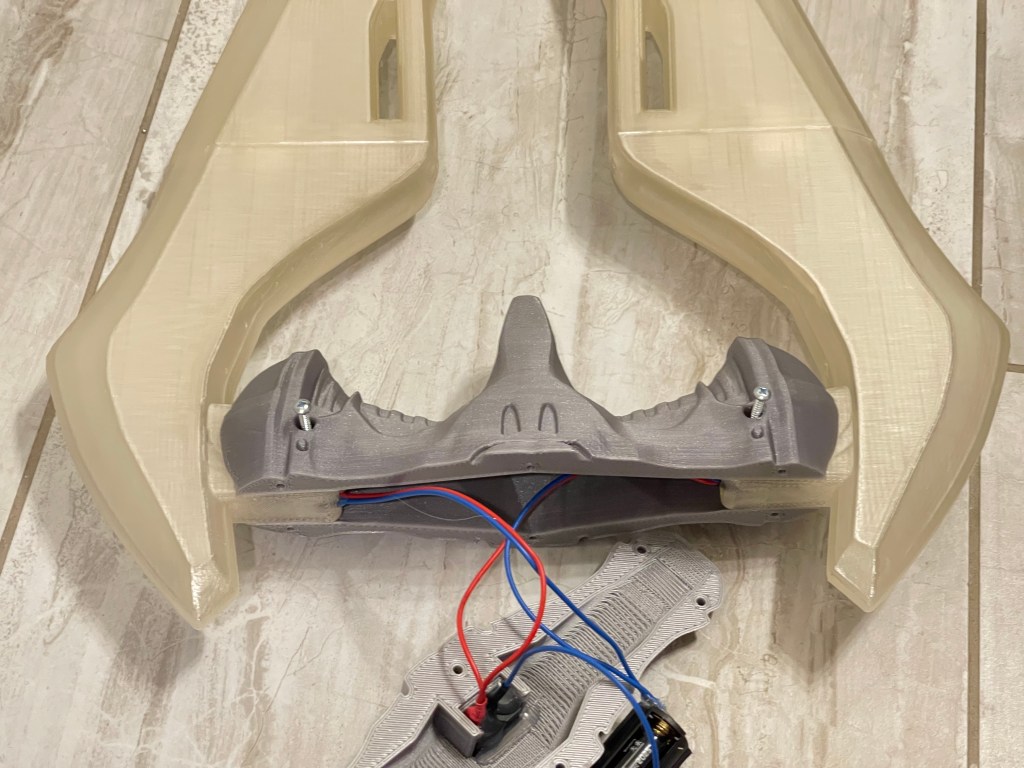
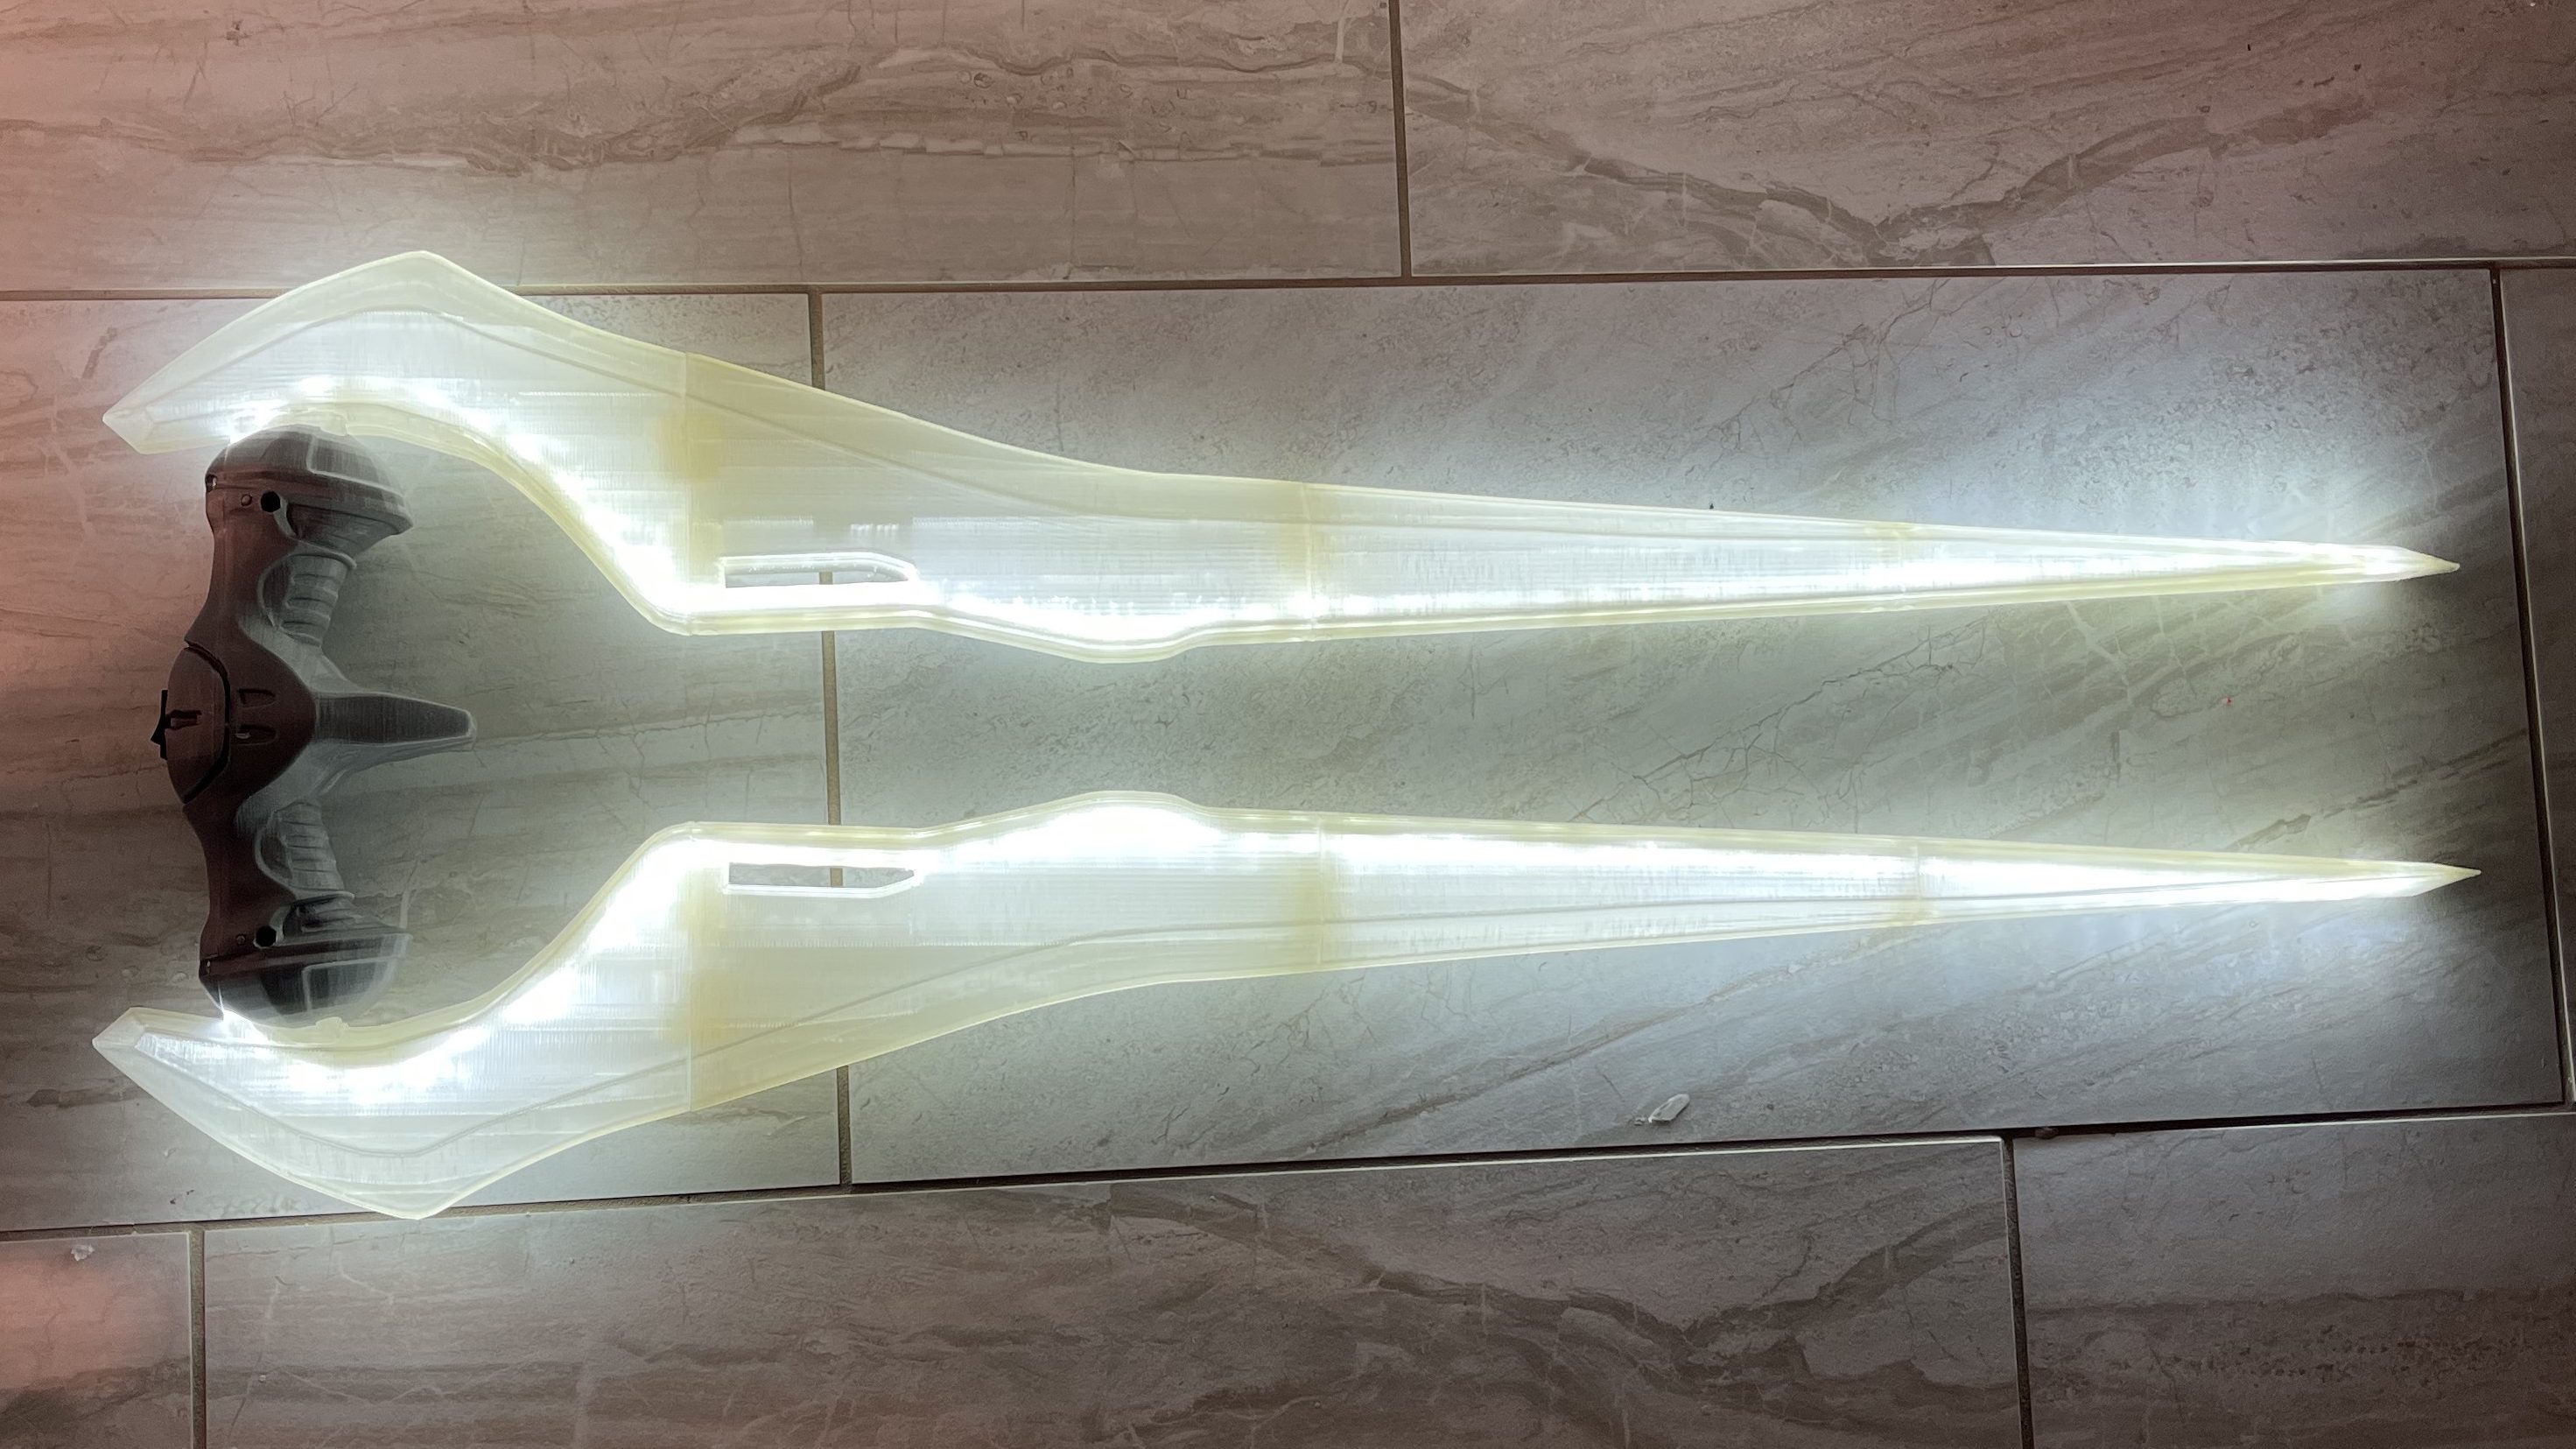
Blade Assembly
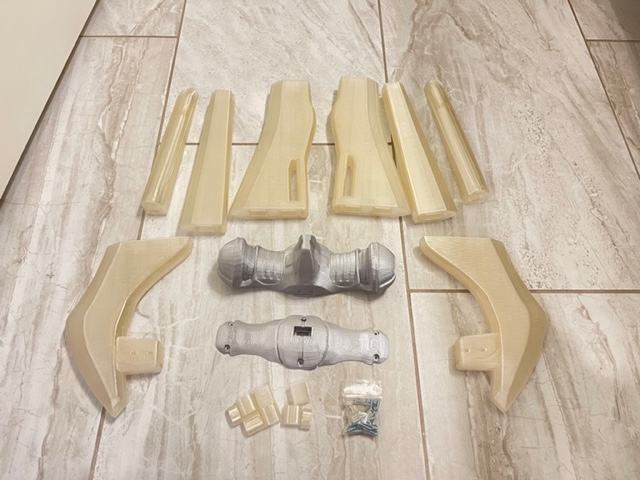


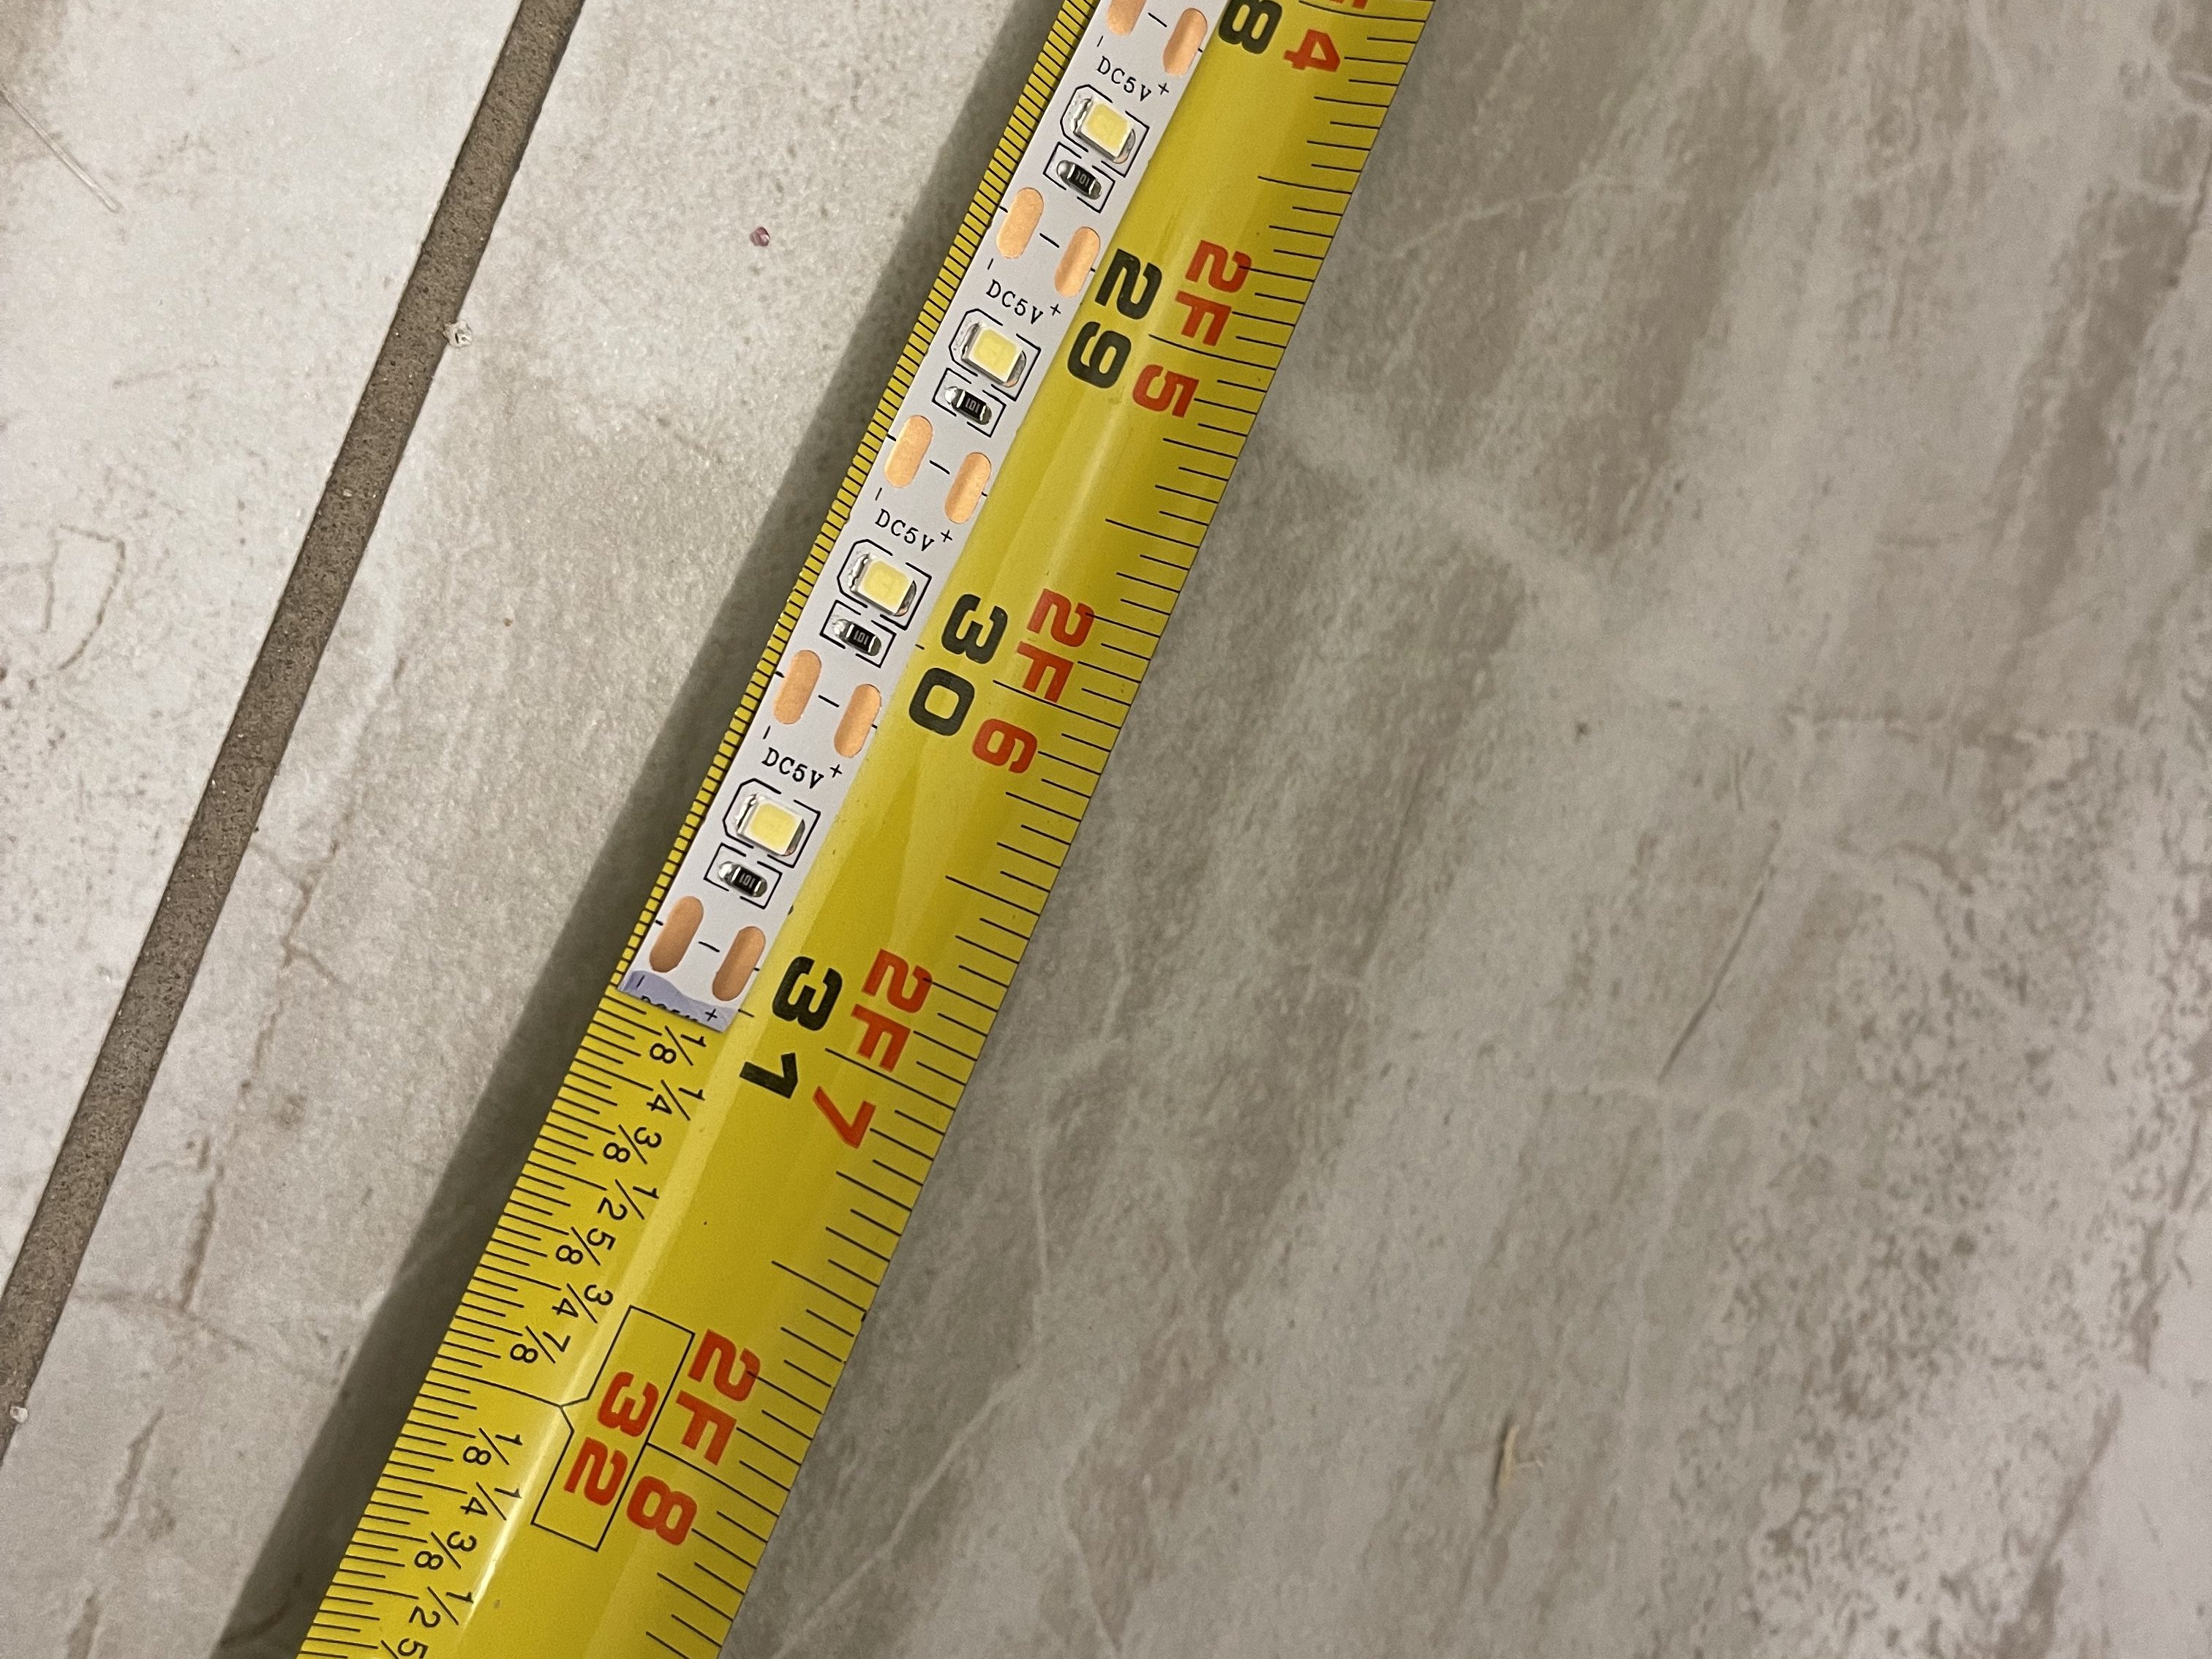
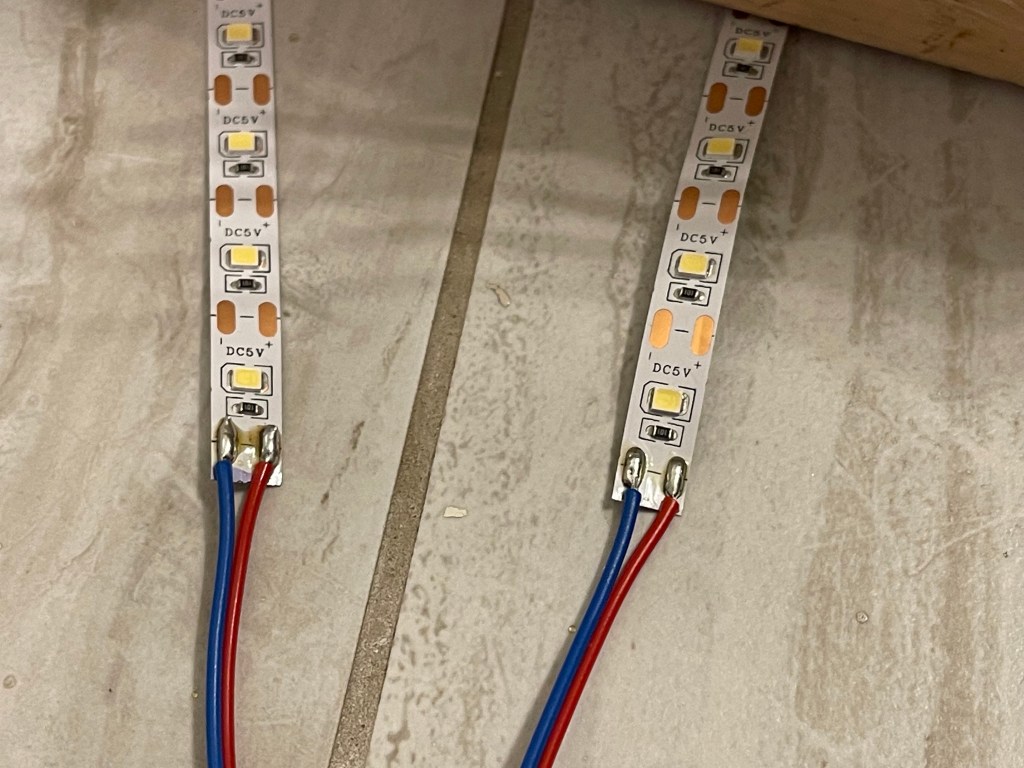
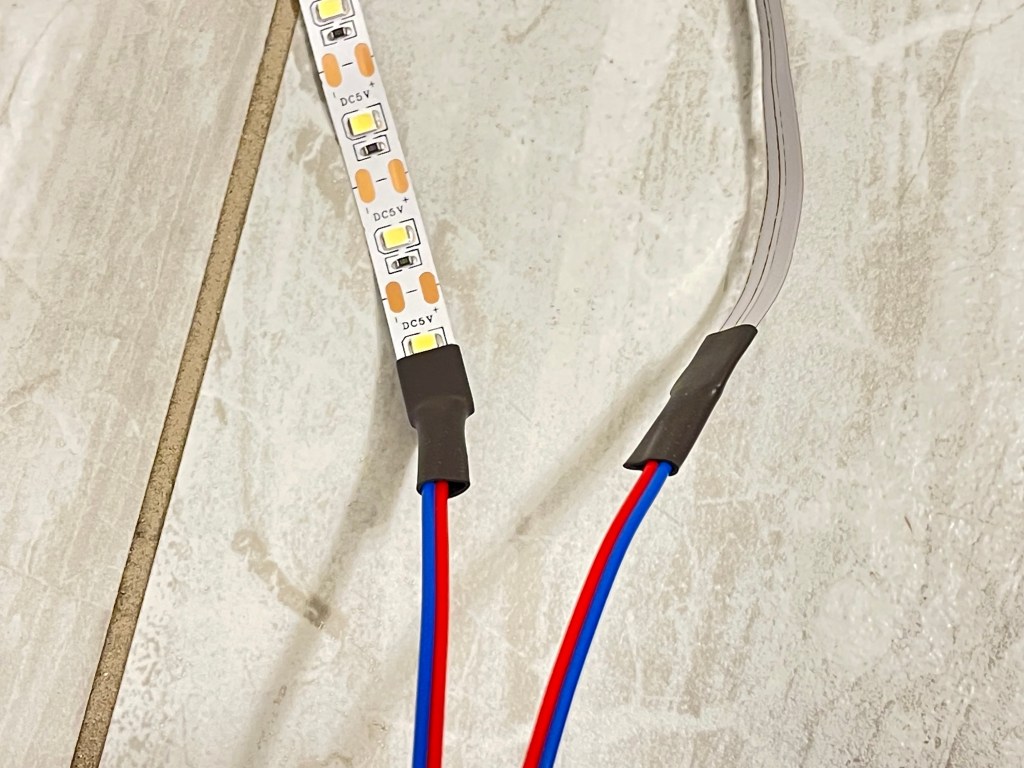
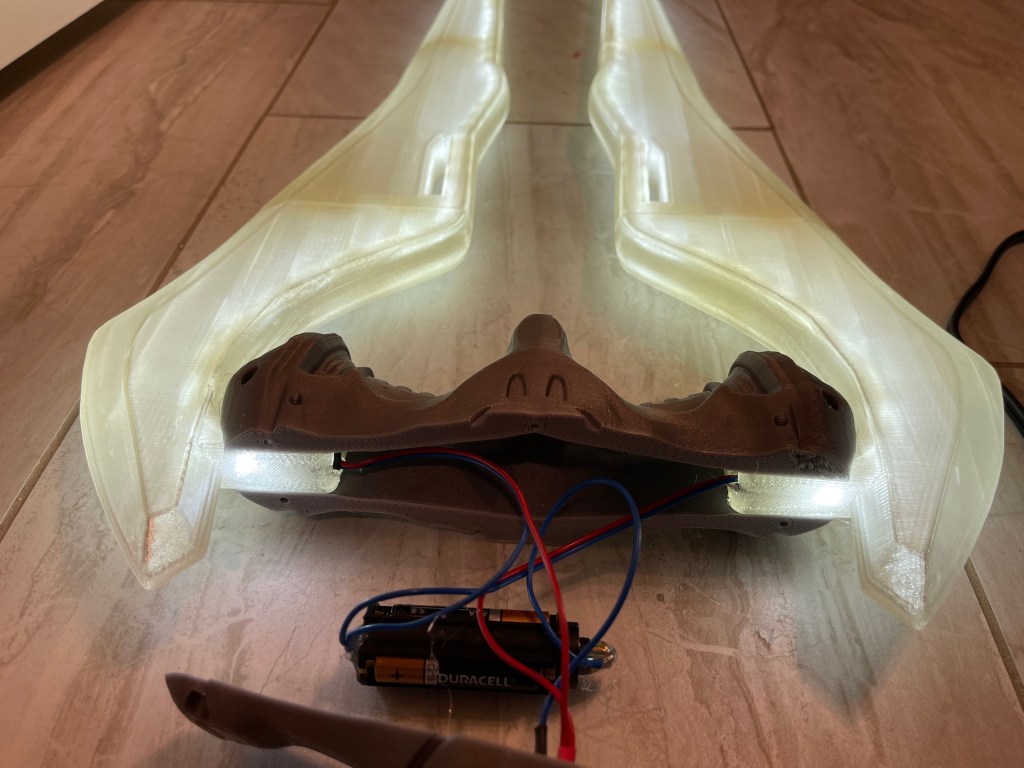
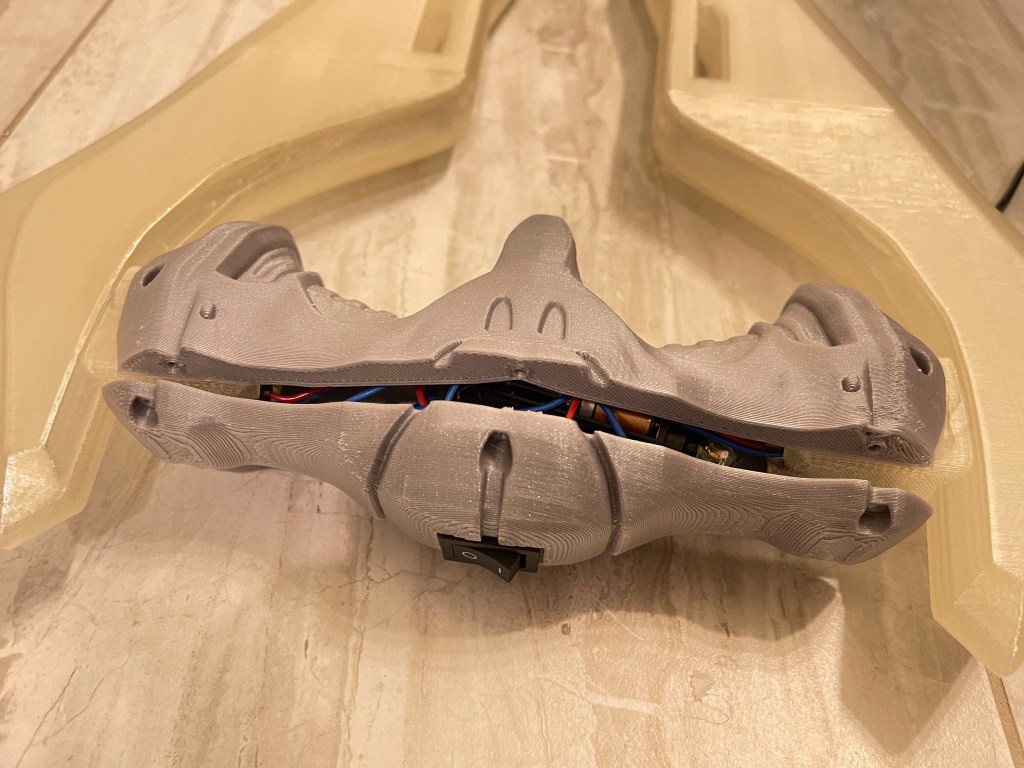
LEDs and Handle
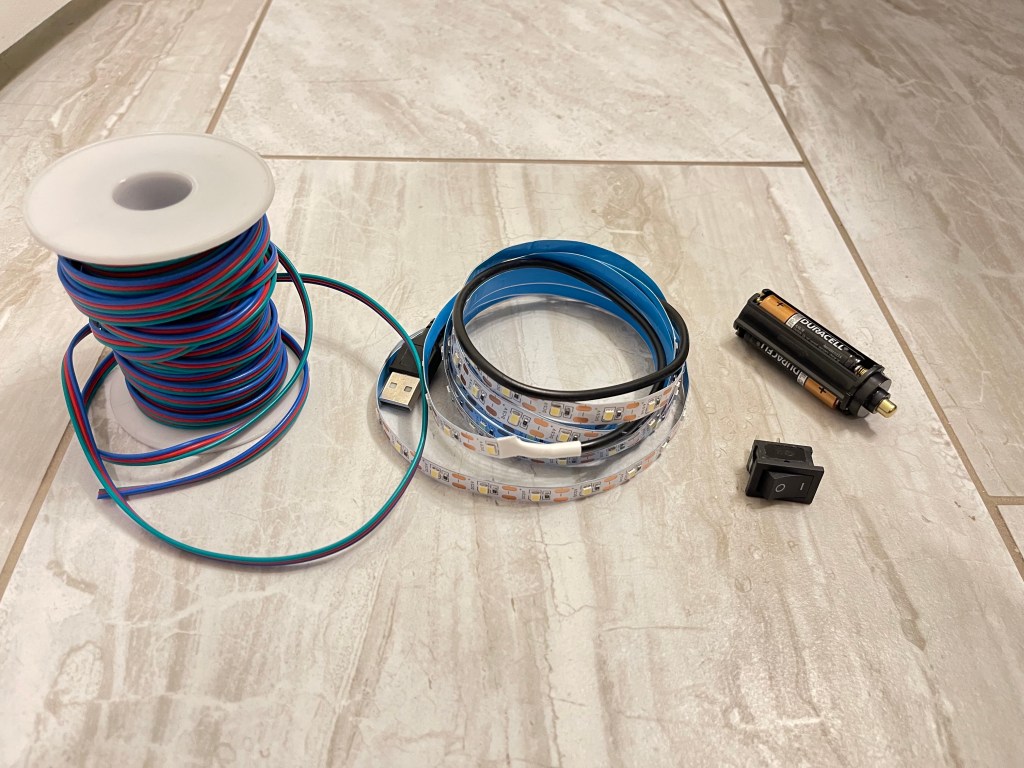
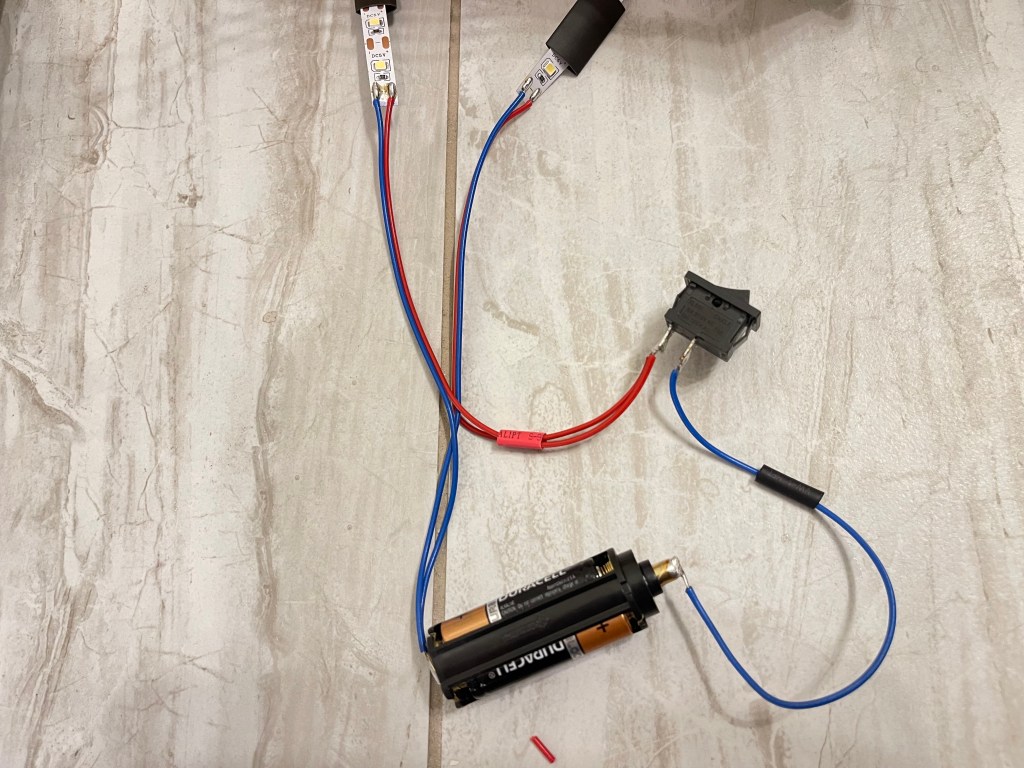
This sword is powered by an internal battery pack. Here are the items you will need:


NEW -> CyberForge Shop
• • • • • • • Solder Assembly Instructions • • • • • • •
This sword is powered by an internal battery pack. Here are the items you will need:
