Halo Sword – External Power
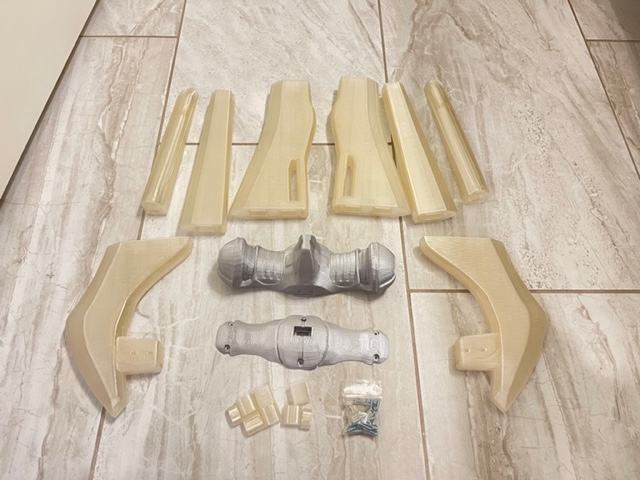
• • • • • • • No Solder Assembly Instructions • • • • • • •
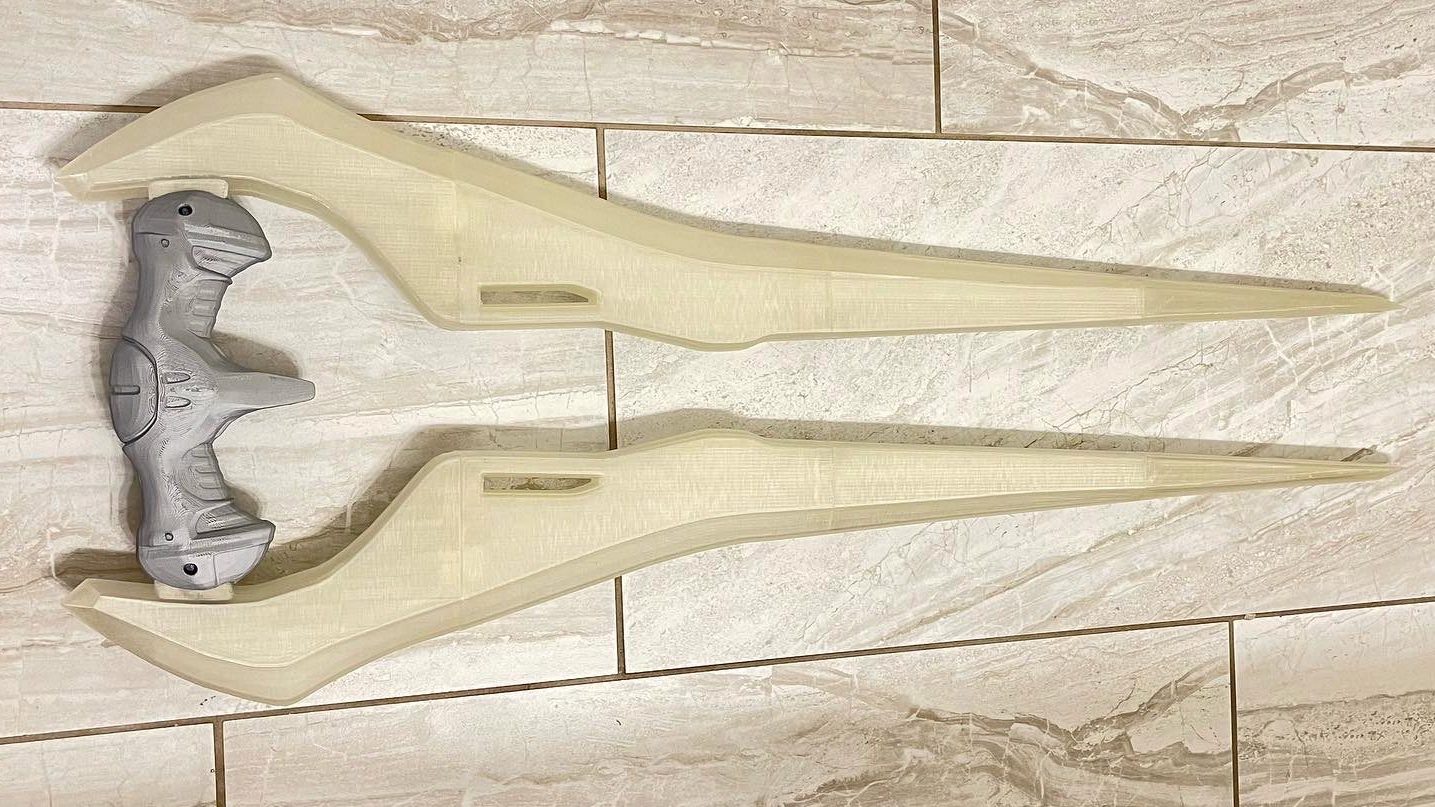
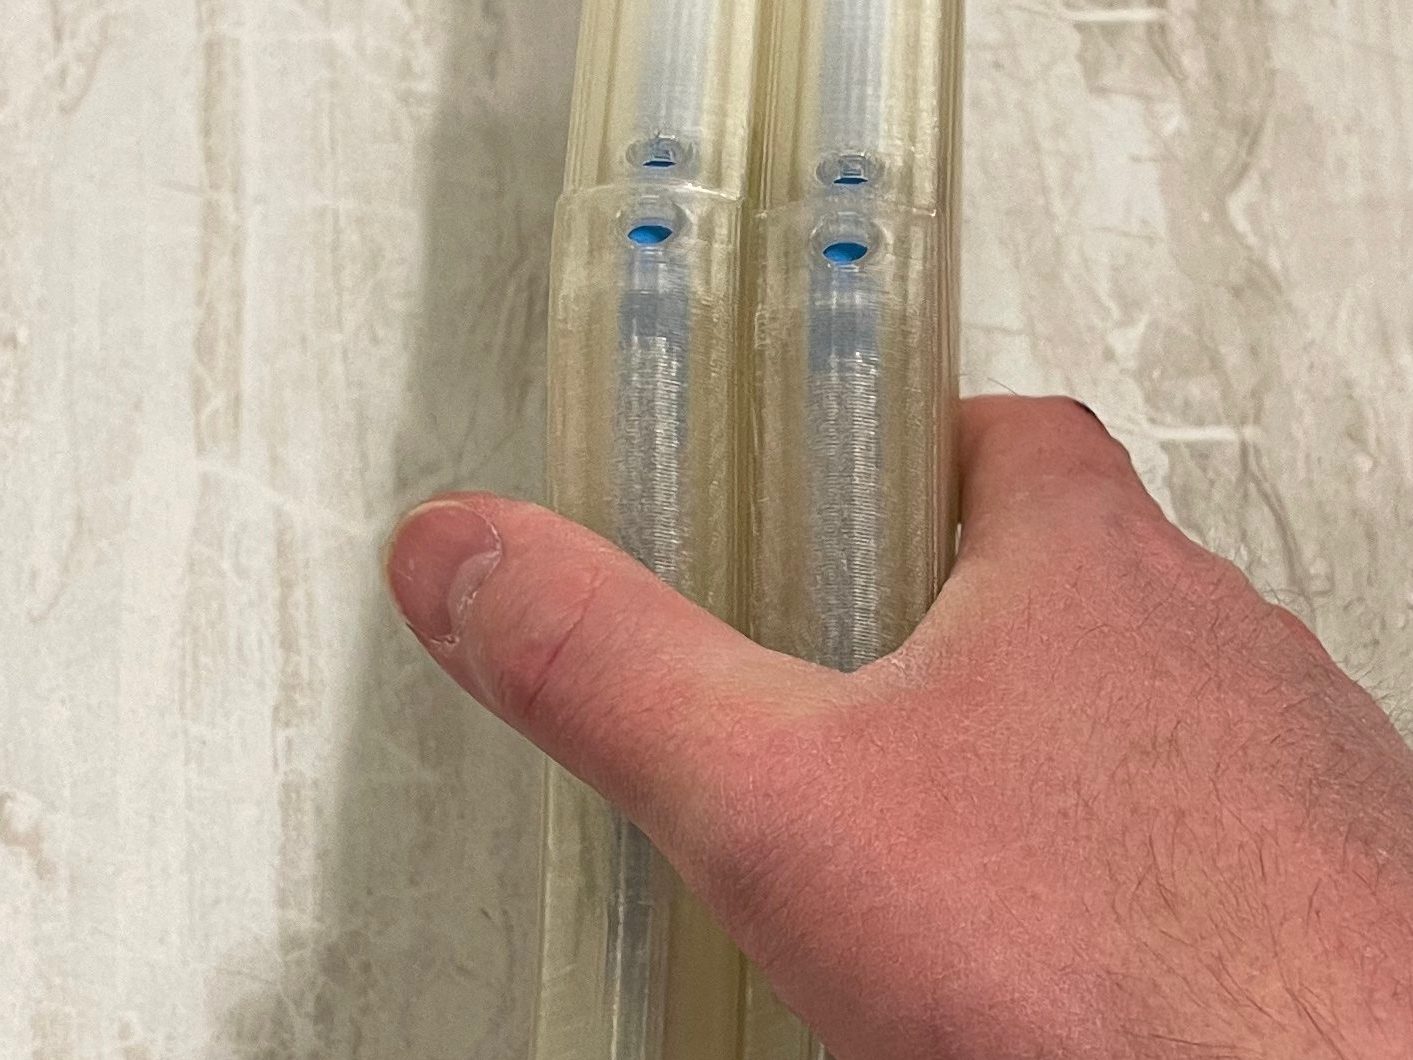
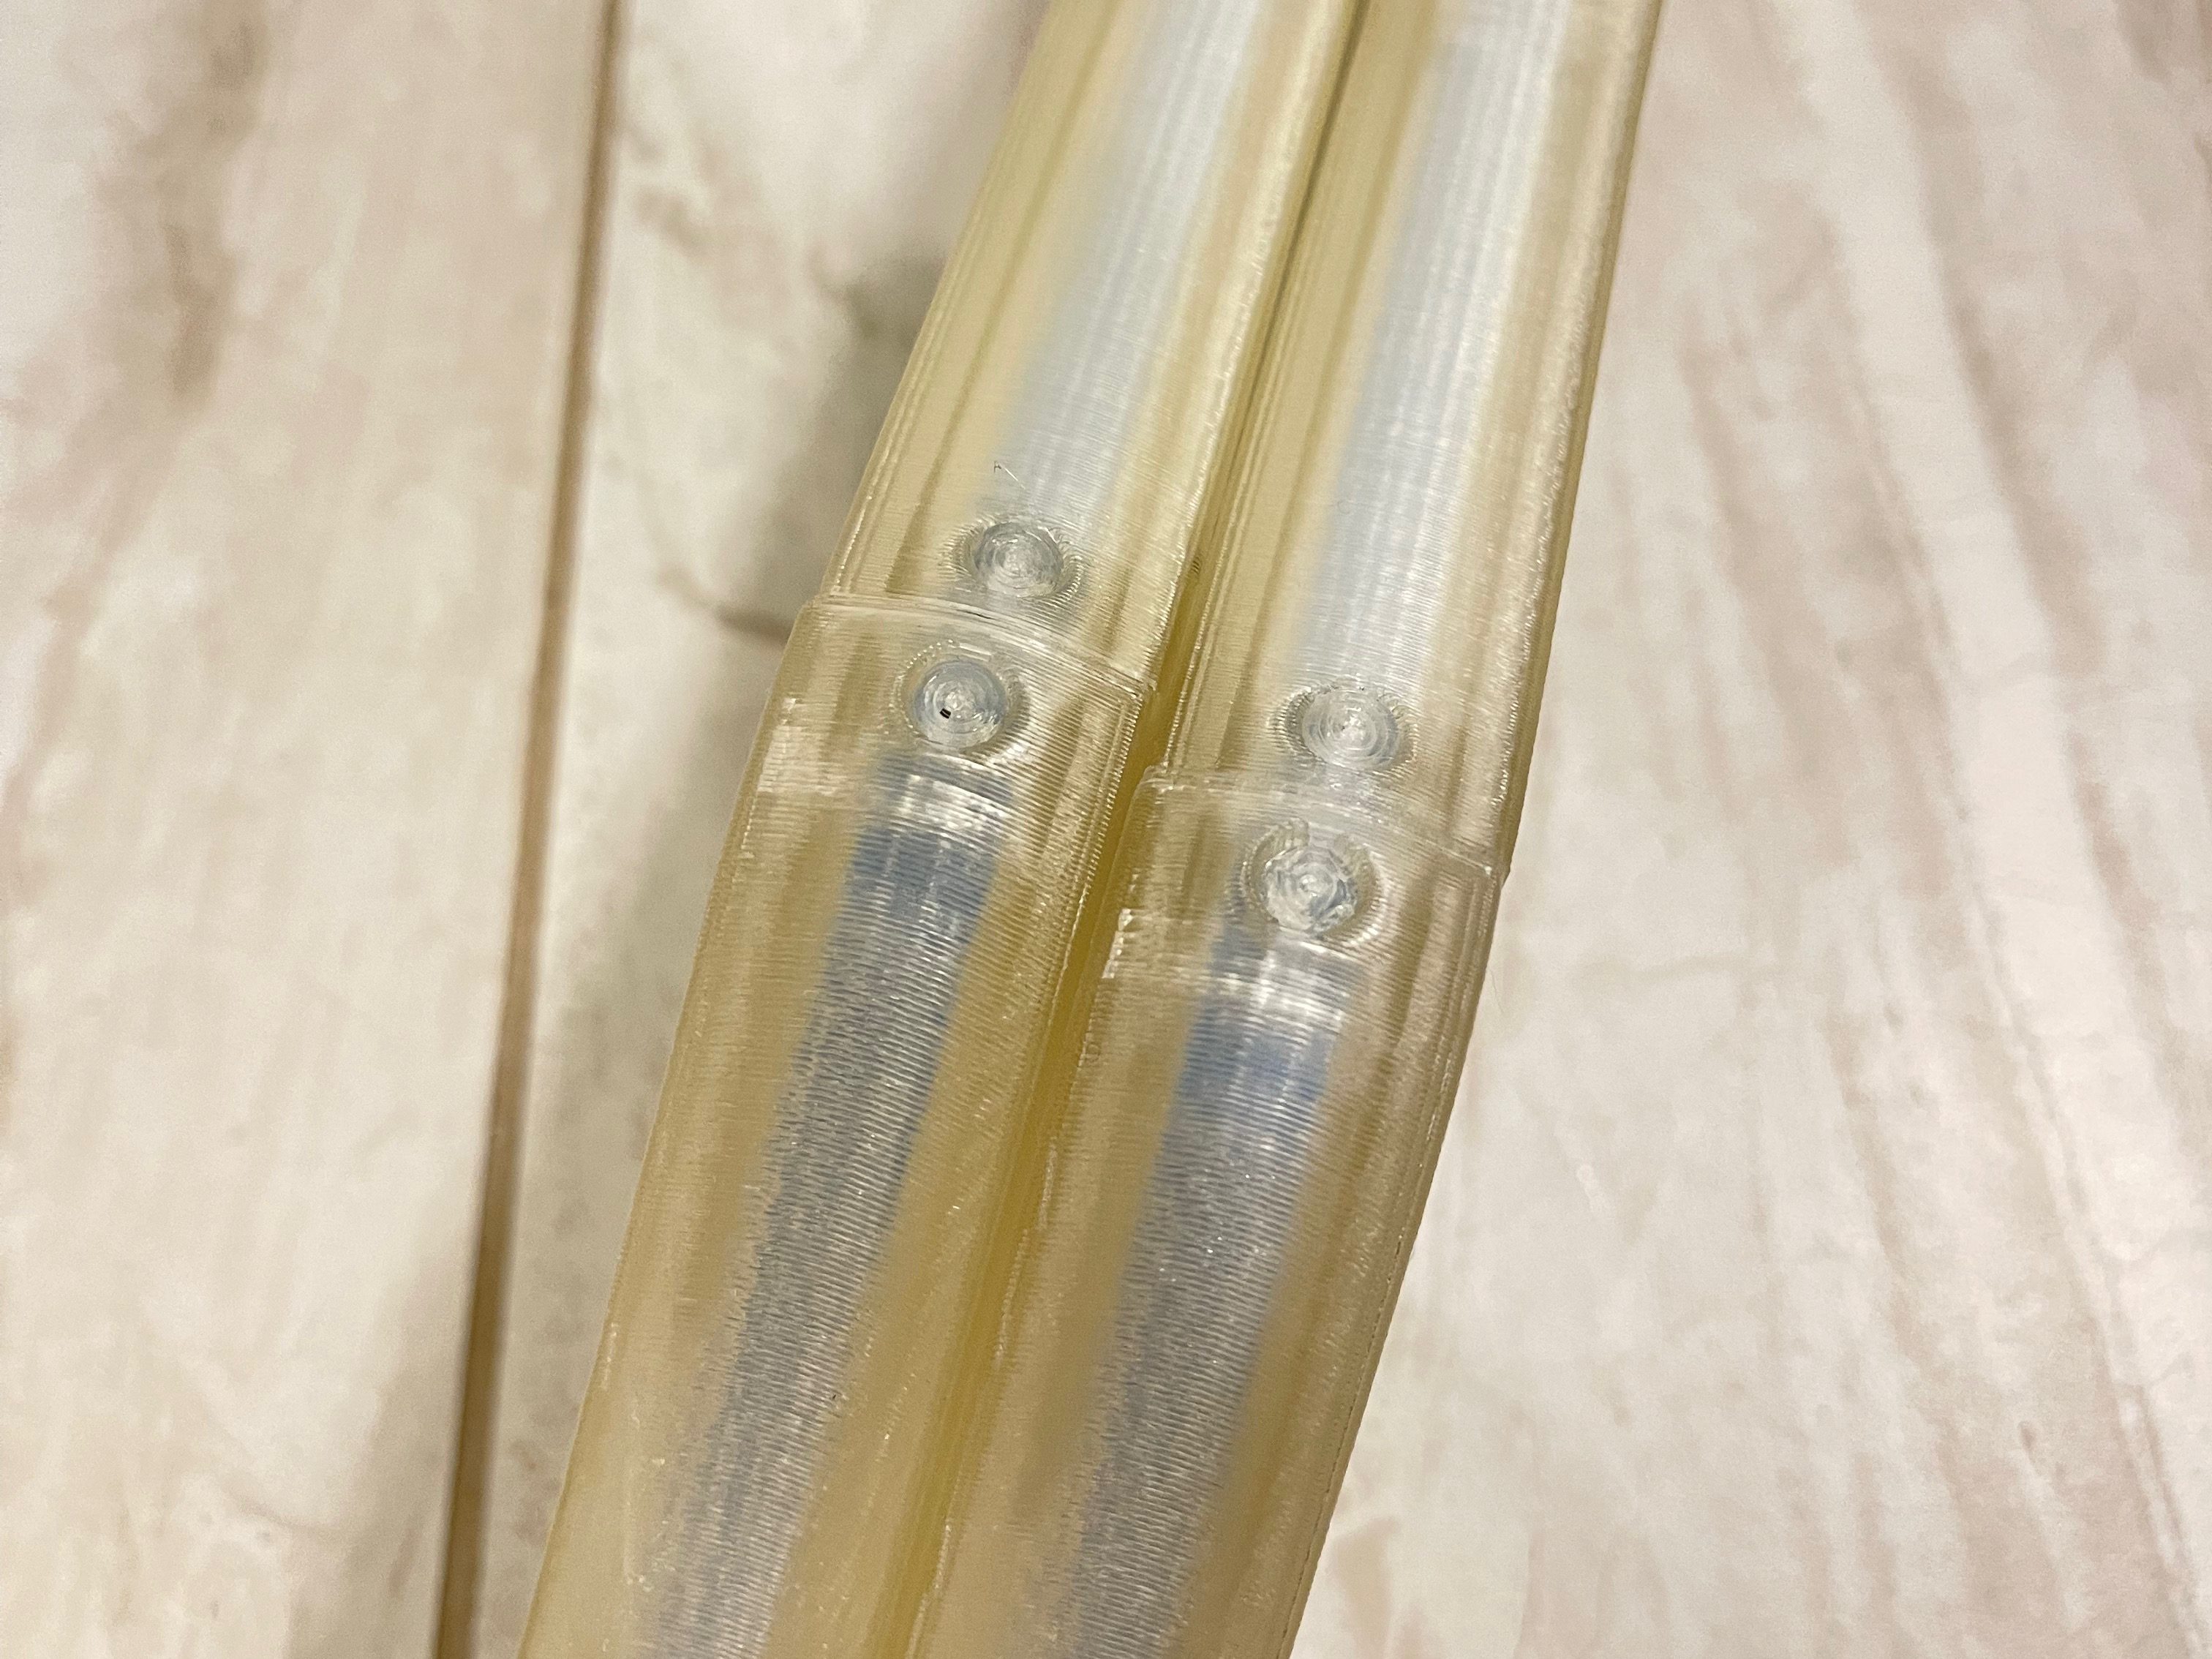
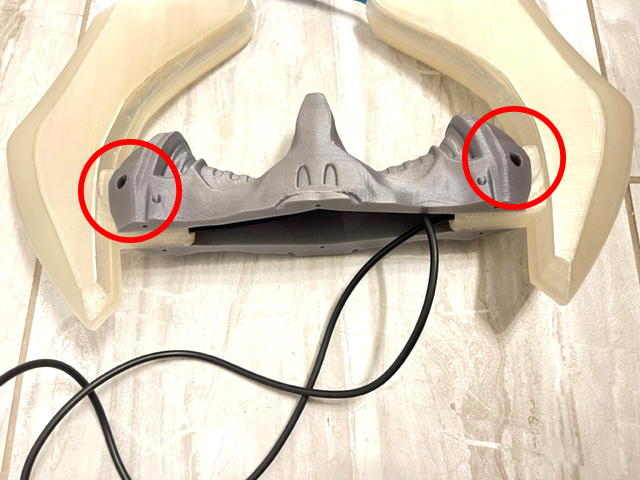
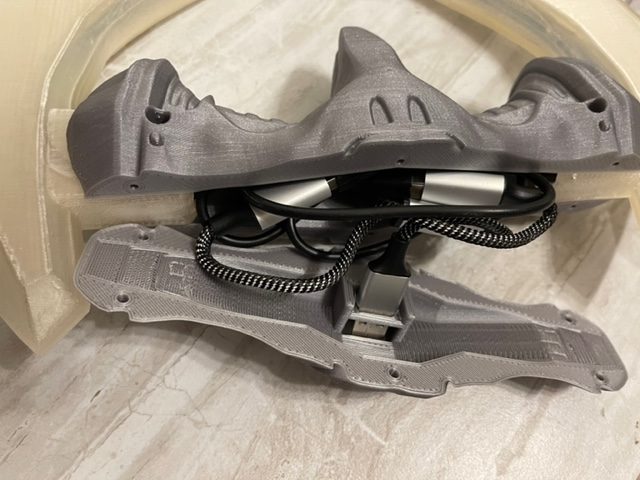
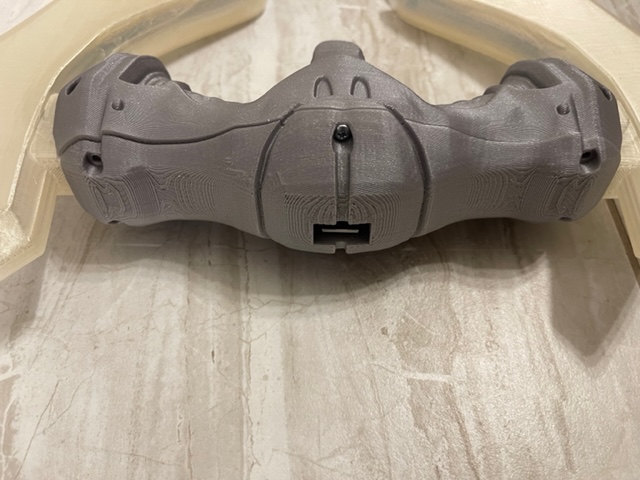
Blade Assembly


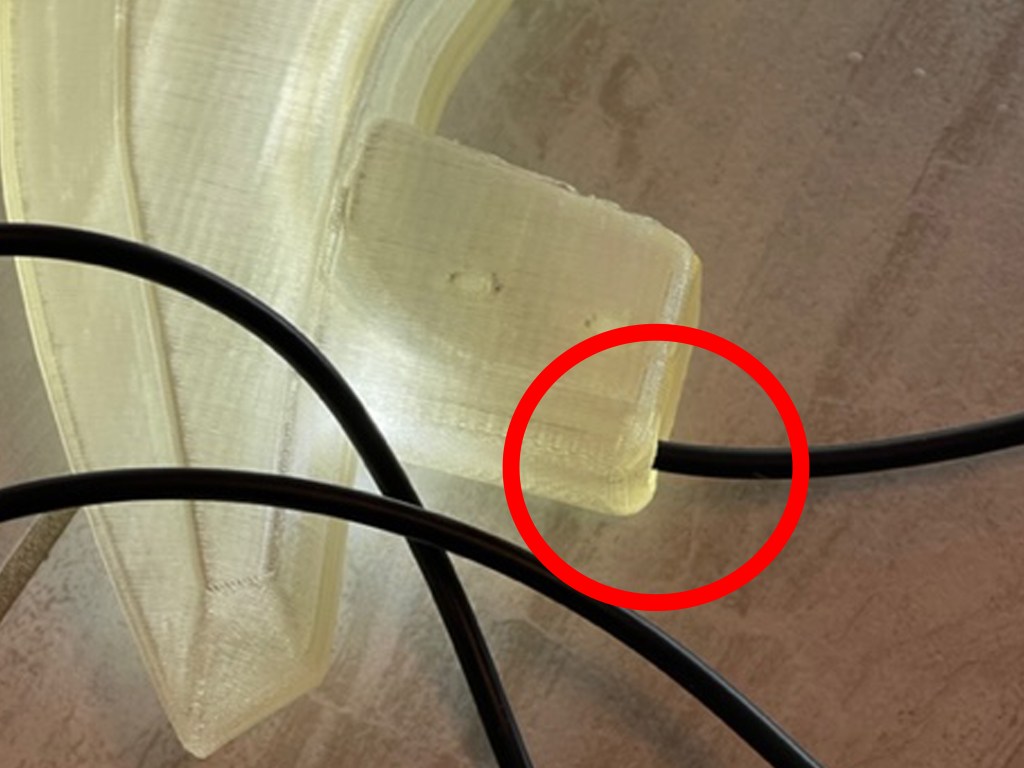
LEDs and Handle
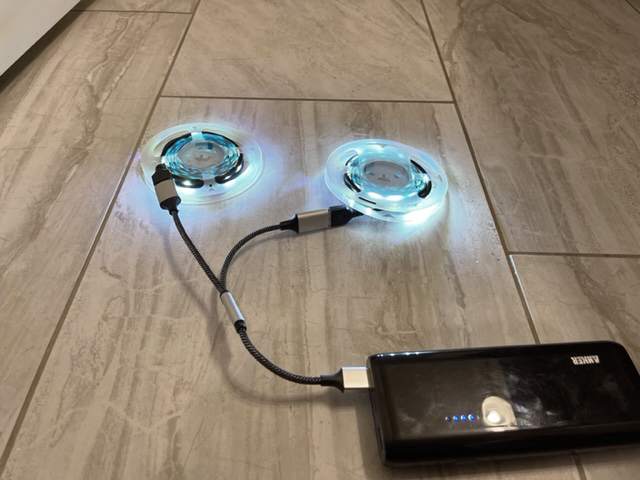
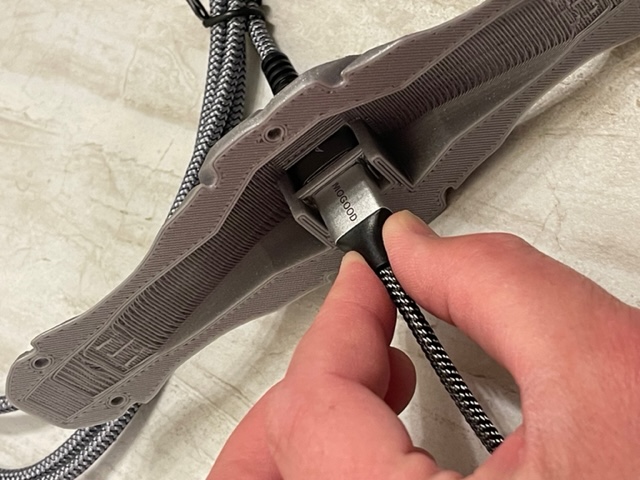
This sword is powered by an external battery pack that you can put in your pocket and plug into the sword. Here are the items you will need: