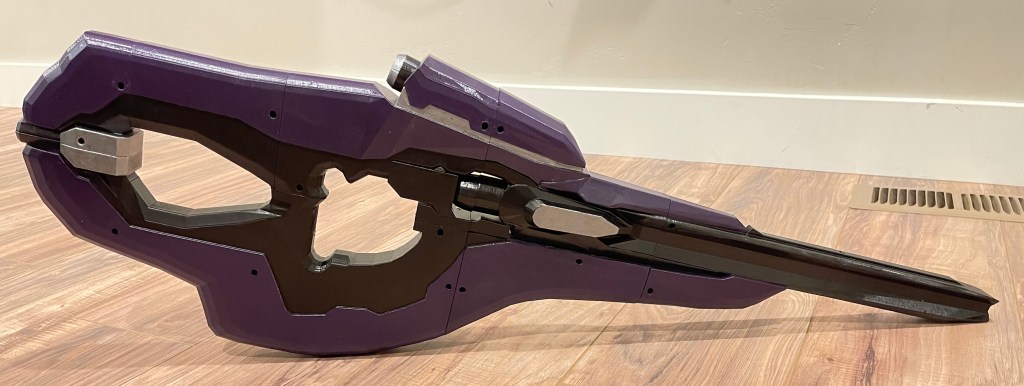
Halo Carbine

• • • • • • • Assembly Instructions • • • • • • •
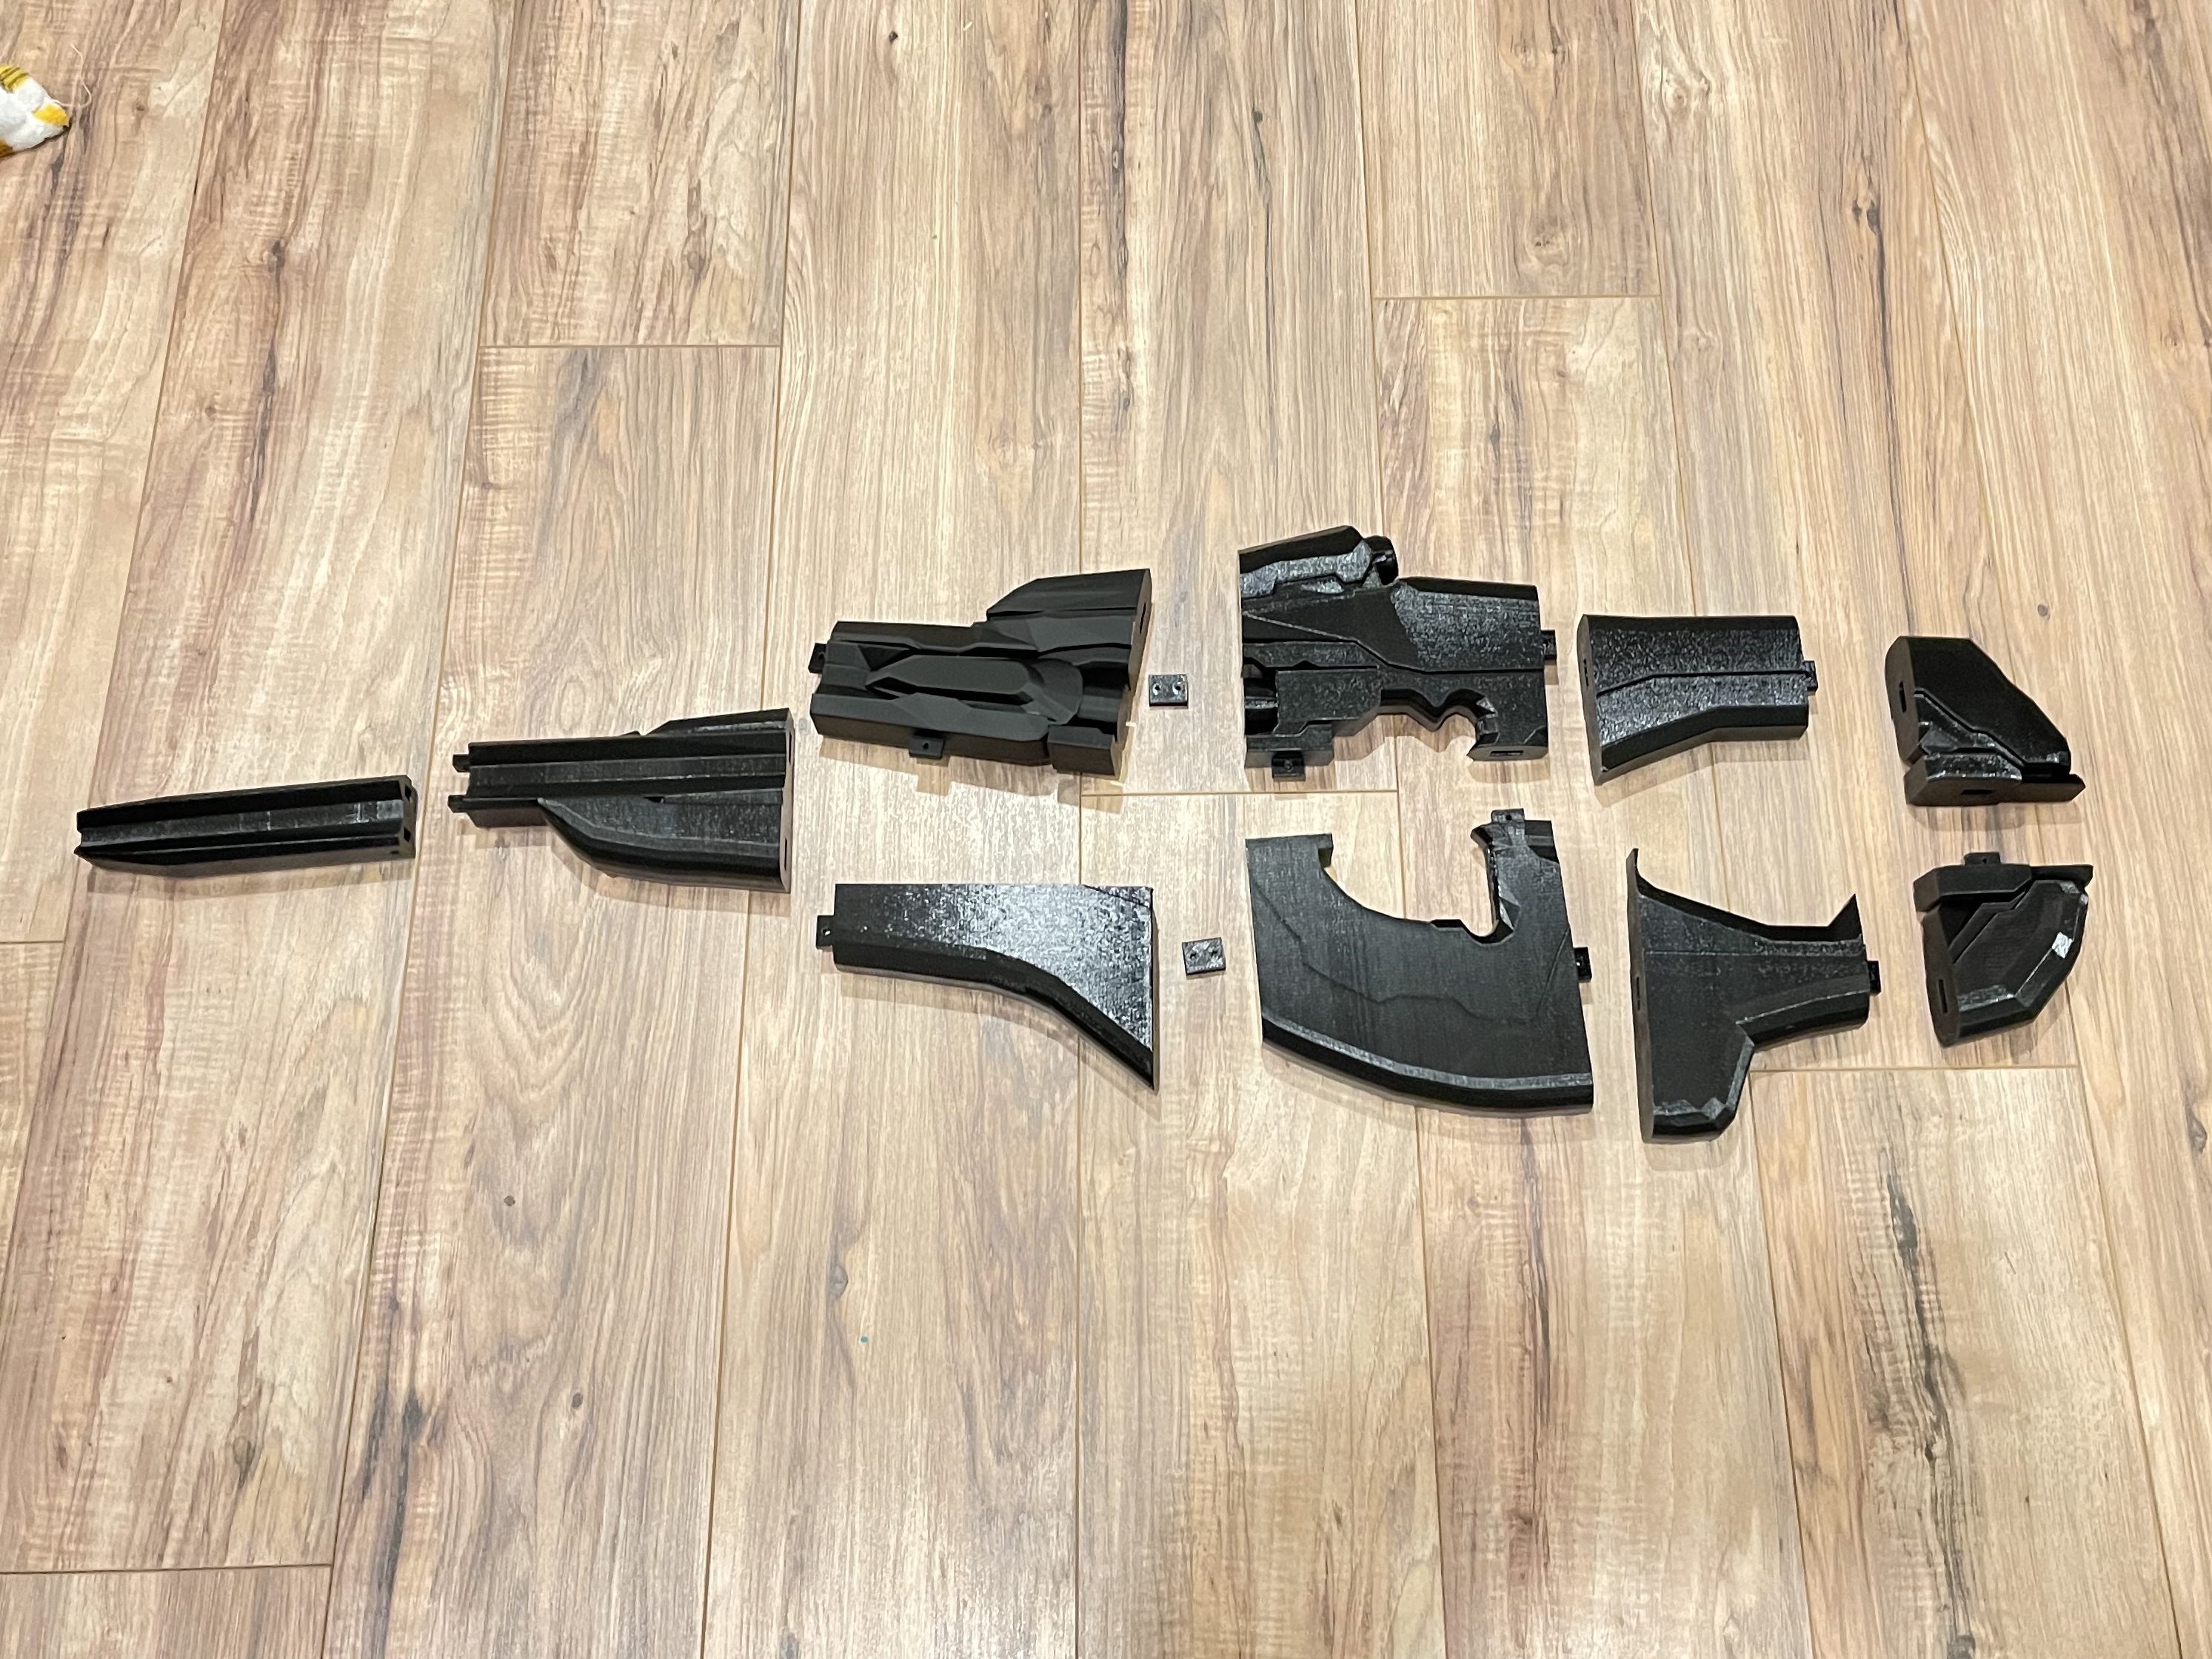
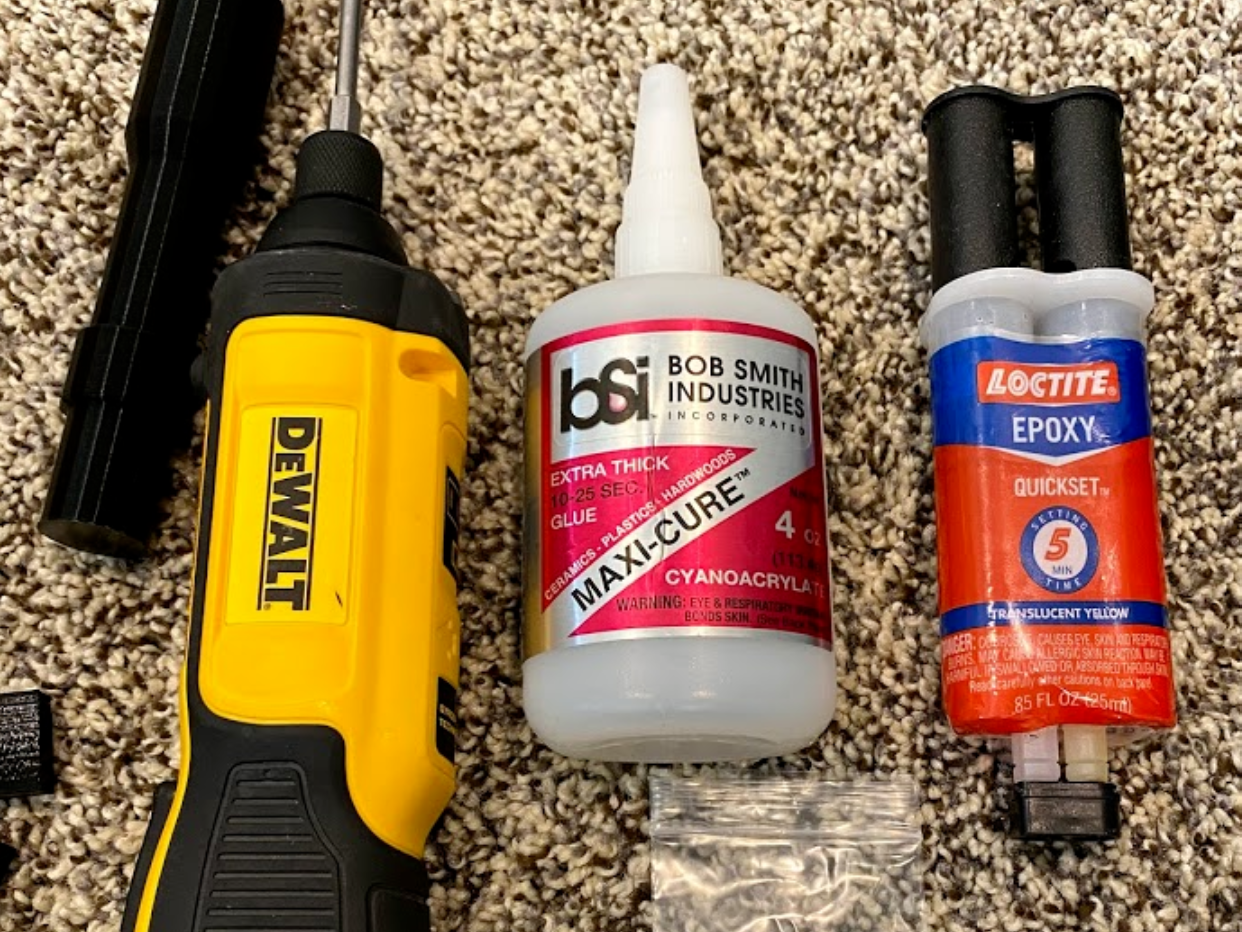
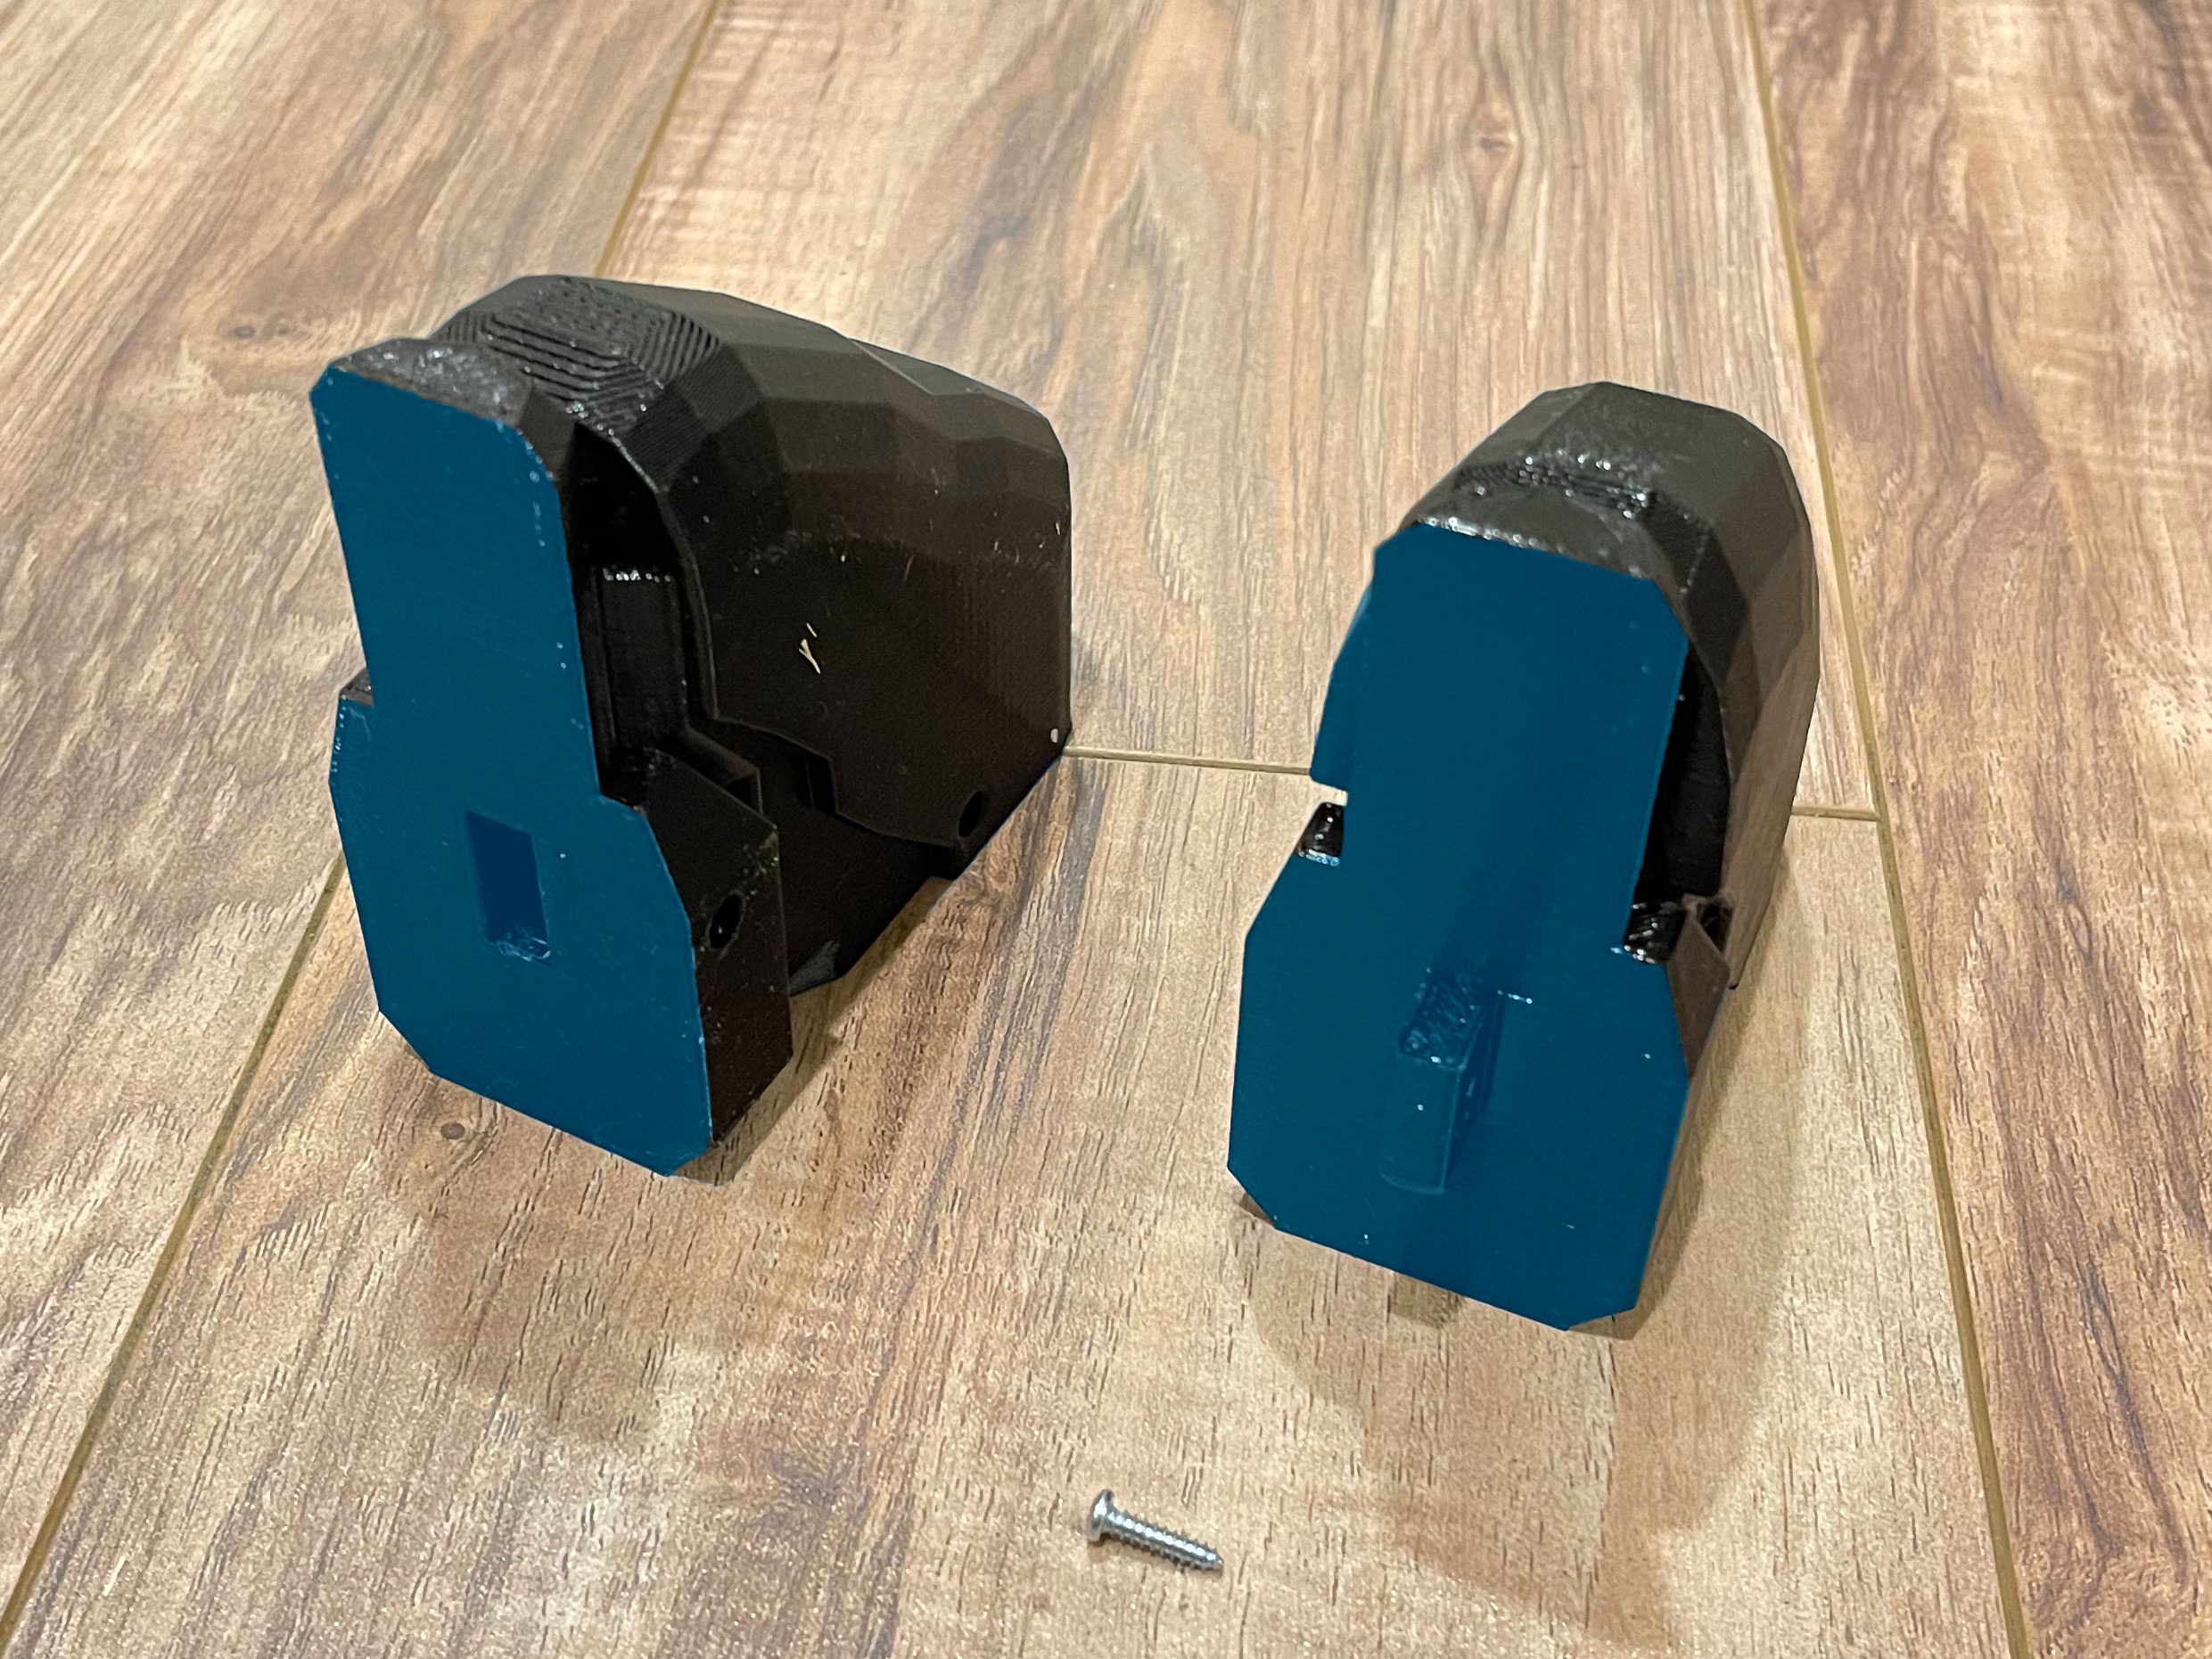
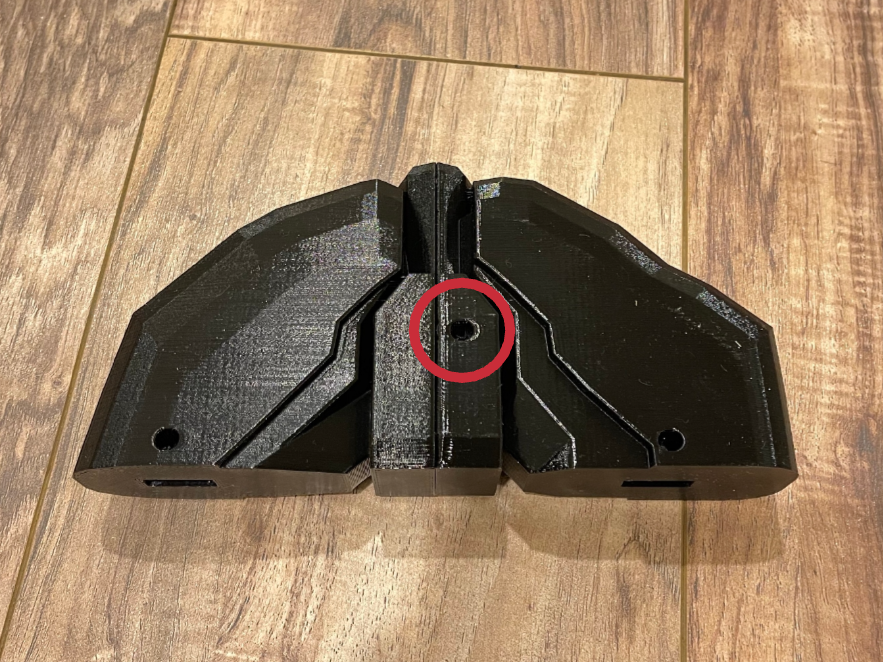
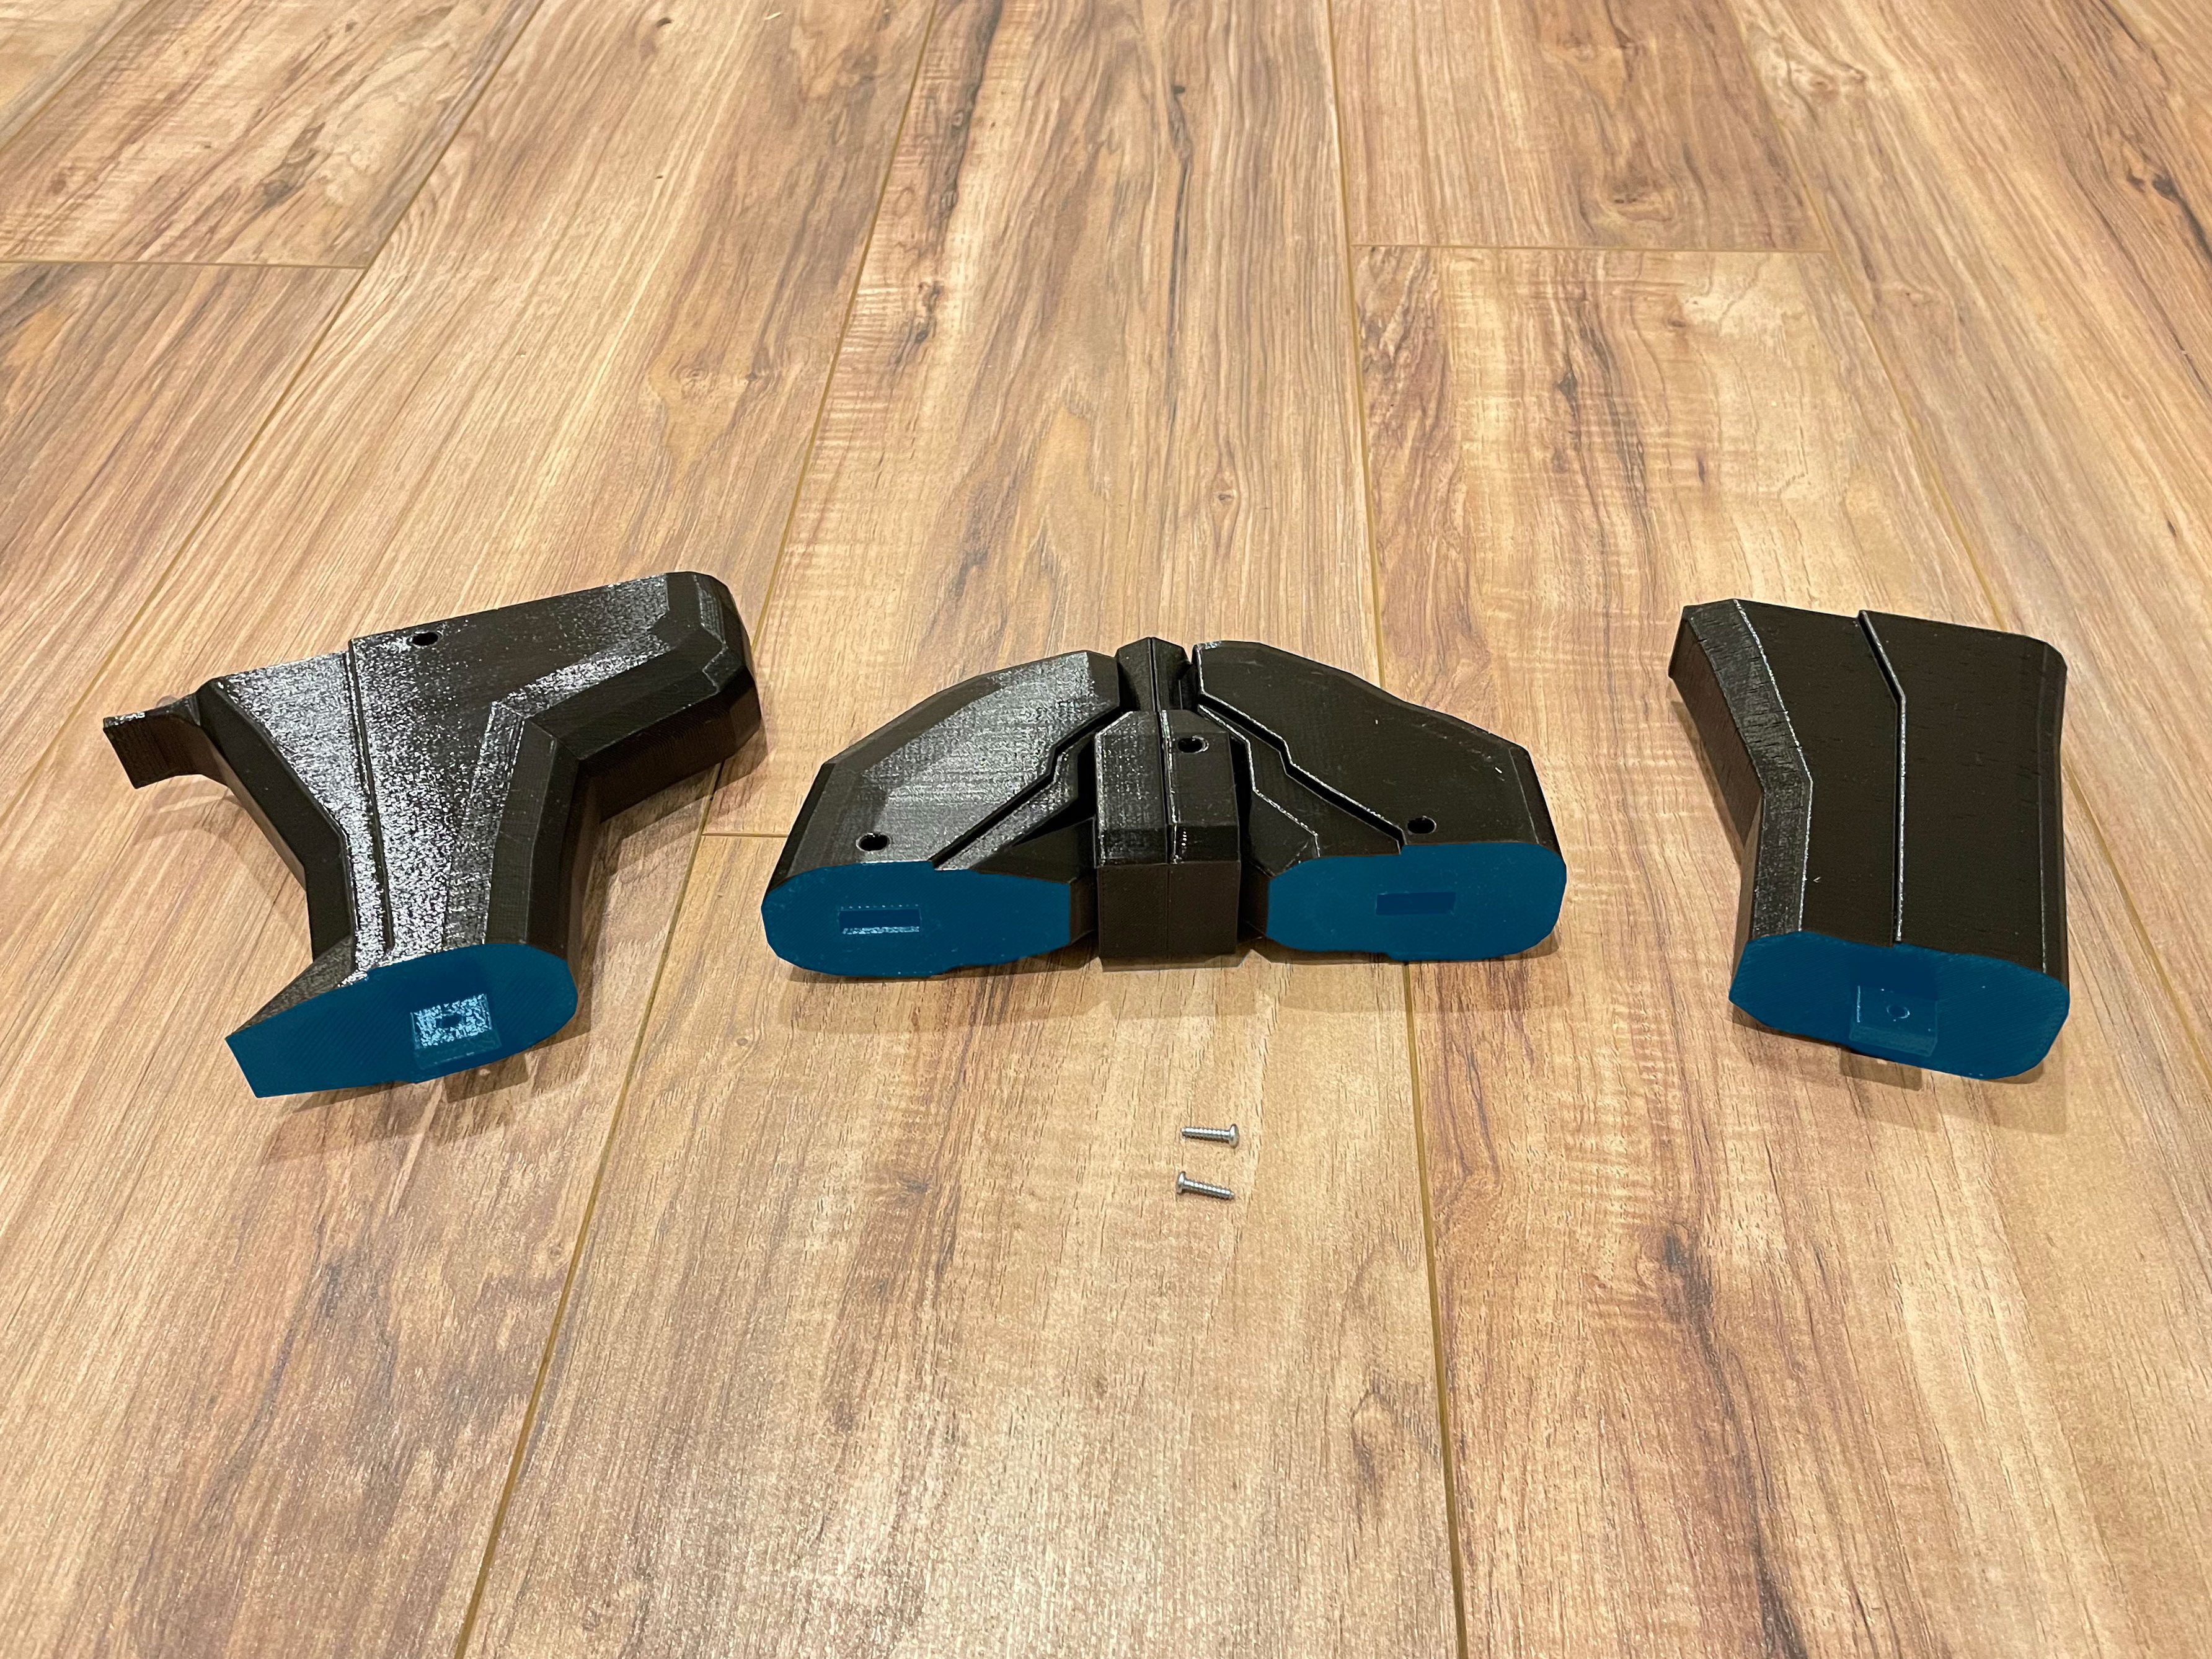
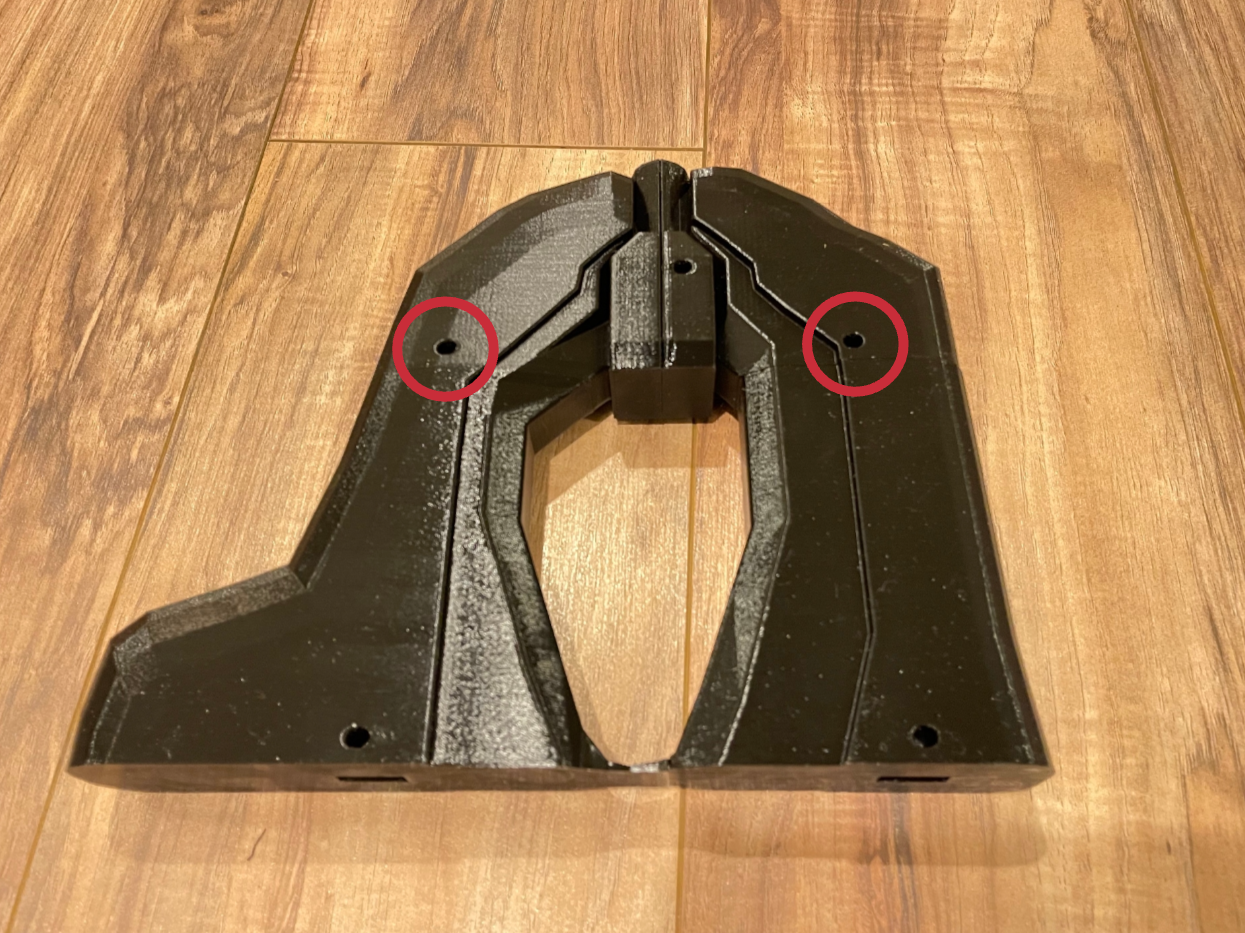
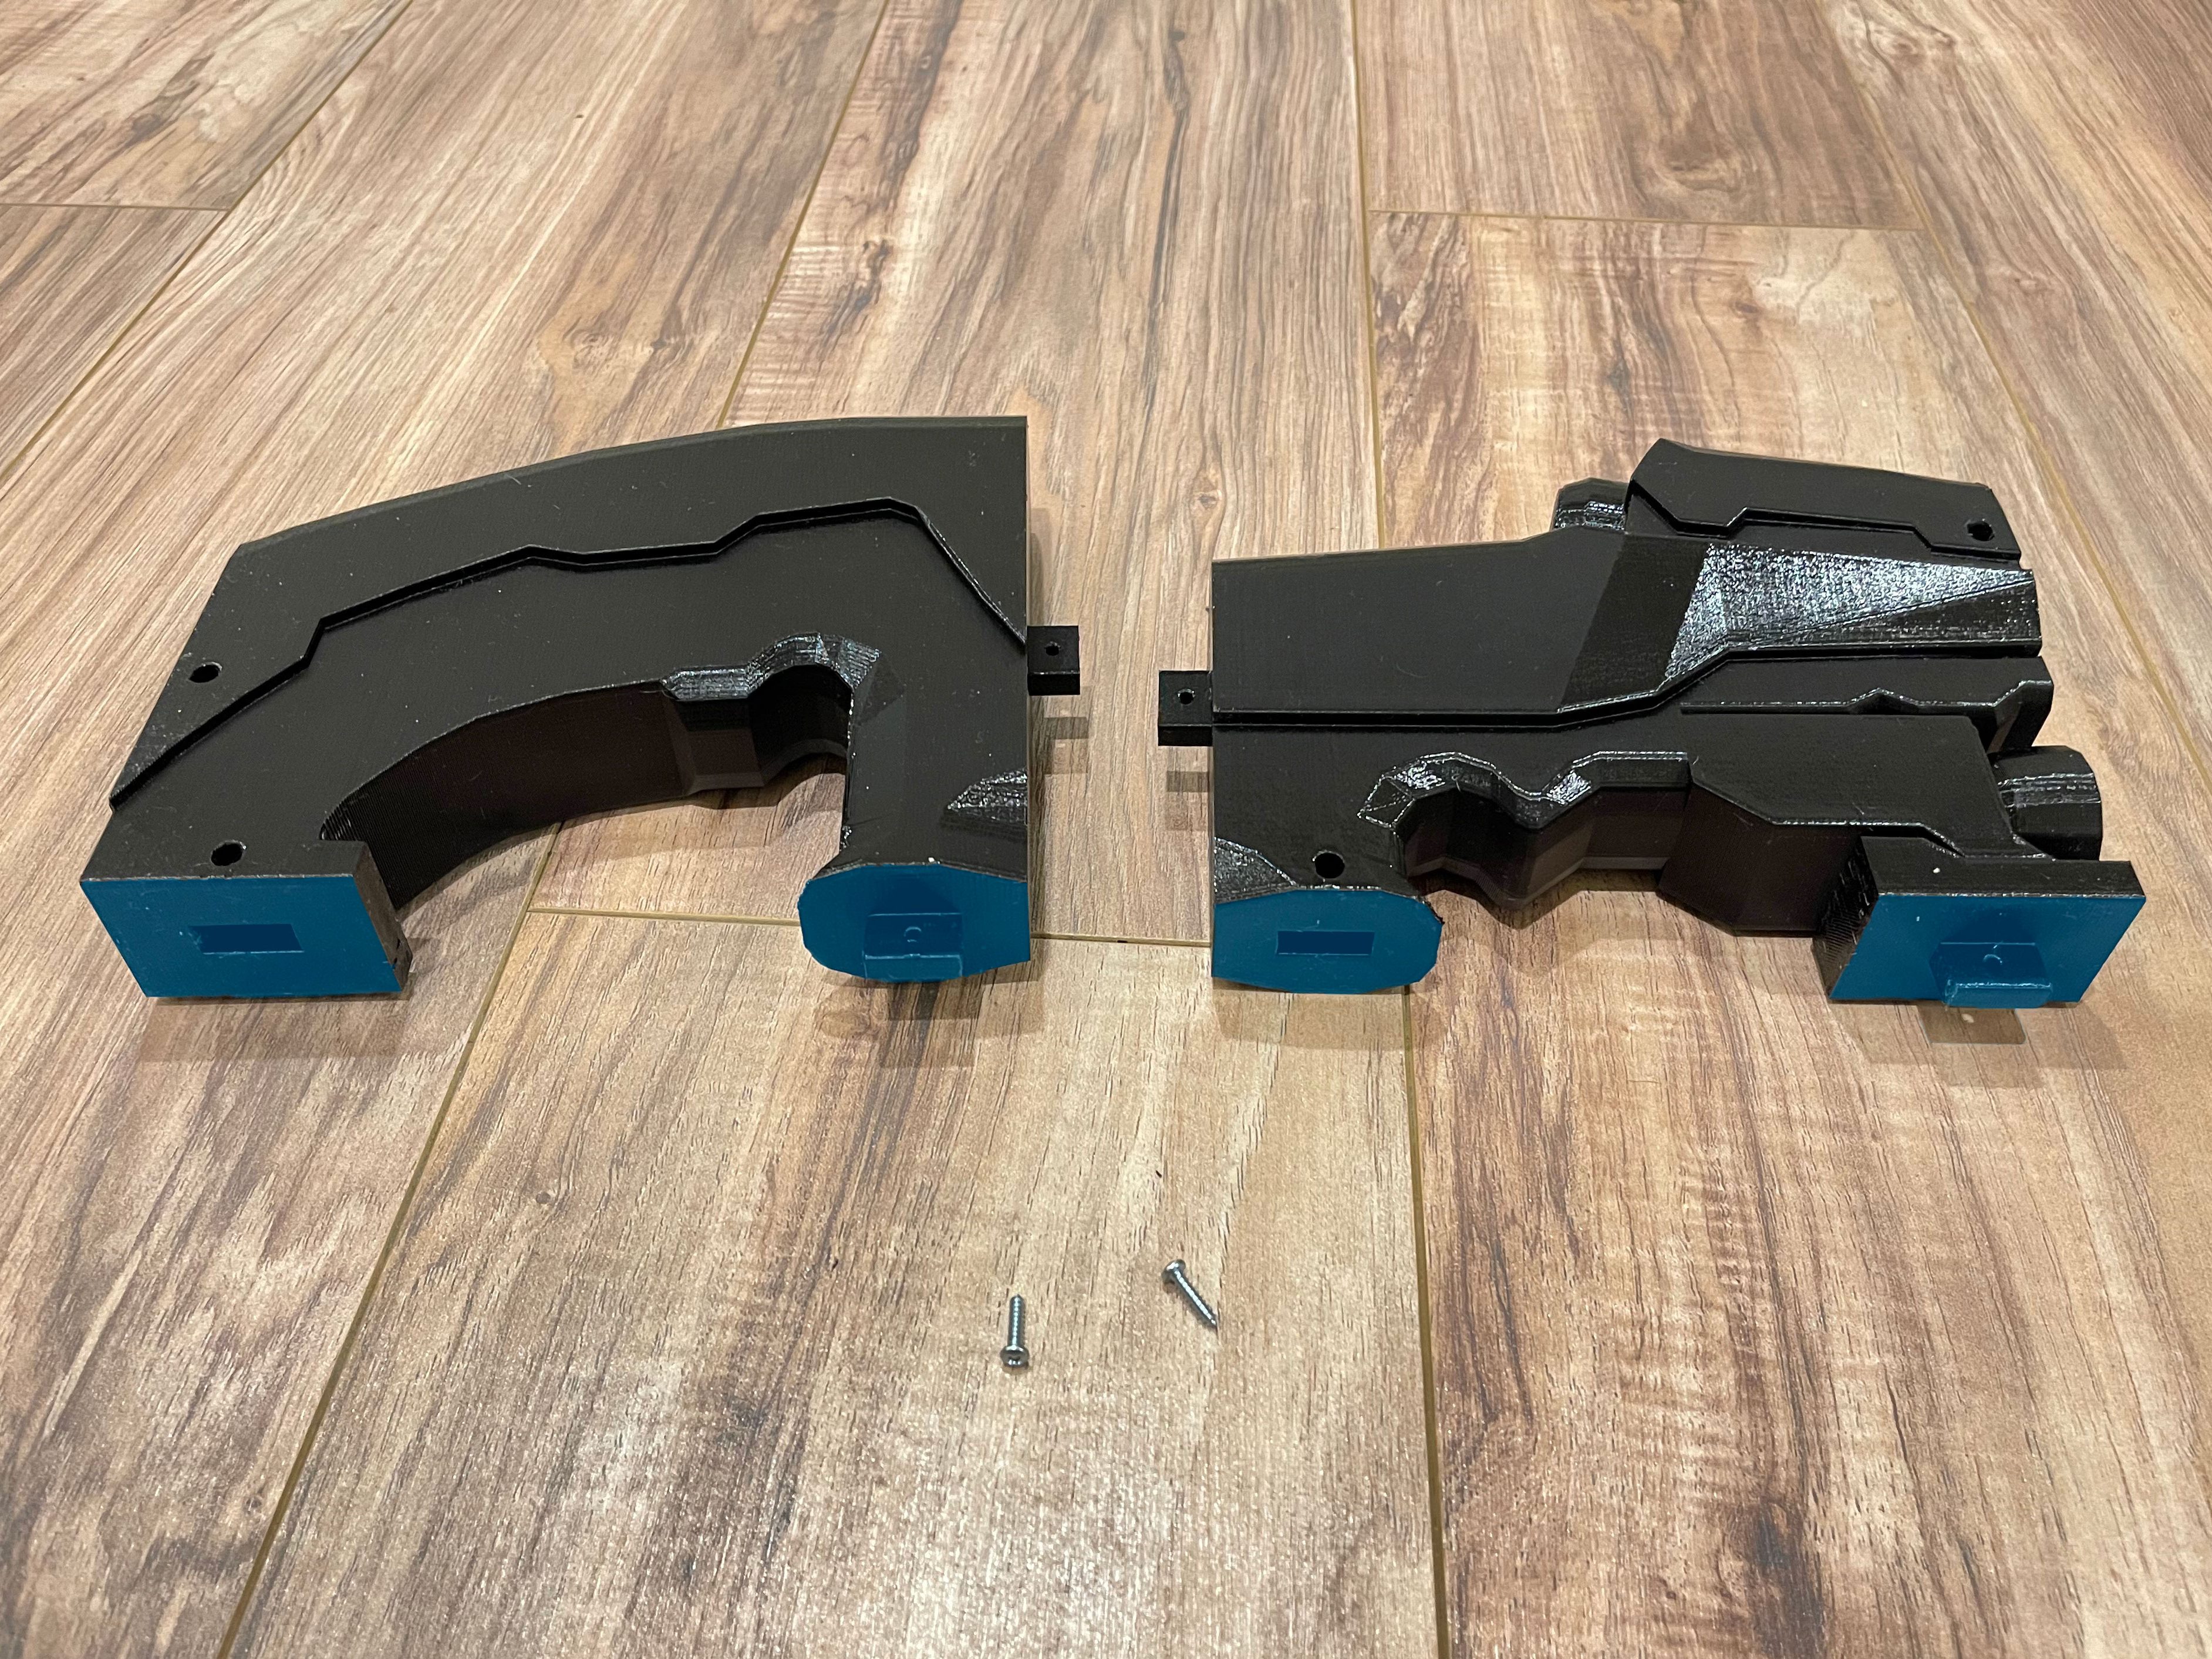
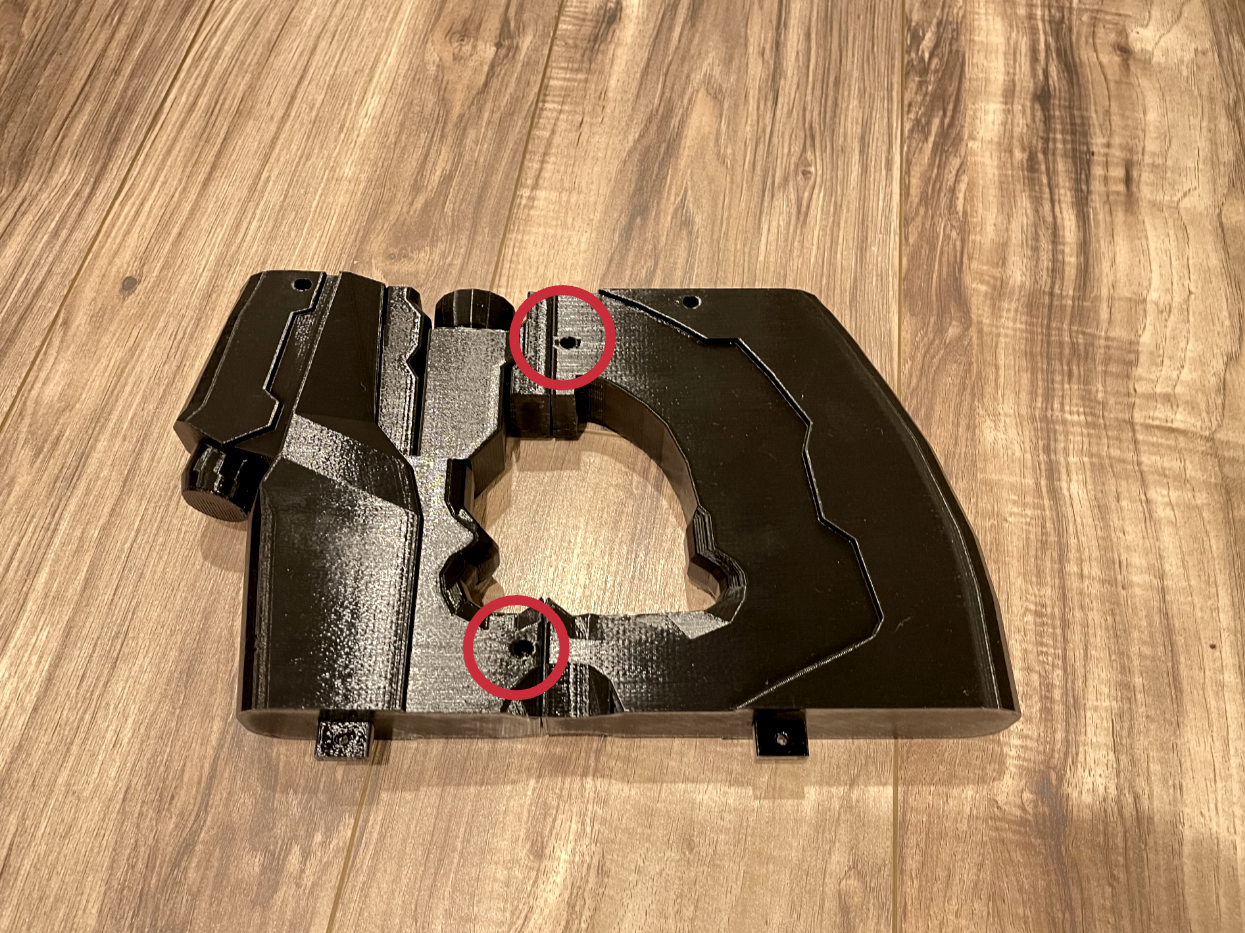
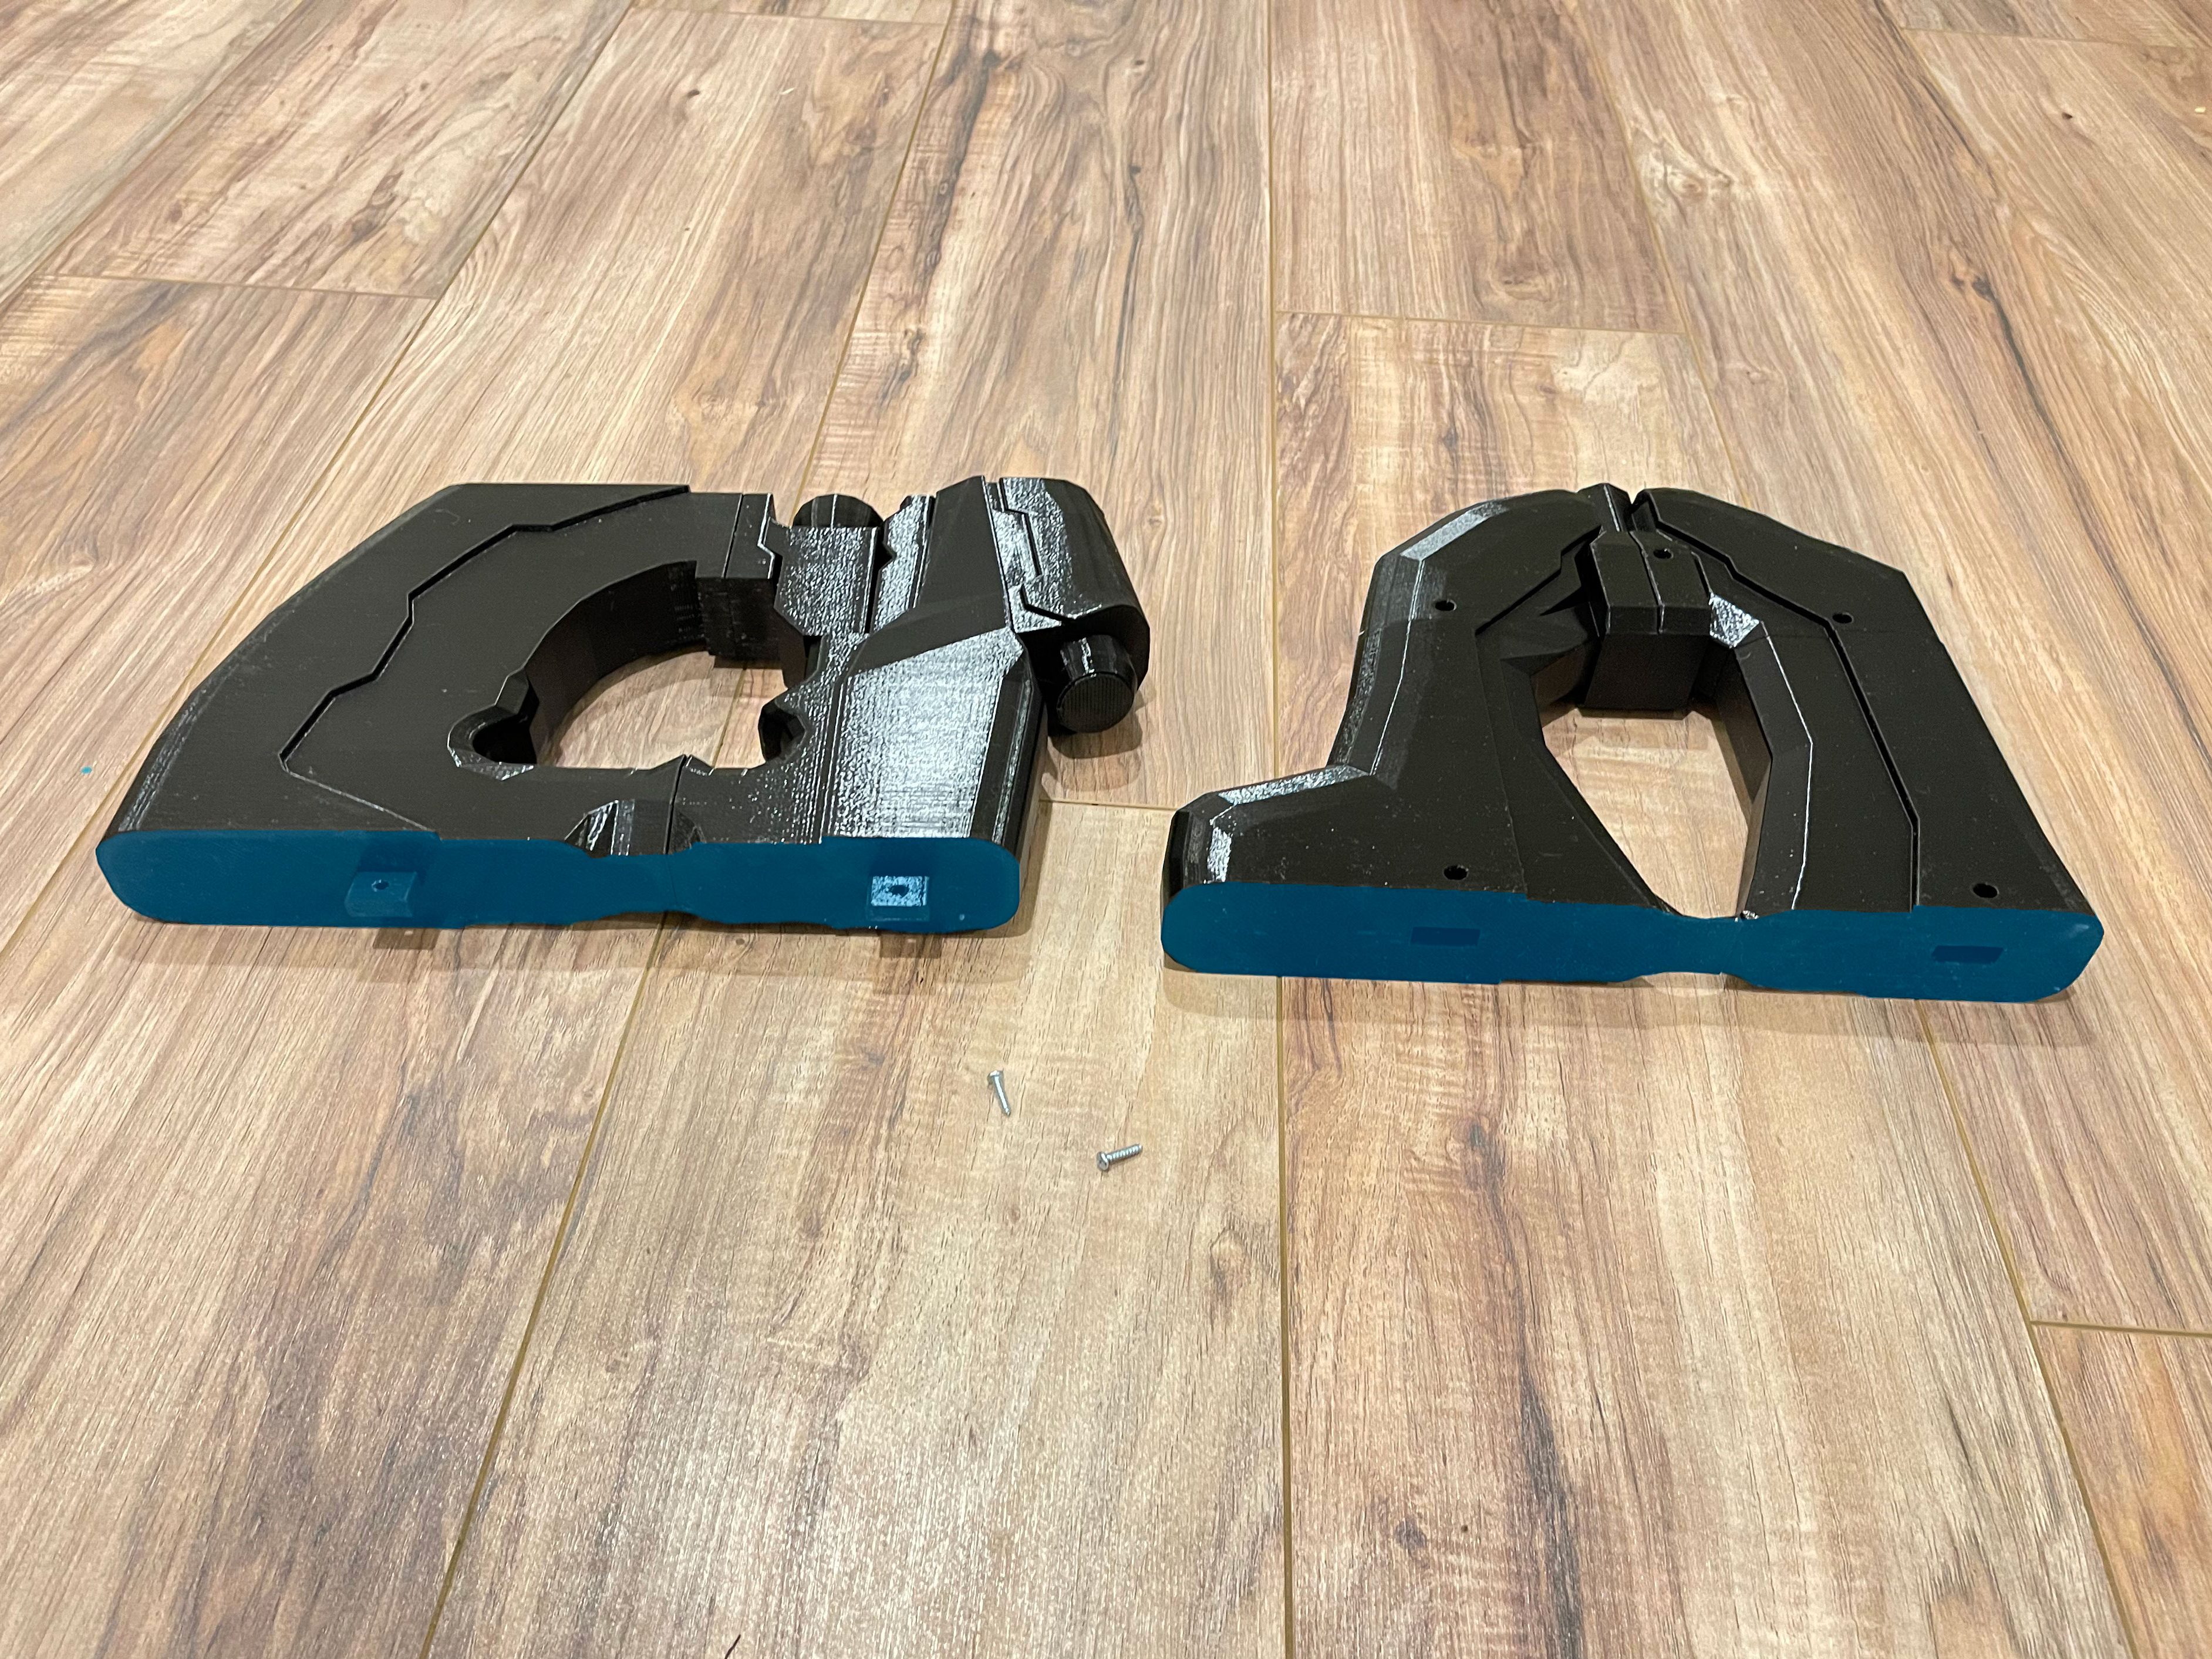
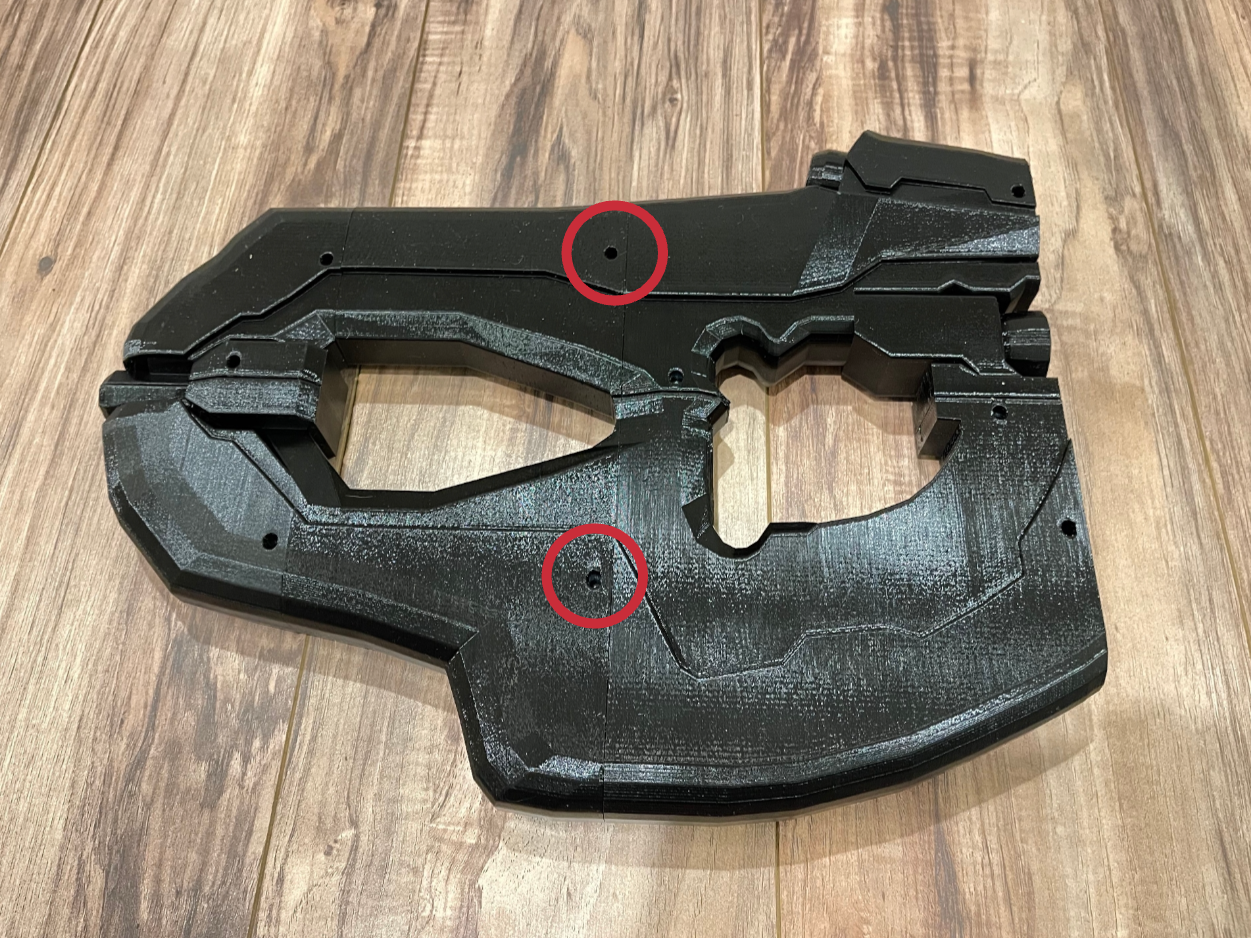
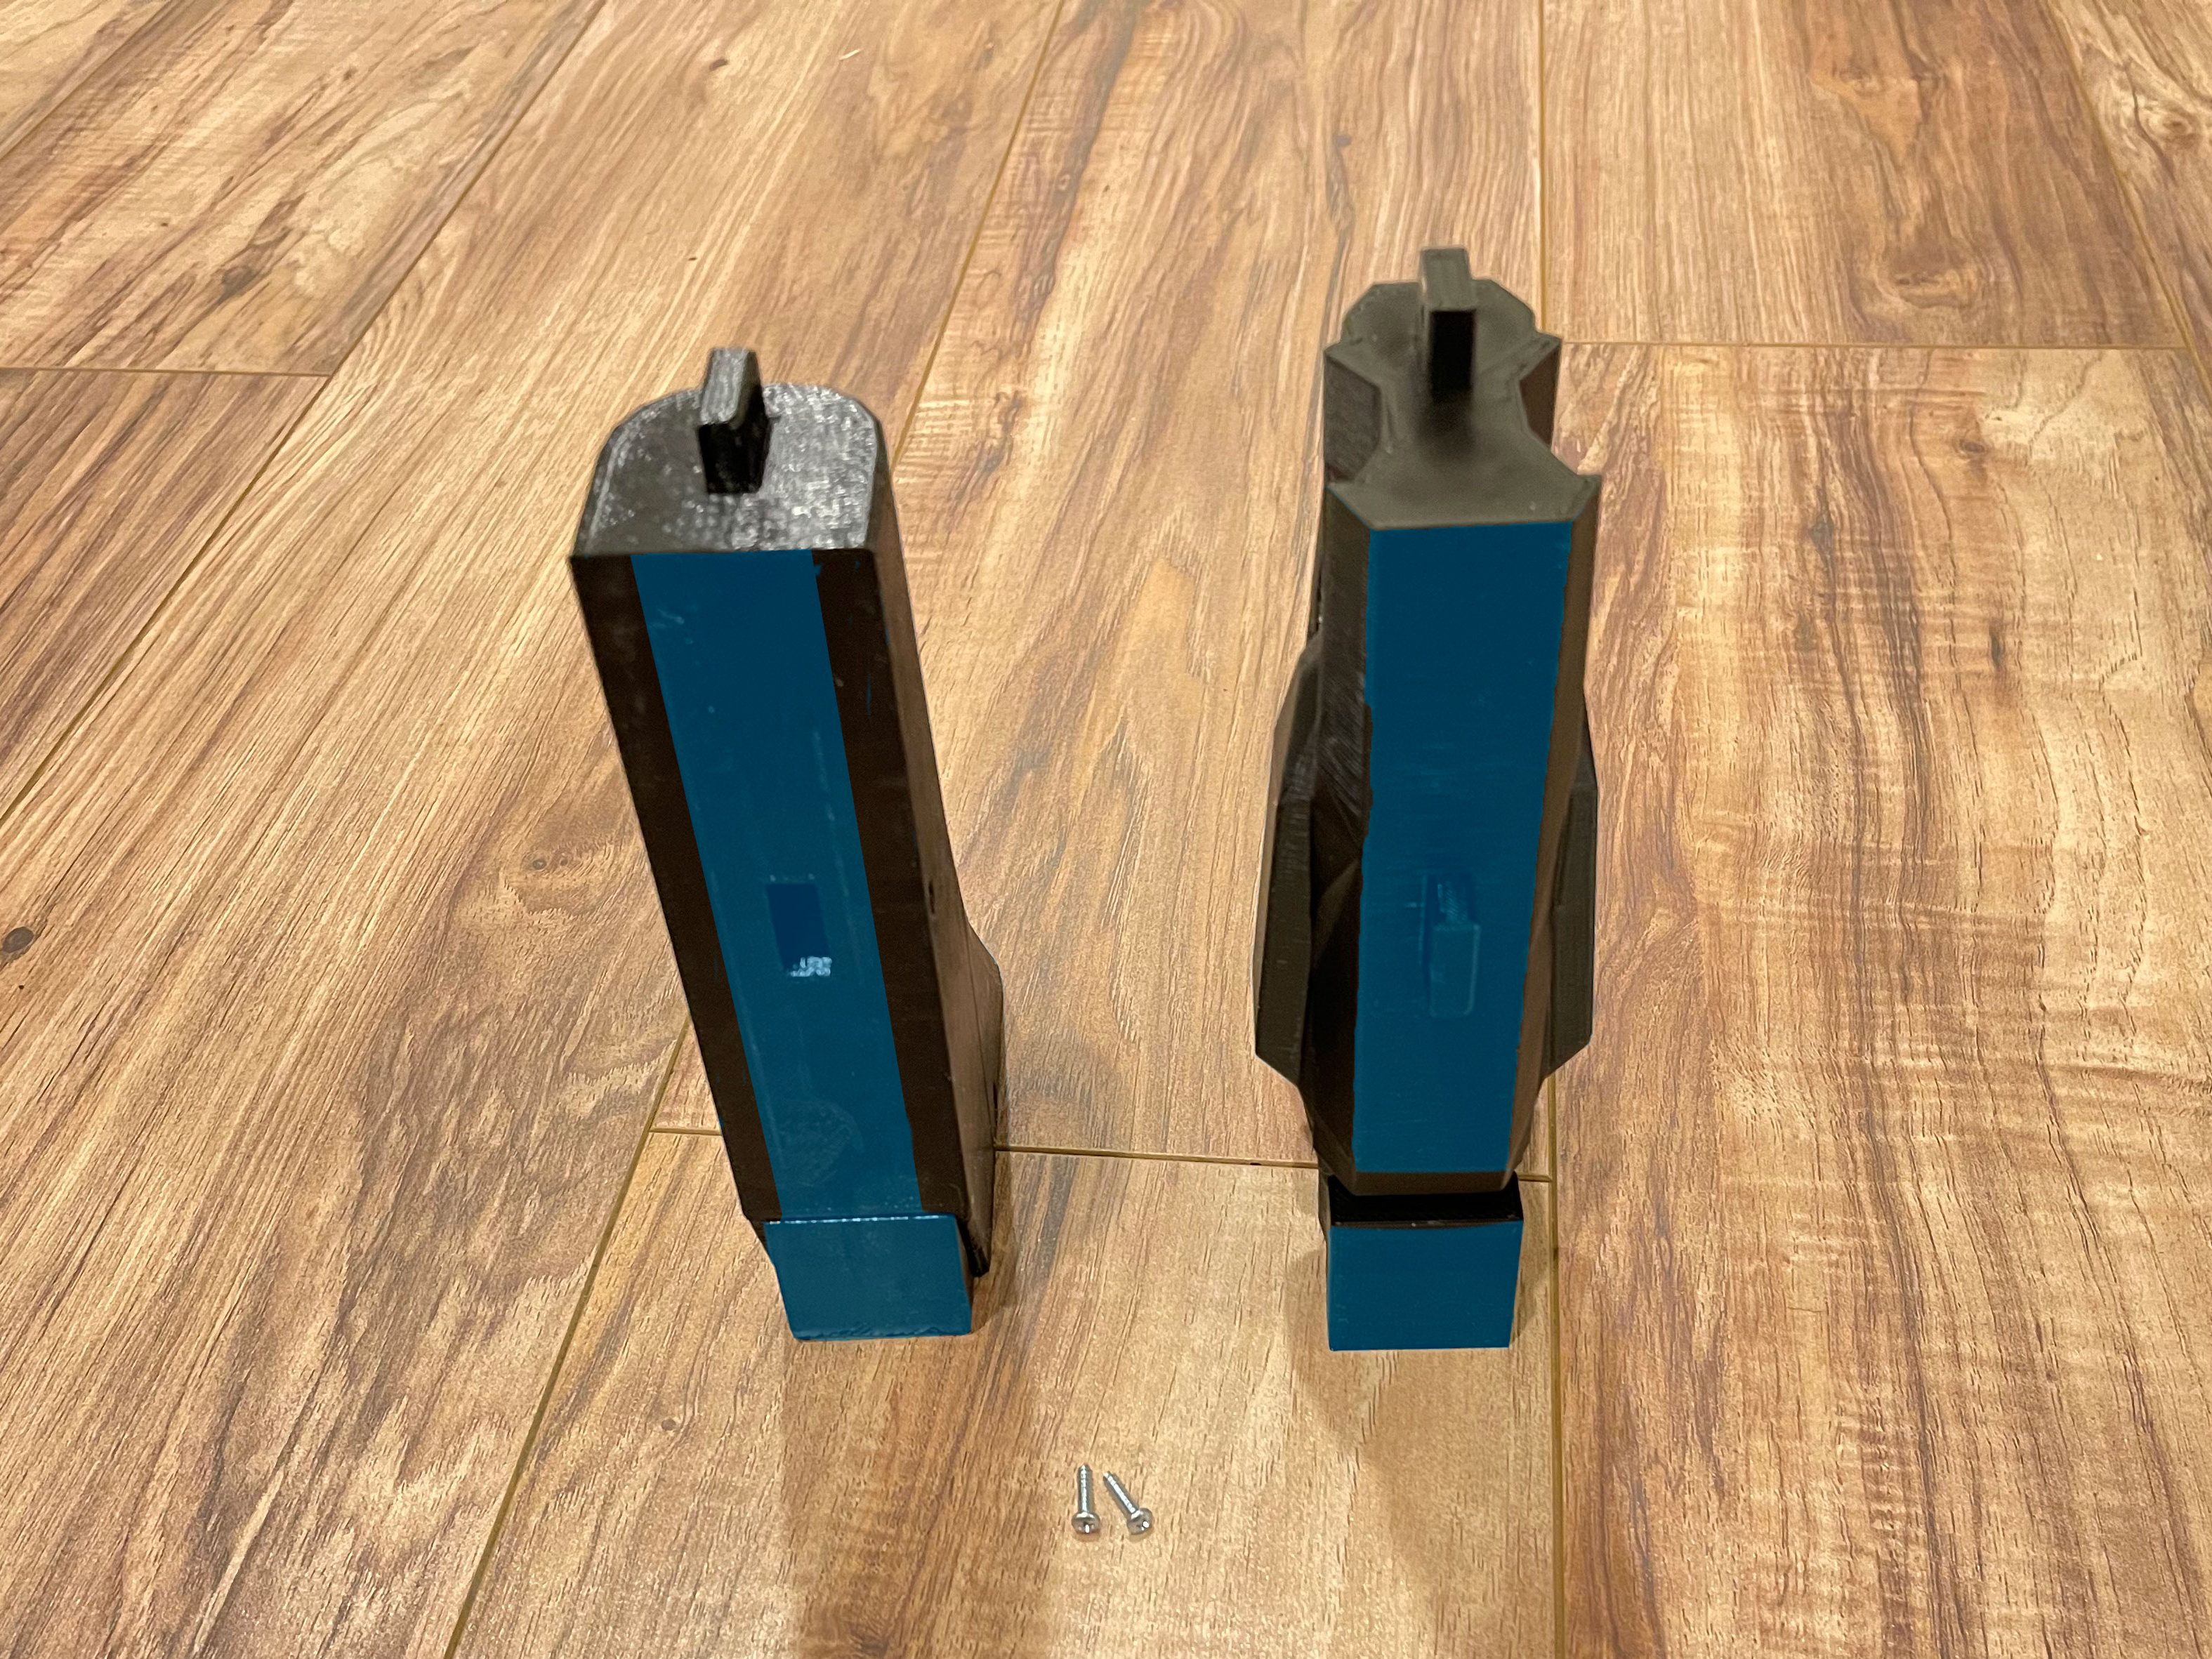
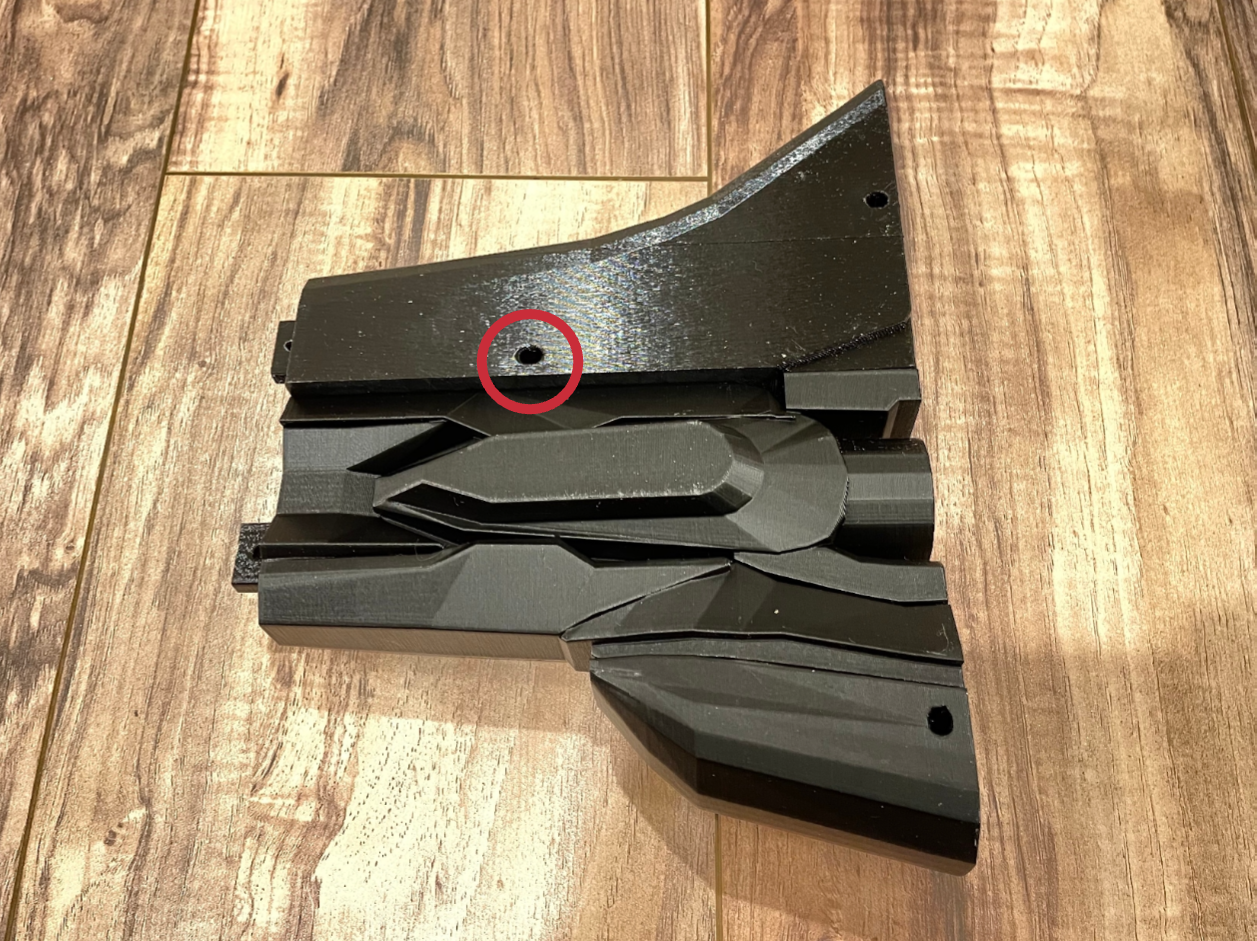
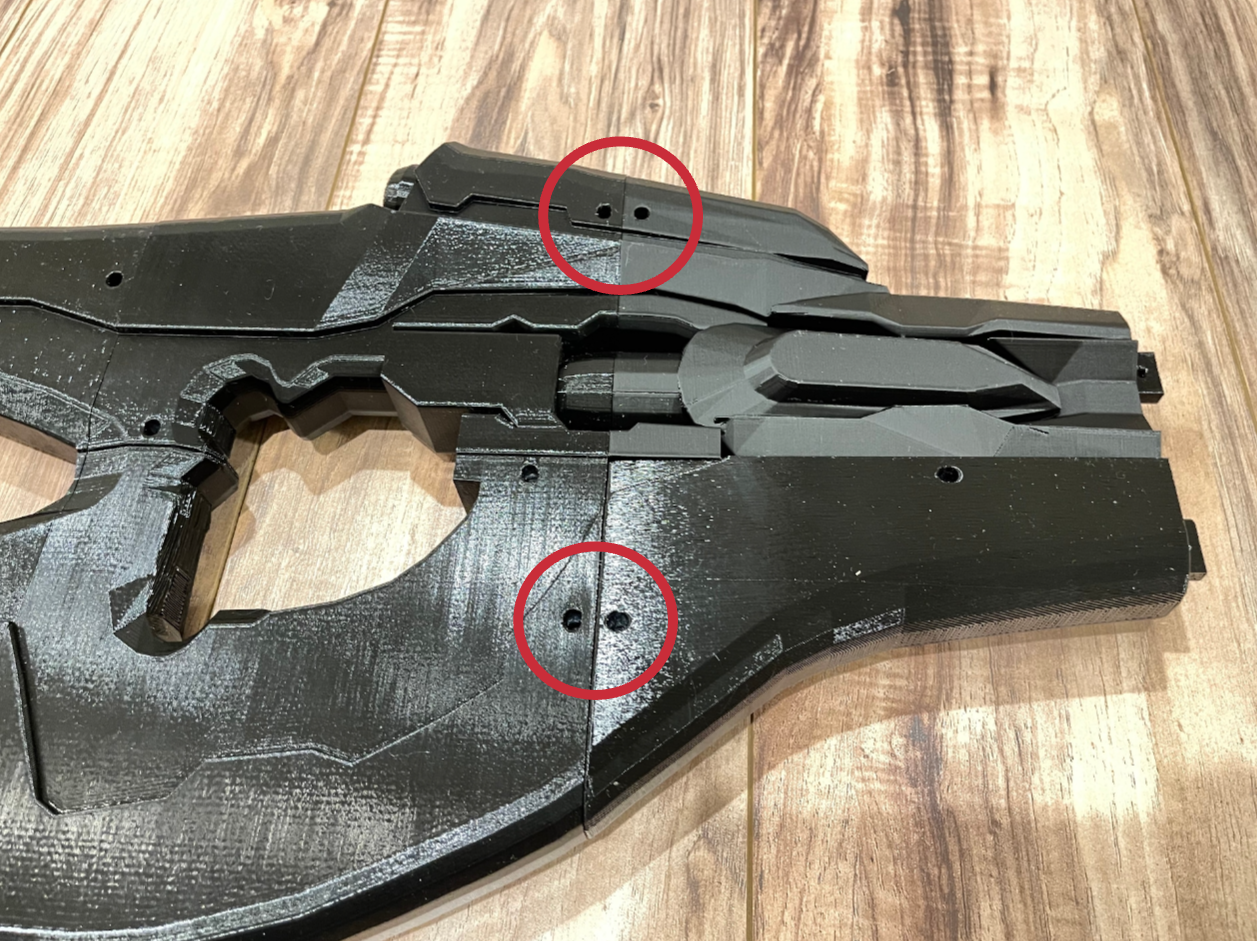
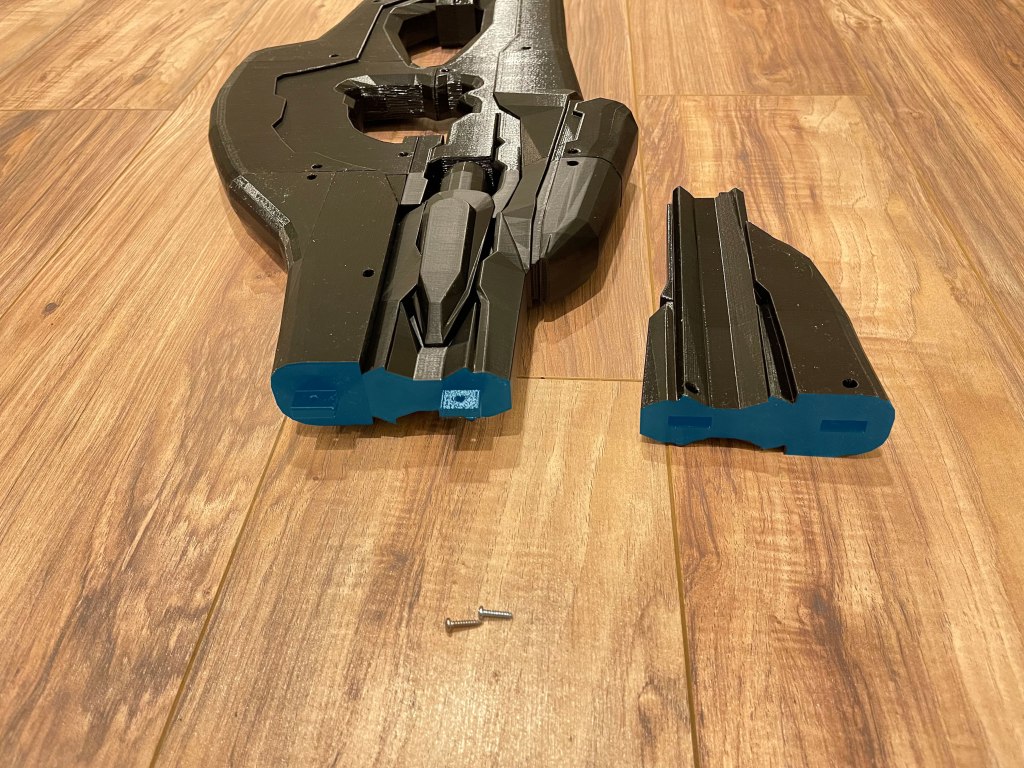
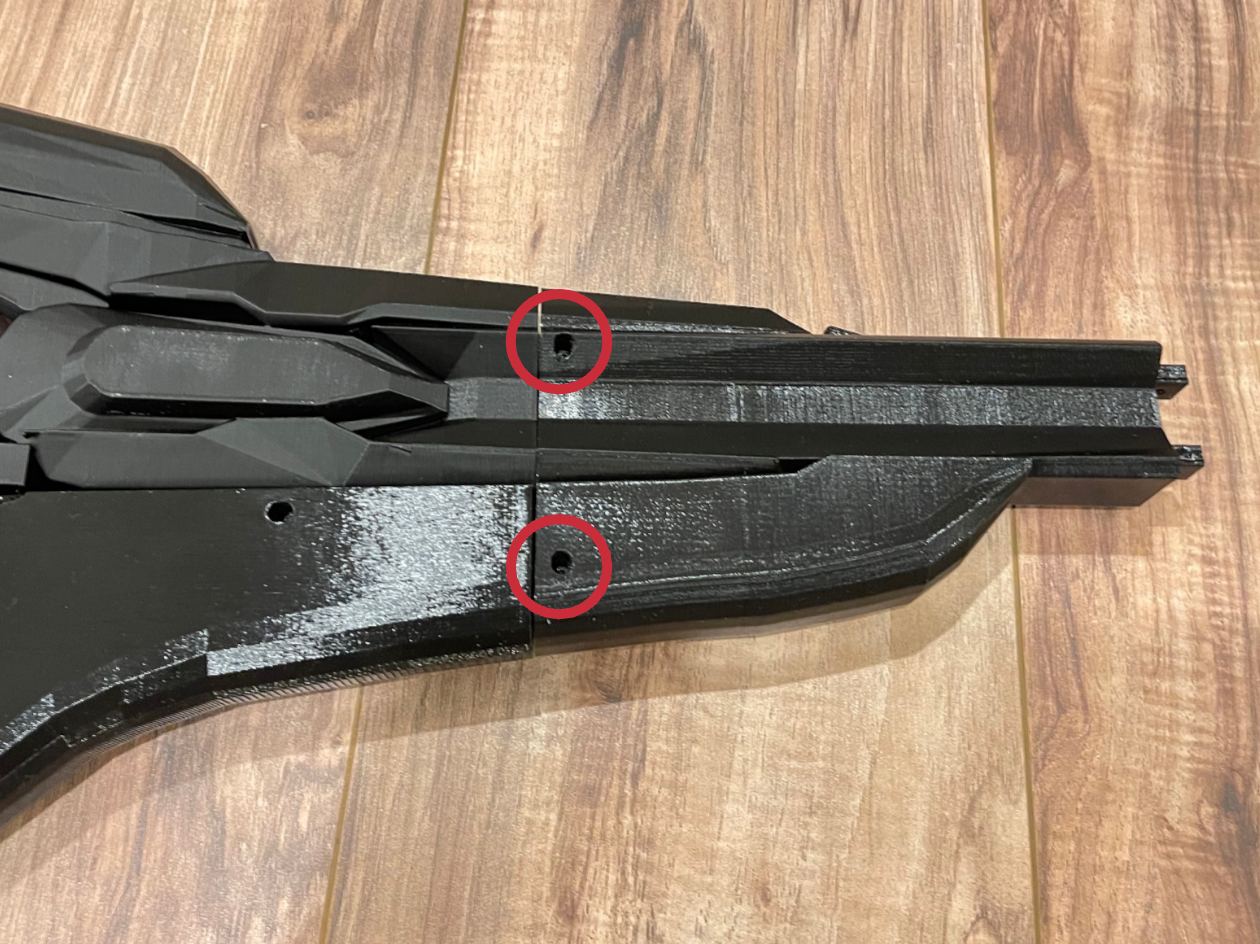
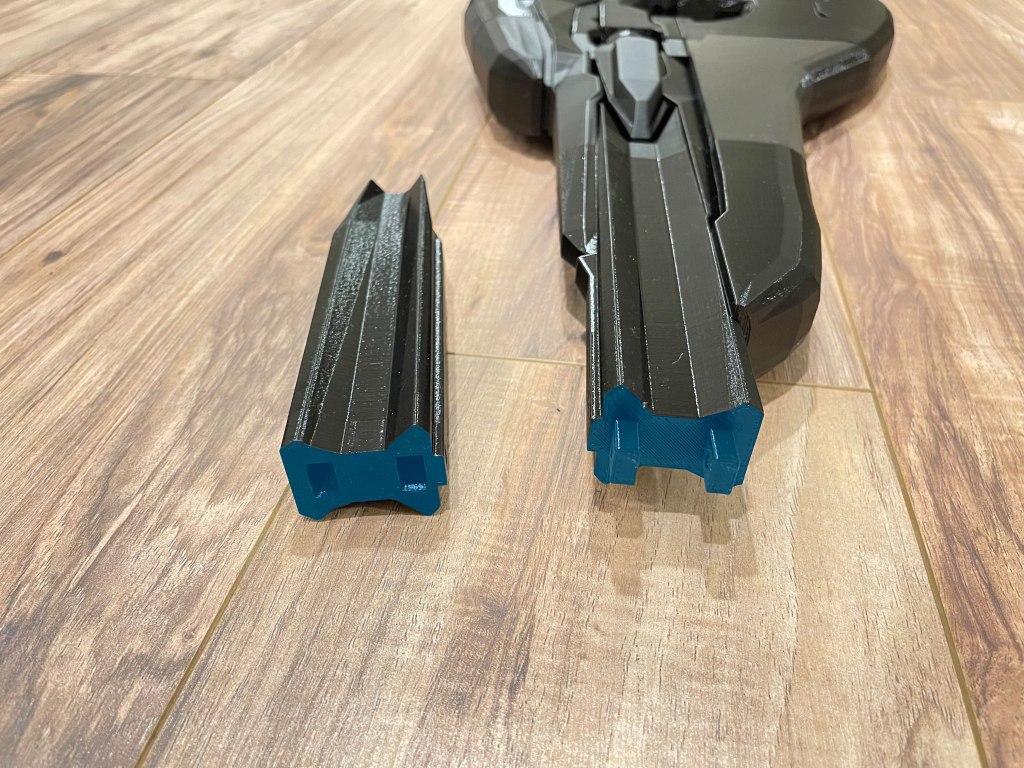
Assembly

1. Lay out the parts to get an idea of how they go together. This will keep you from accidentally putting it together wrong.
2. Tools needed: Phillips screw driver and superglue or epoxy.
3. Glue connecting surfaces on the 2 parts shown.
4. Screw the parts together with 1 1/2″ screw.
5. Glue connecting surfaces on the 3 parts shown.
6. Screw the parts together with 2 1/2″ screws.
7. Glue connecting surfaces on the 2 parts shown.
8. Screw the parts together with 2 1/2″ screws.
9. Glue connecting surfaces on the 2 parts shown.
10. Screw the parts together with 2 1/2″ screws.
11. Glue connecting surfaces on the 2 parts shown.
12. Screw the parts together with 1 1/2″ screw.
13. Glue connecting surfaces on the 2 parts shown, insert the 2 plastic pegs as shown.
14. Screw the parts together with 4 1/2″ screws.
15. Glue connecting surfaces on the 2 parts shown.
16. Screw the parts together with 2 1/2″ screws.
17. Glue connecting surfaces on the 2 parts shown.
18. Screw the parts together with 2 1/2″ screws, one on the top and one on the bottom.

Painting

The gun is ready to be painted. Here is an example of how I painted the above model. You can fill the connecting parts with model putty and lightly sand it smooth. but I didn’t bother with that in the above example. Please note the plastic used in this model is pla which is strong but will melt if you sand it with a power sander. I also skipped the primer in this example as well.

I used purple spray paint for the above gun then brushed on the black and silver with Vallejo model paint after the purple dried. I painted 2 coats of the black and silver careful not to overlap onto the purple. Once you are happy with the paint job spray it with lacquer to seal the paint and give it a nice sheen.