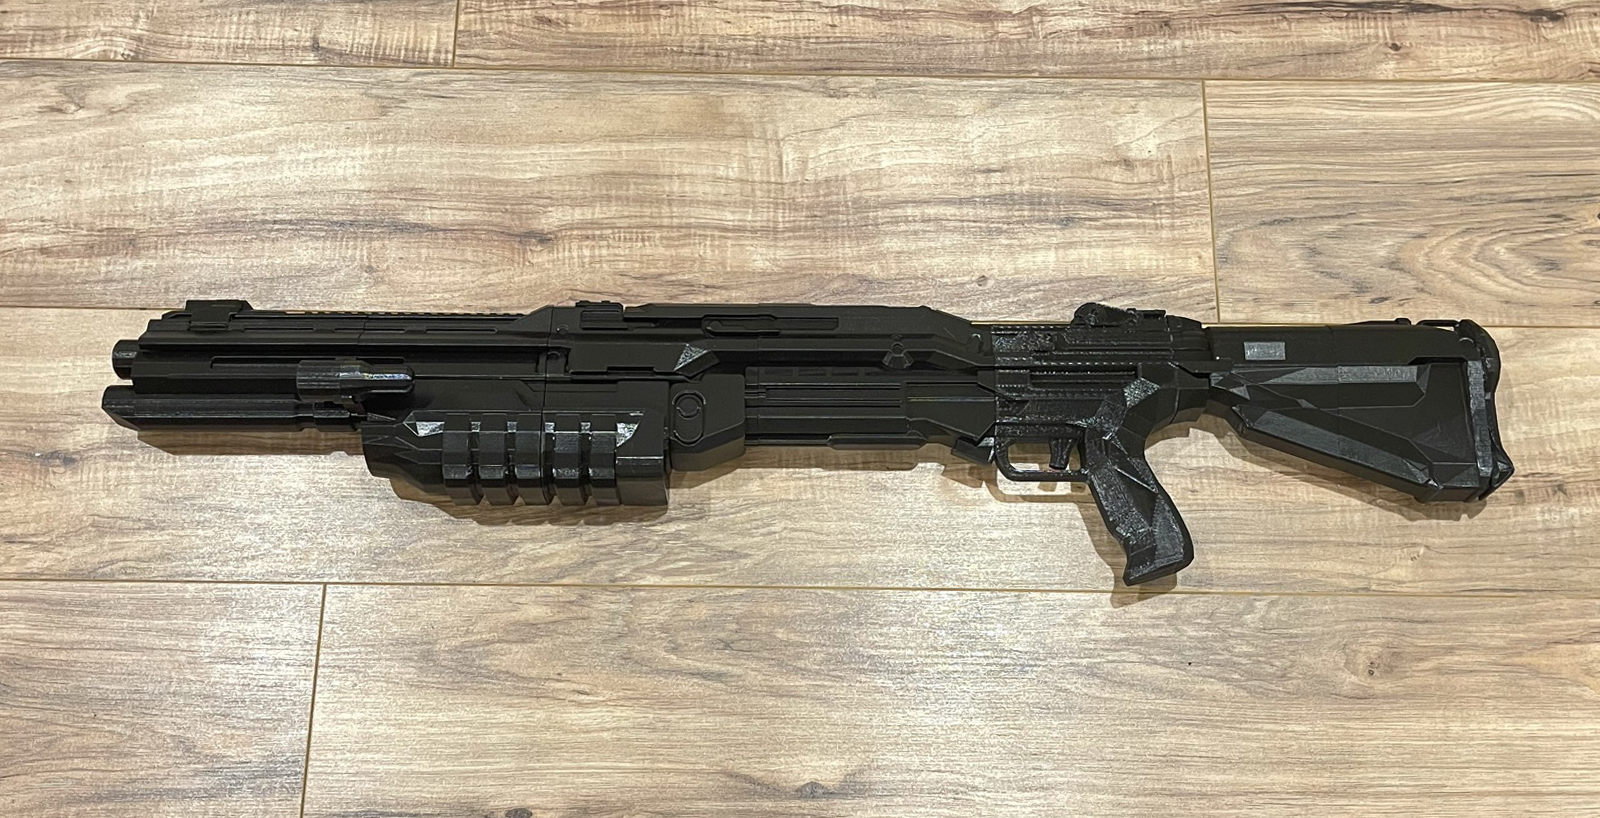
Halo Shotgun
• • • • • • • Assembly Instructions • • • • • • •
Assembly
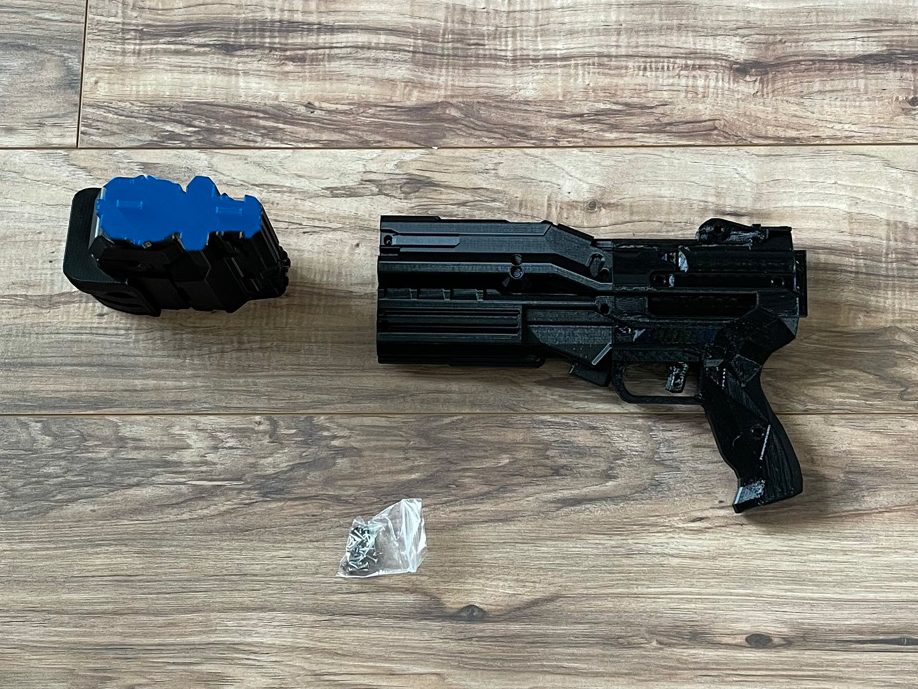
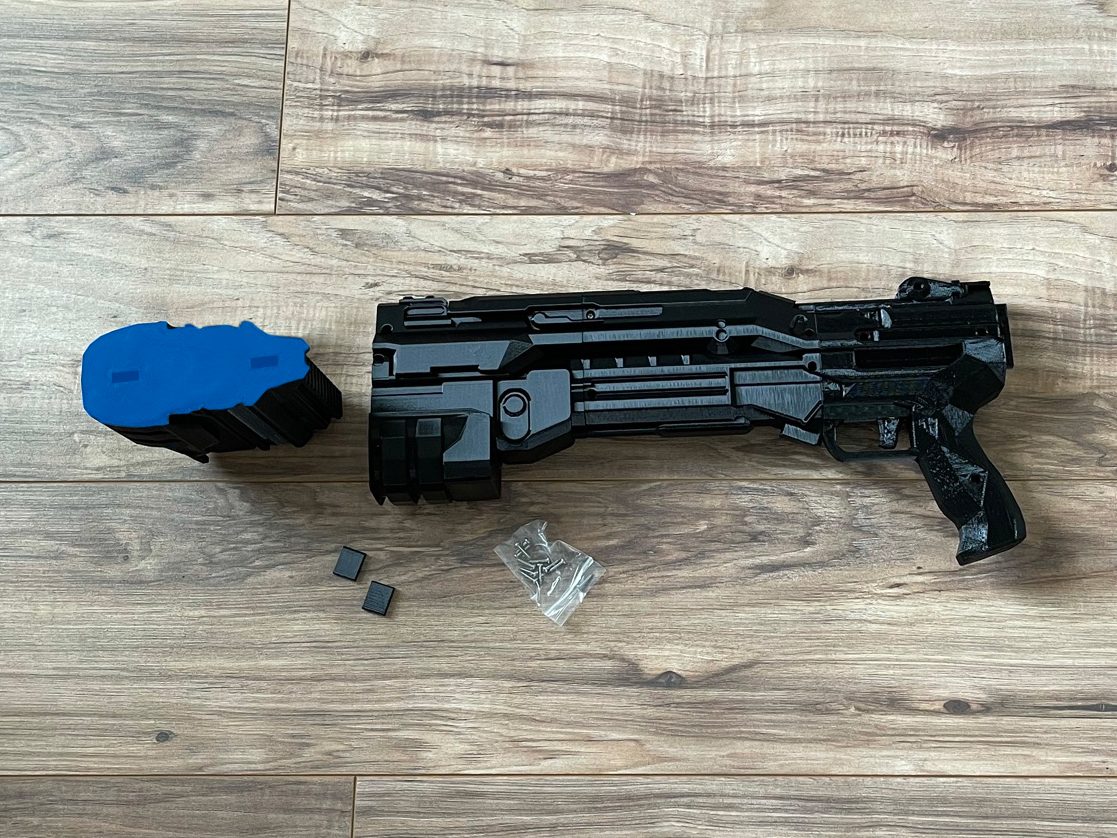
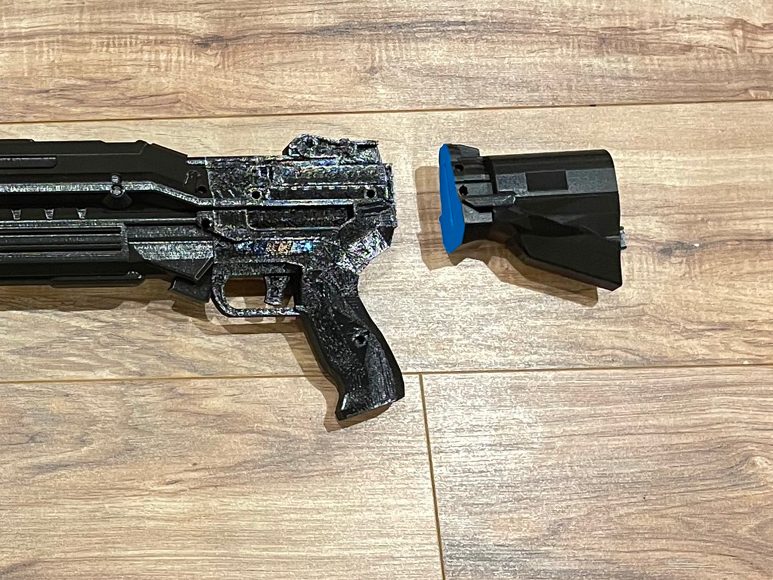
1. Lay out the parts to get an idea of how they go together. This will keep you from accidentally putting it together wrong. Recommended glue is CA glue (super glue) or epoxy. Use a liberal amount of glue and wipe excess glue off as out go


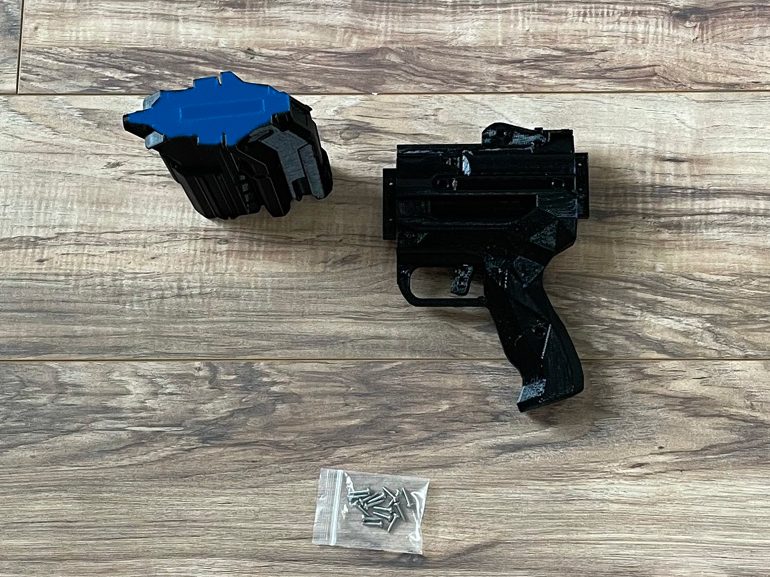

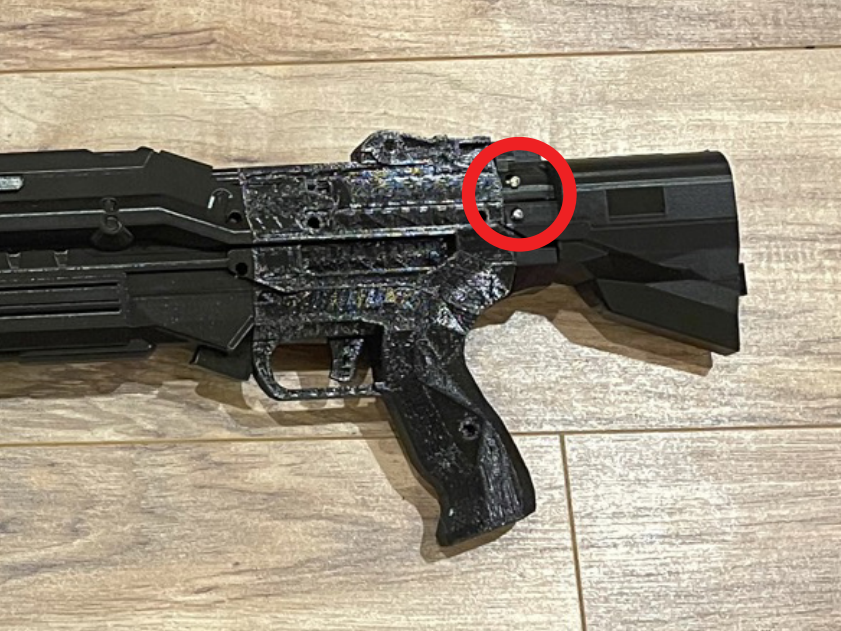
body using 2 1/2” screws.
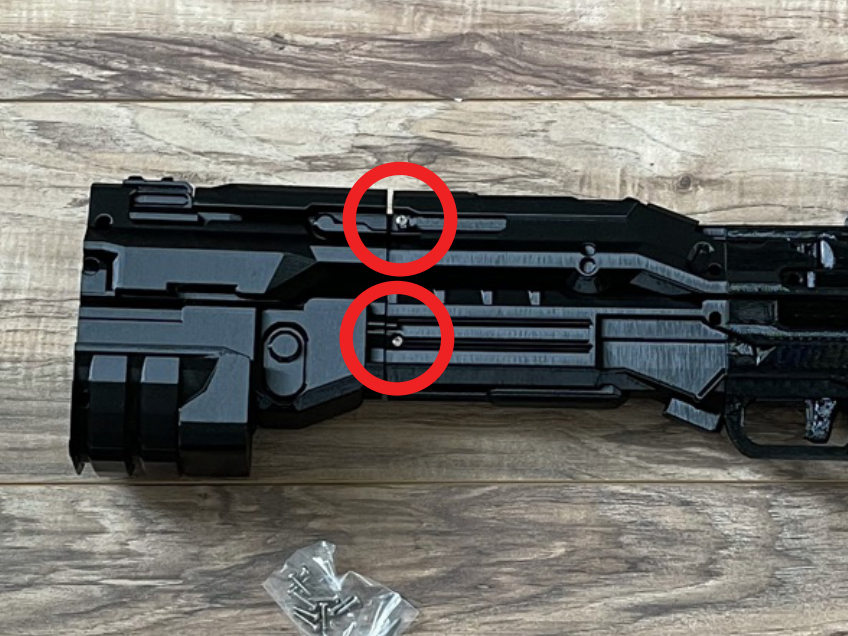
using 2 1/2” screws.
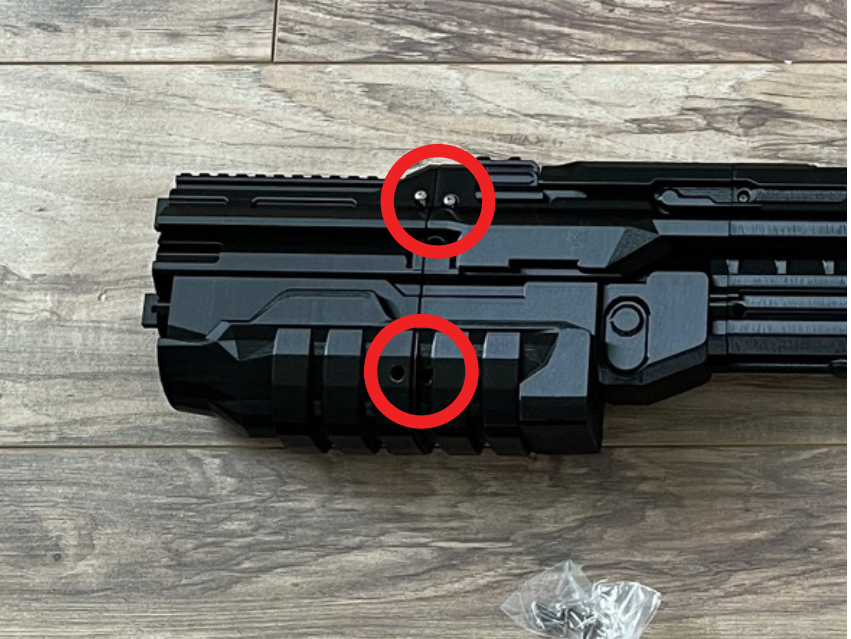
screws.
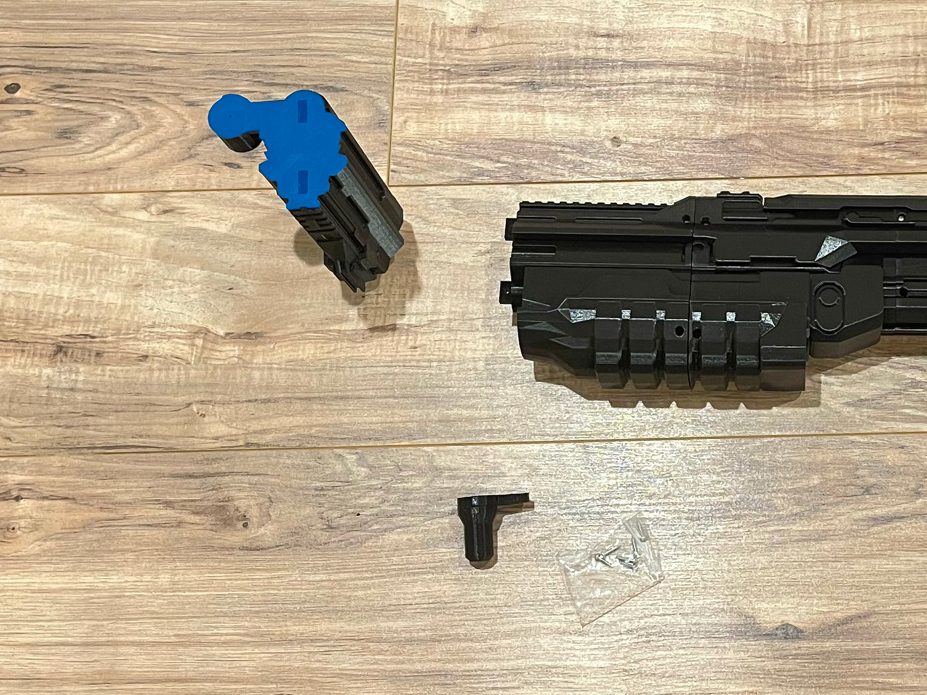

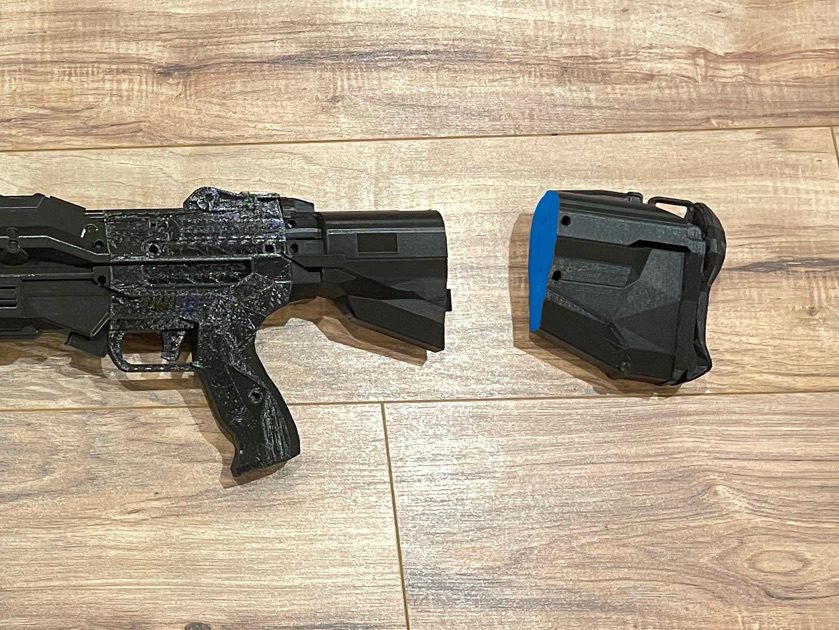
the gun.

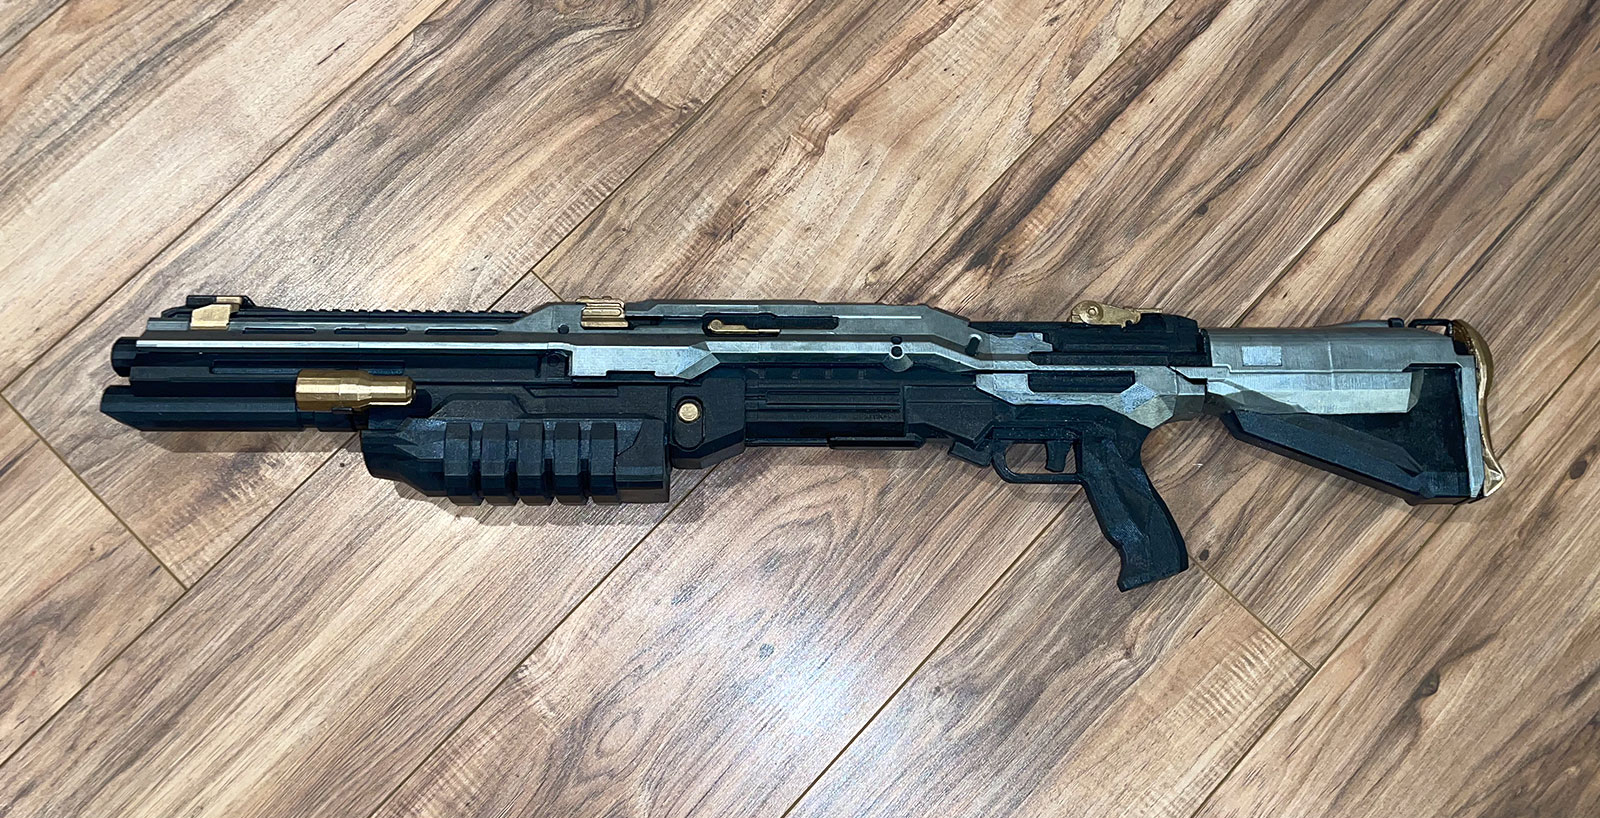
Painting