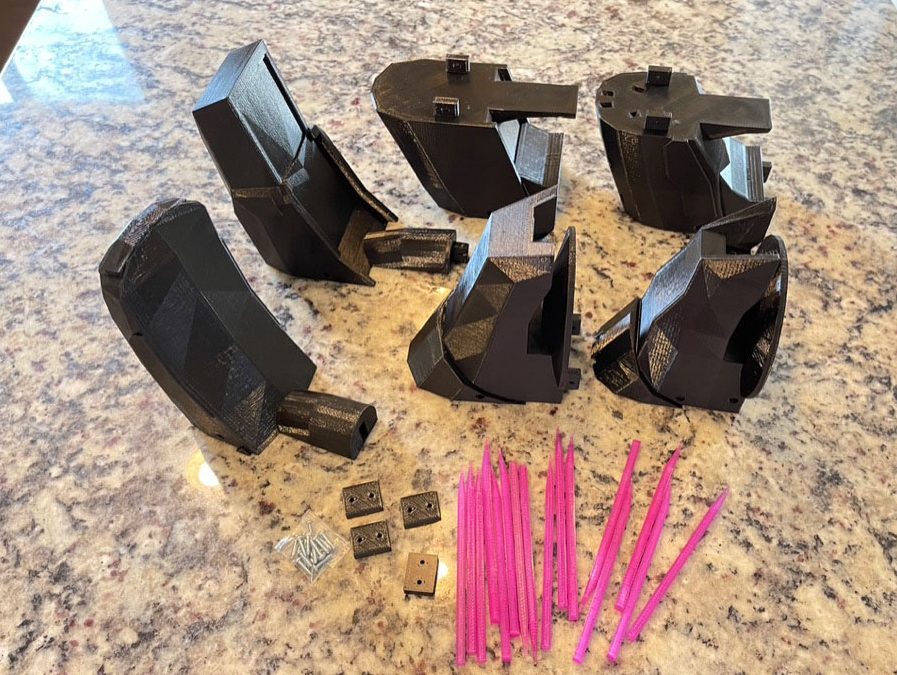
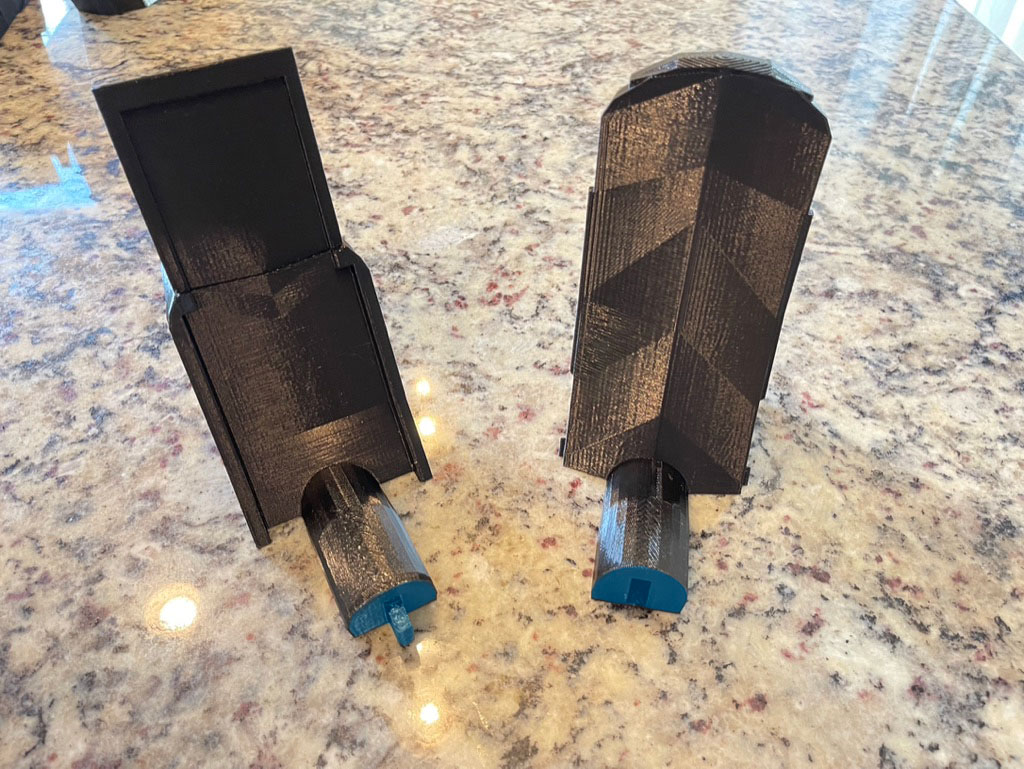
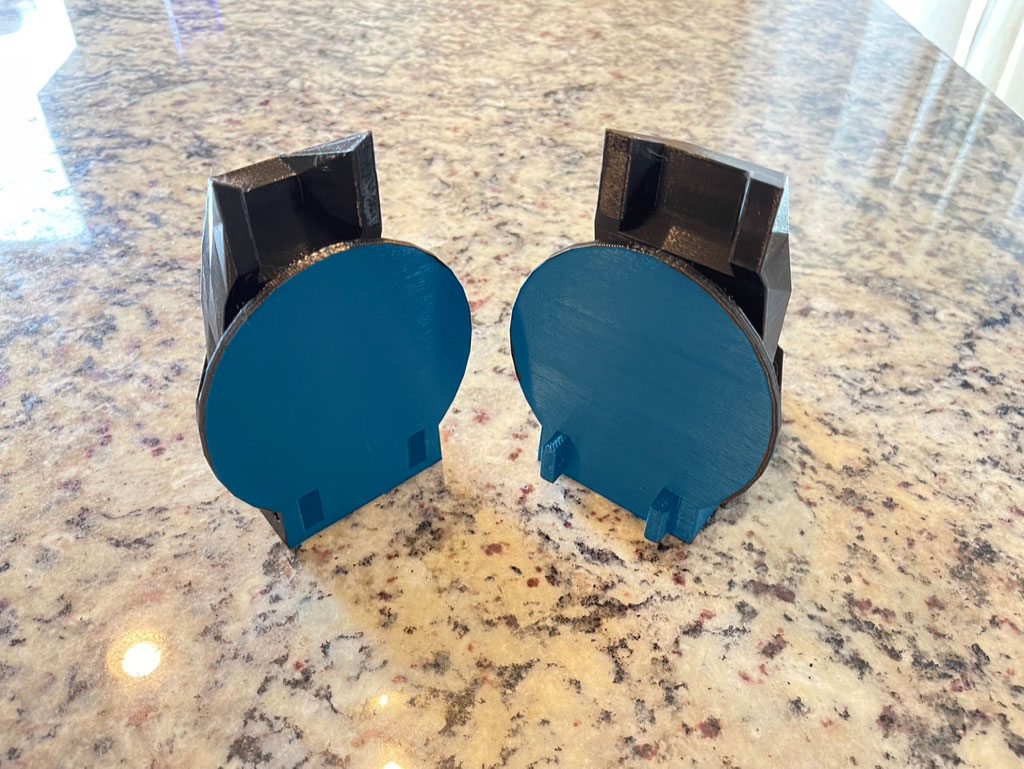
1. Lay out the parts to get an idea of how they go together. This will keep you from accidentally putting it together wrong. Follow the instructions, there are a few steps that need to happen in order. There are 2 sizes of screws in this kit. The longer ones are for the dowels the shorter ones are for plastic pegs.
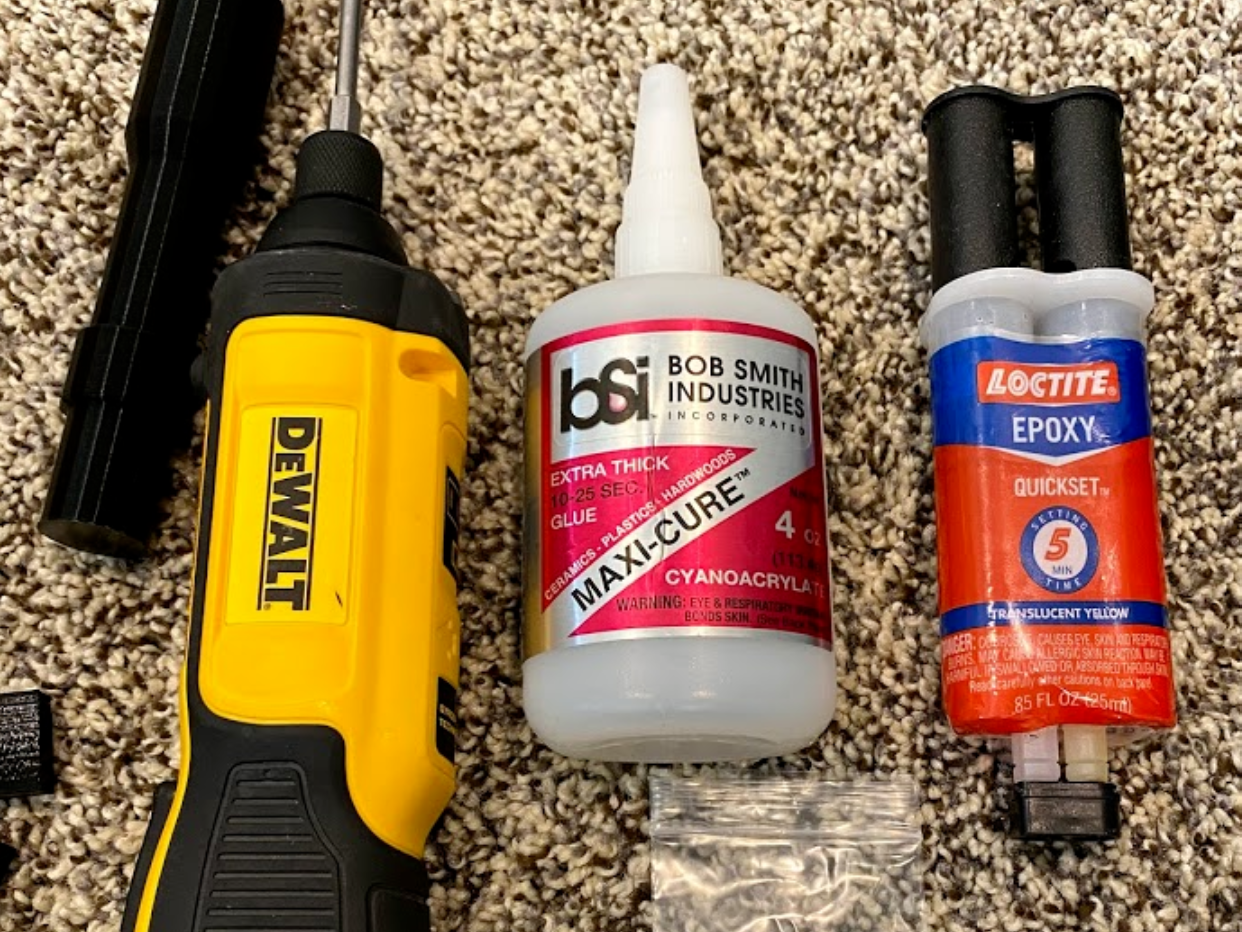
2. Tools needed: Phillips screw driver and superglue or epoxy.
3. Glue connecting surfaces on the 2 parts shown.
4. Screw the parts together with a 1/2″ screw.
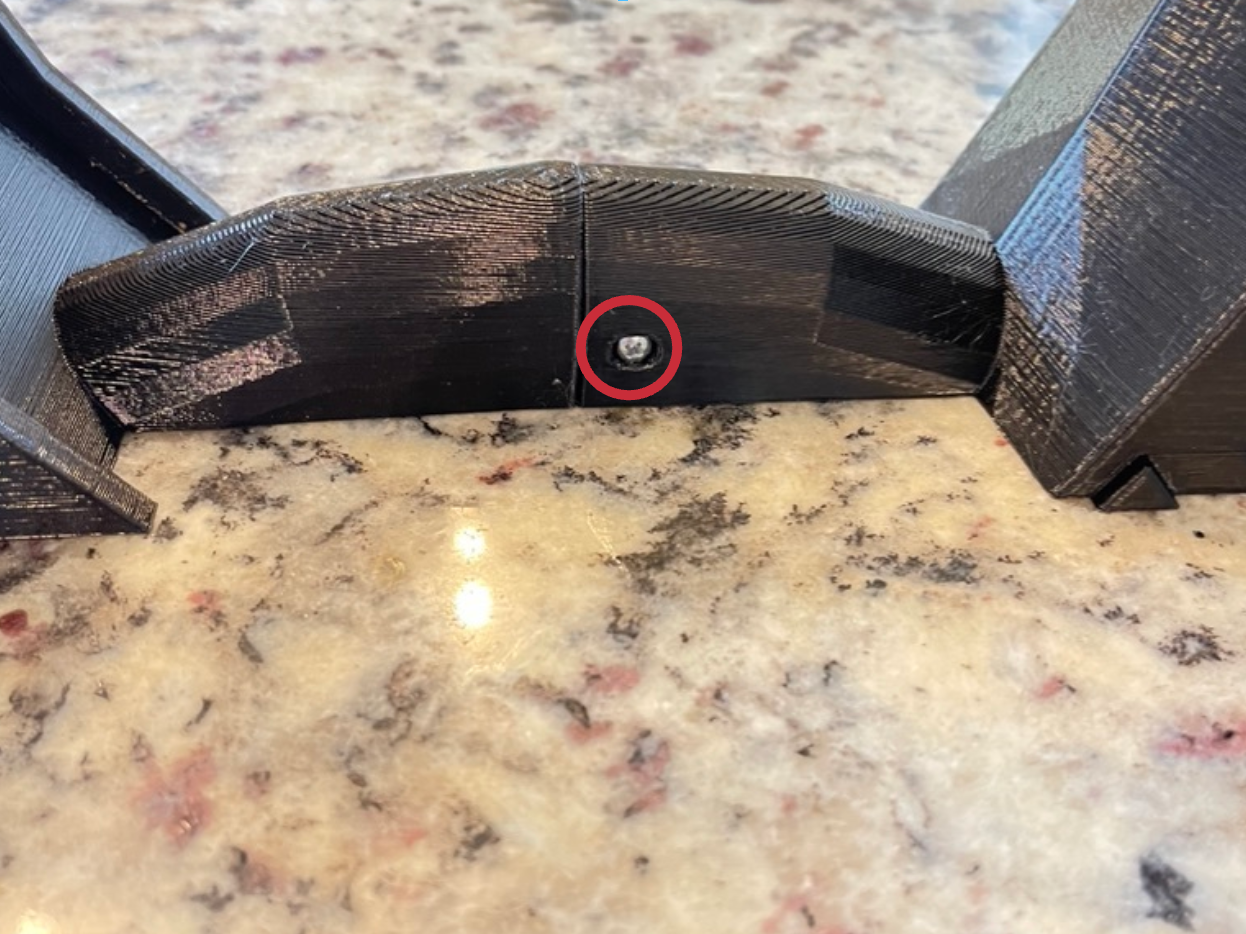
5. Glue connecting surfaces on the 2 parts shown.
6. Put the parts together and secure them with a 1/2″ screw on both sides.
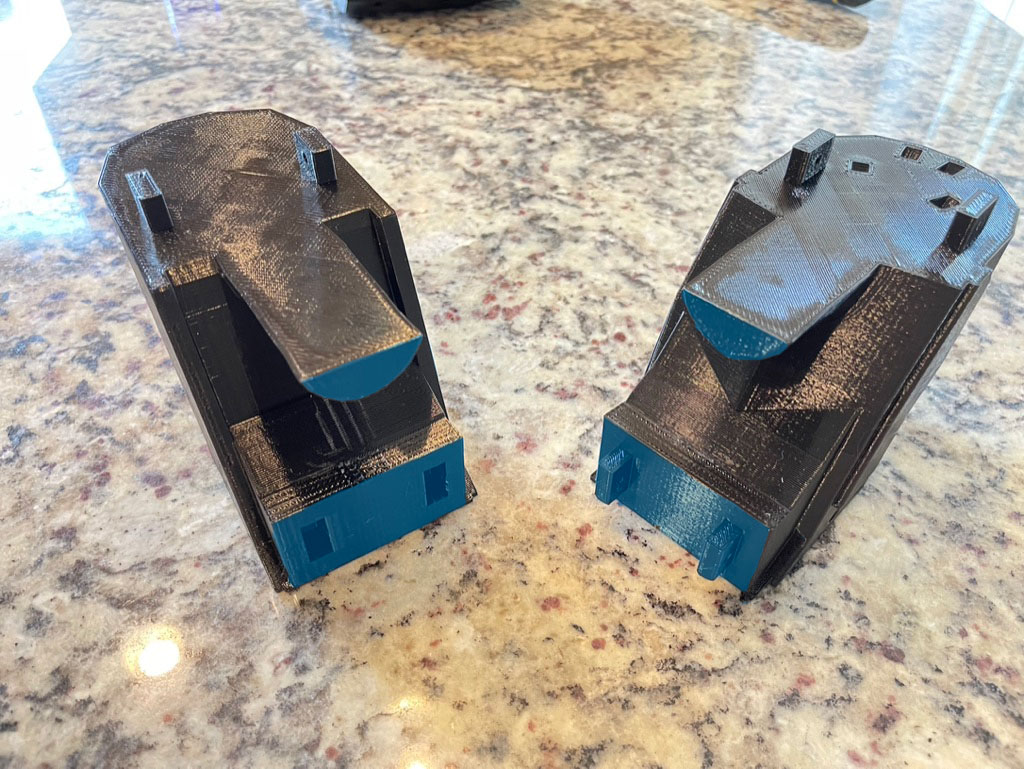
7. Glue connecting surfaces on the 2 parts shown.
8. Screw the parts together with 2 smaller 1/2″ screws on each side.
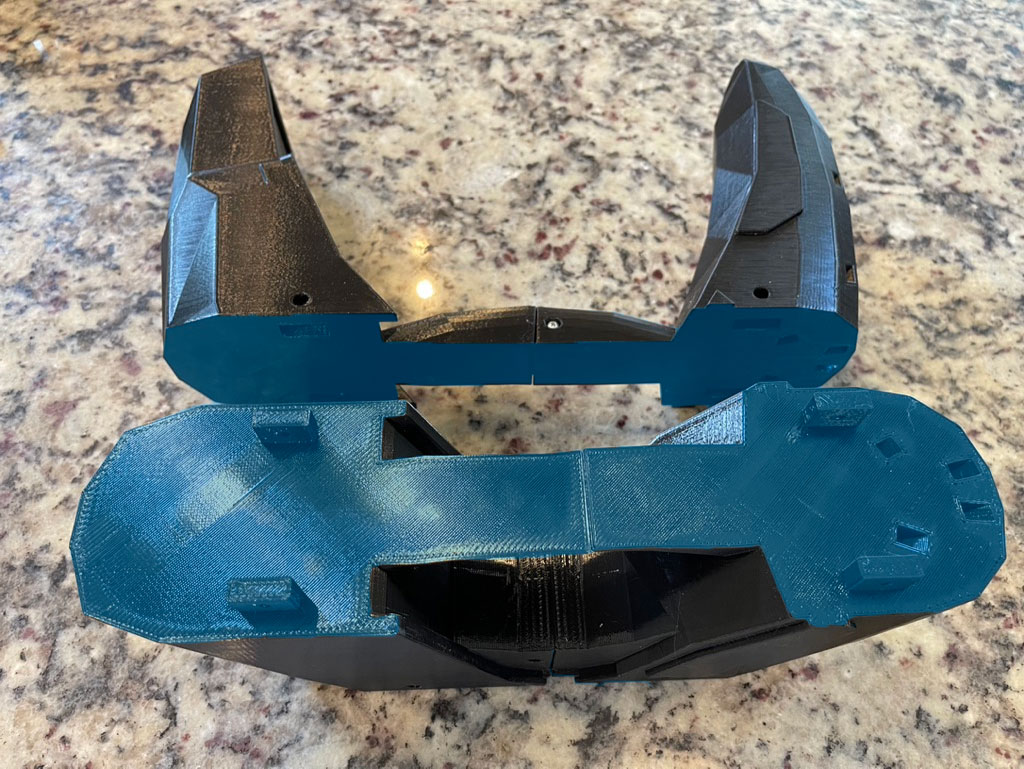
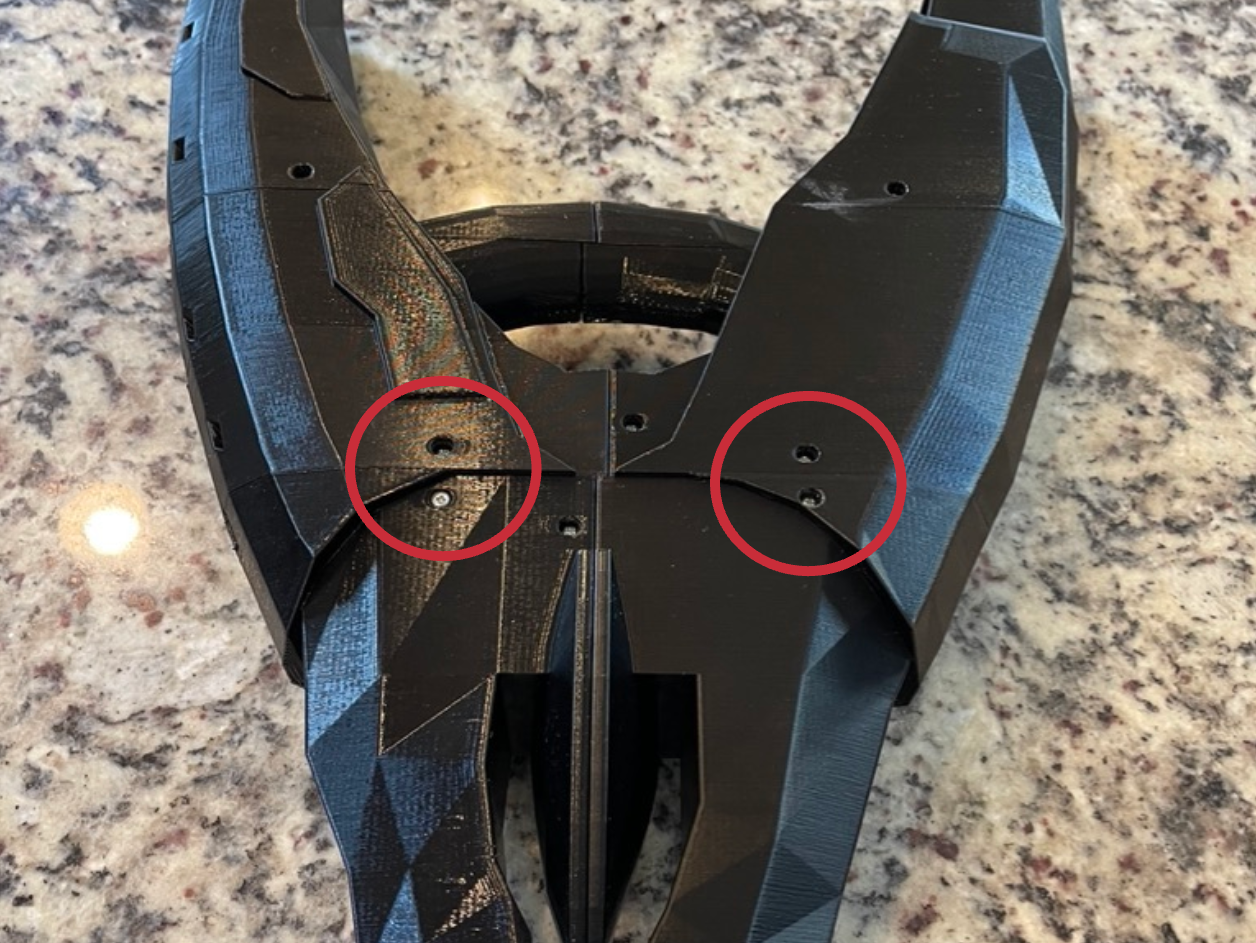
9. Glue connecting surfaces on the 2 parts shown.
10. Screw the parts together with a smaller 1/2″ screw on each side.
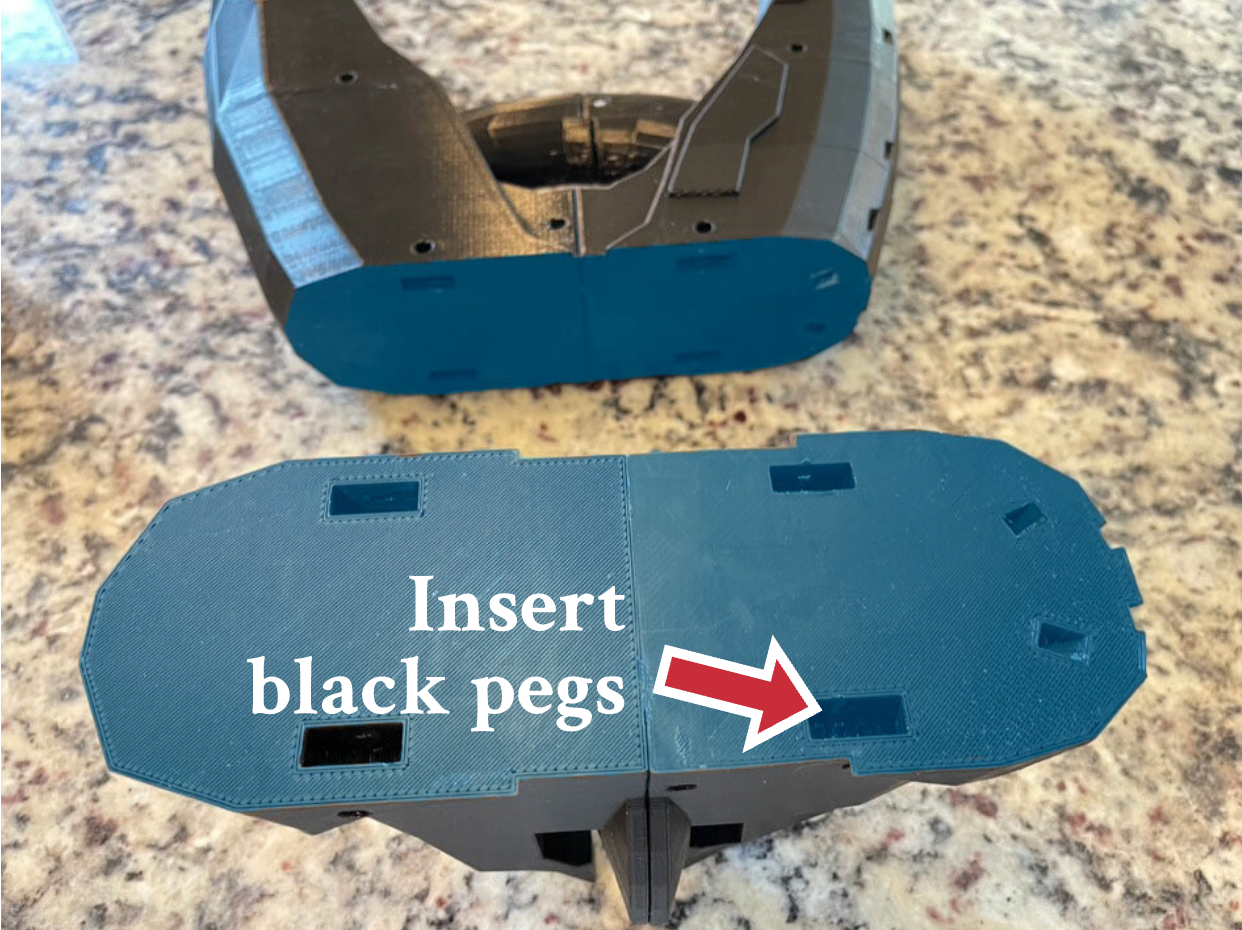
11. Glue connecting surfaces on the 2 parts shown. Insert the 4 black pegs that came with the kit.
12. Screw the parts together with 8 smaller 1/2″ screws. 4 screws per side, make sure you put the pegs in the holes.
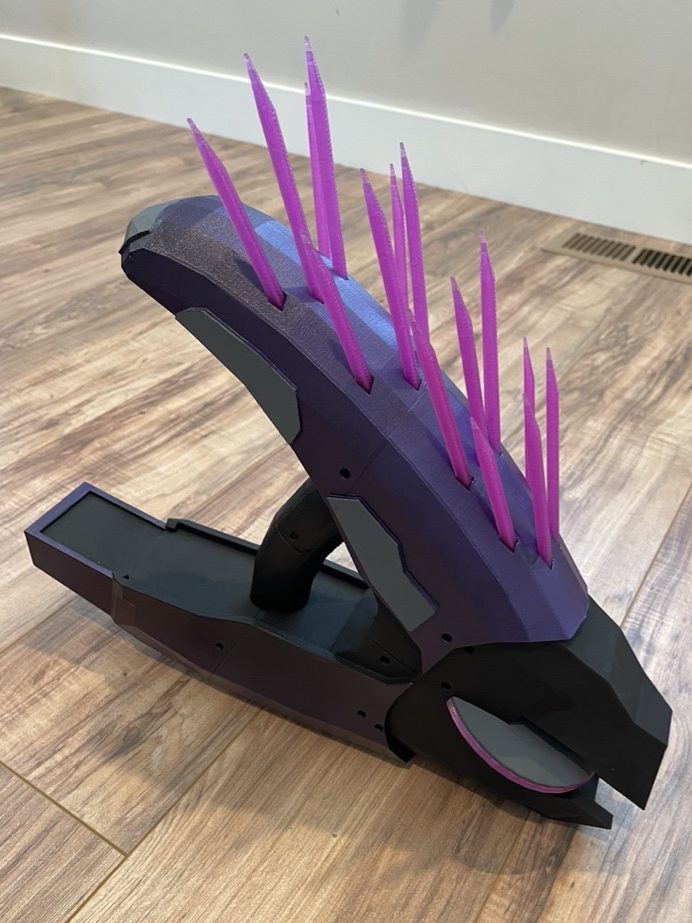
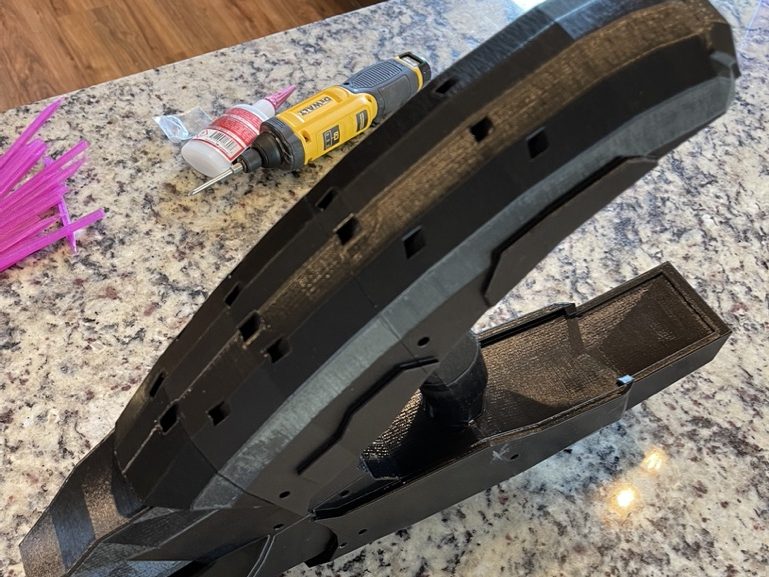
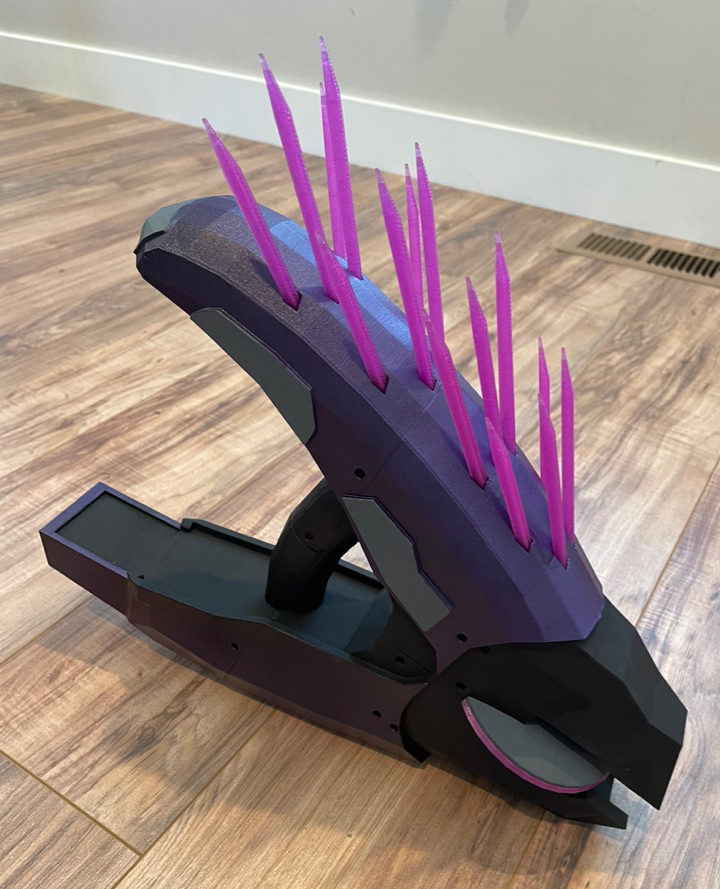
13. If you are planning on painting the gun its probably wise to do so now. I used purple spray paint then finished it off with Vallejo paint and brushes.
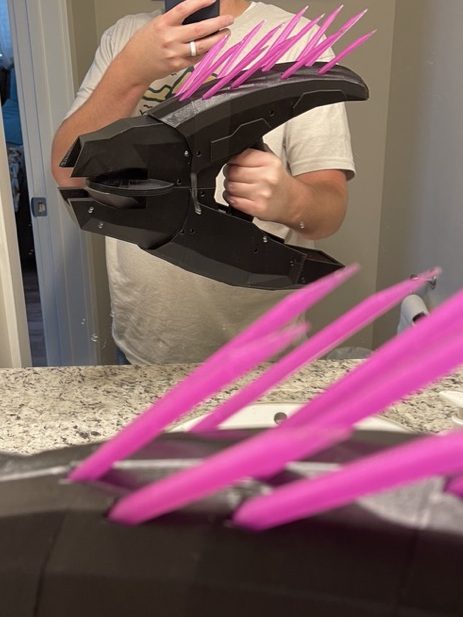
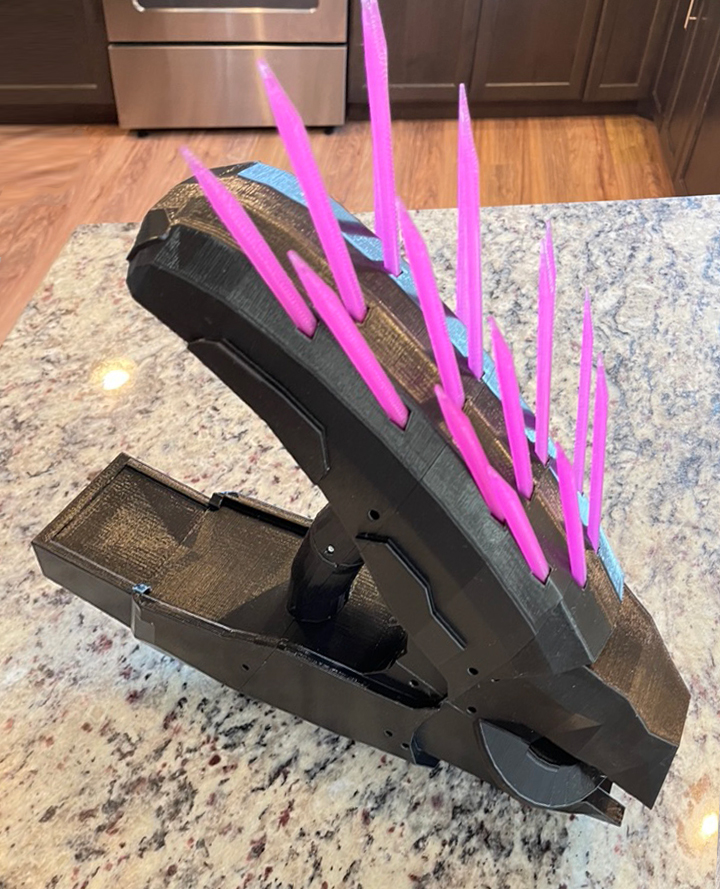
14. Next put glue in the needle holes and put the needles in, you might have to use some force to get the needles all the way in.