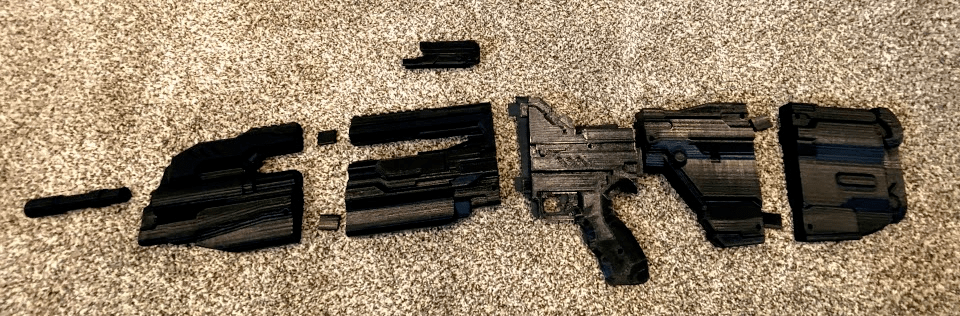
1. Lay out the parts to get a good idea of how they go together. This will keep you from accidentally putting it together wrong.
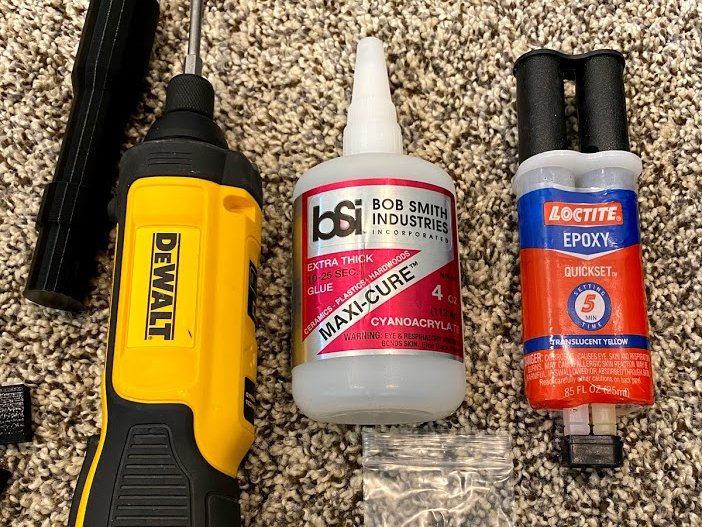
2. Tools needed: Phillips screw driver and superglue or epoxy.
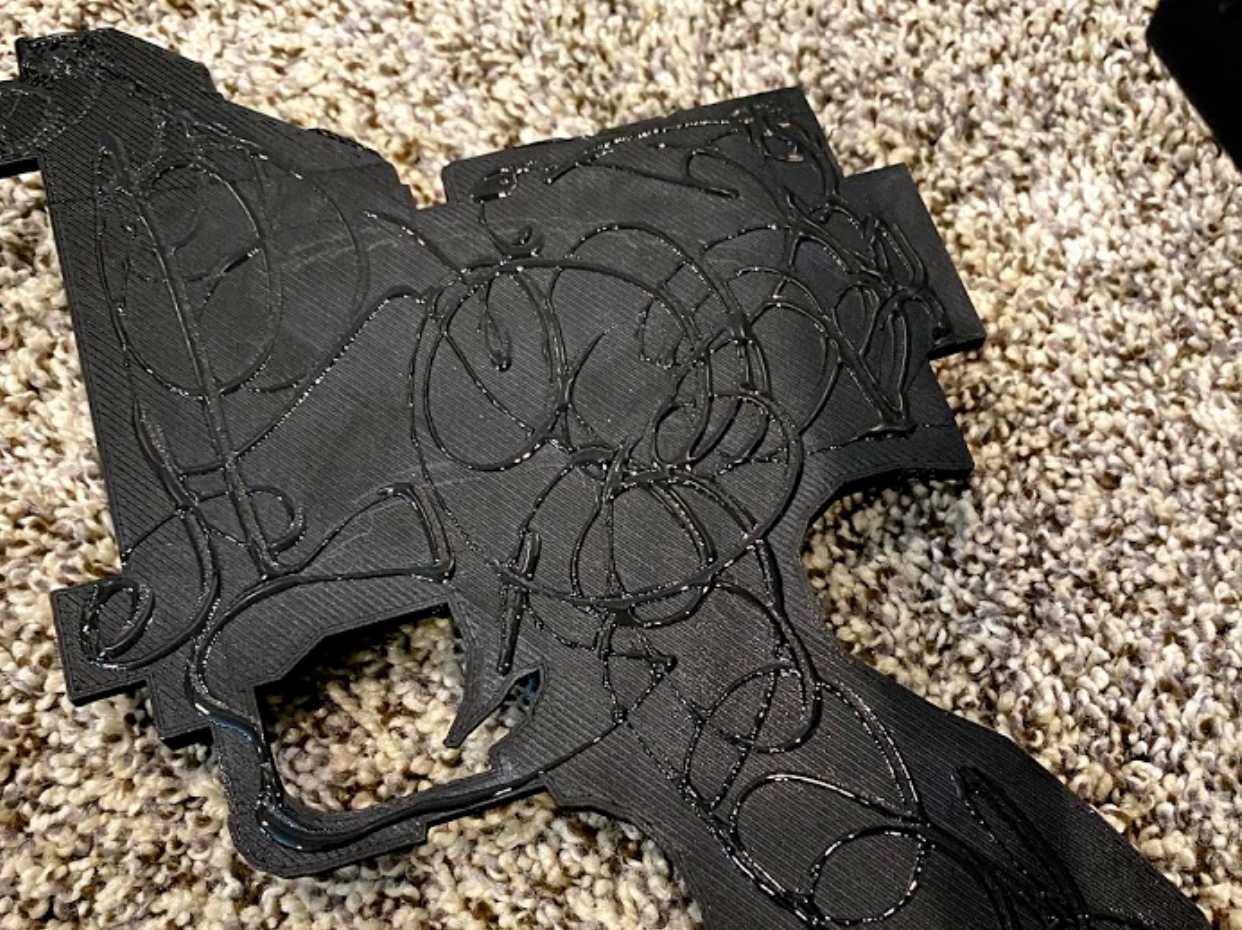
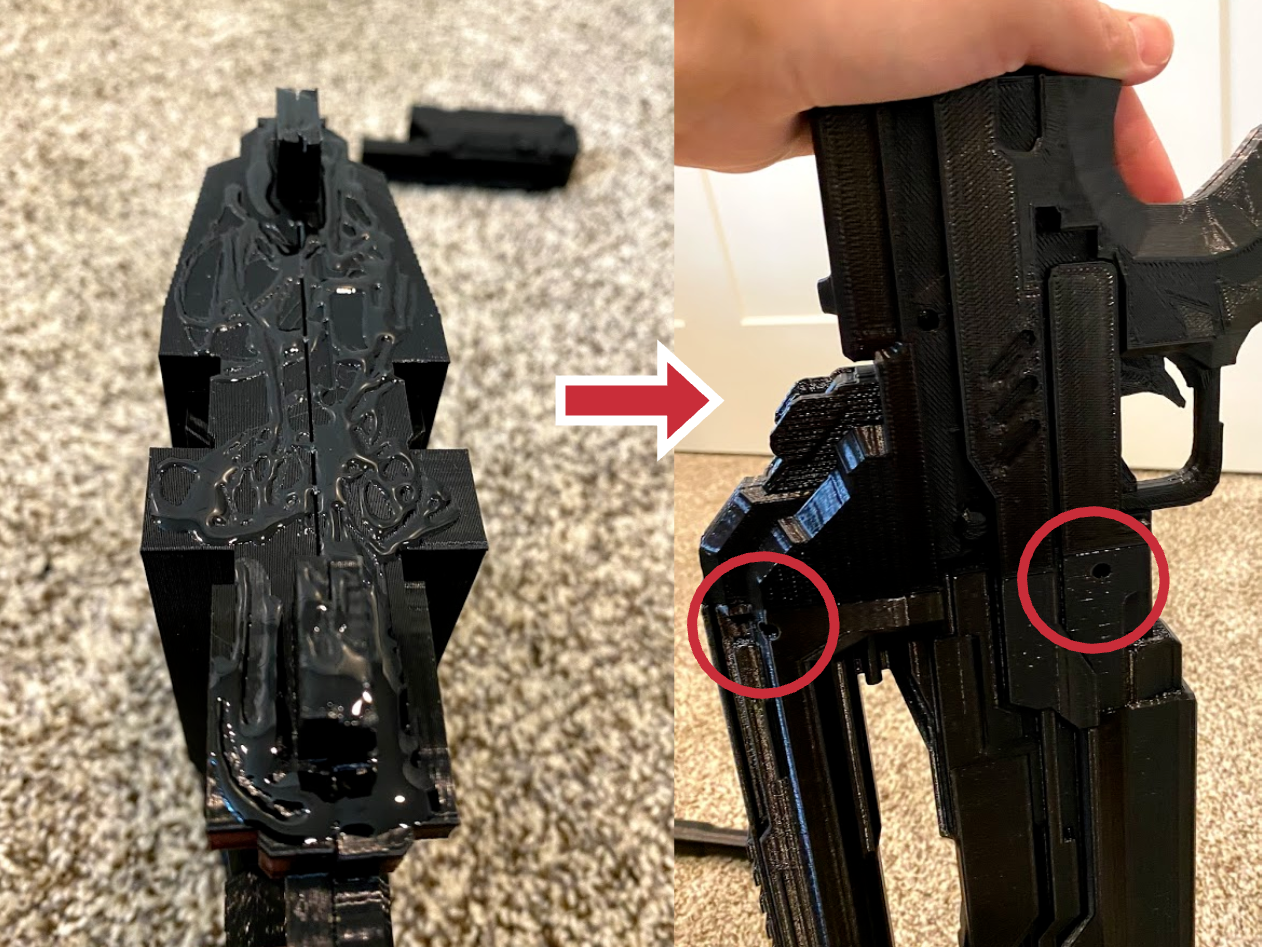
3. Starting on the main front part glue the connecting surfaces and in the peg holes then insert the pegs.
4. Put the next section onto the first then screw it together.
5. Glue the right side of the grip.
6. Put the two grip parts together and screw them together.
7. Glue the next section, put it together and screw it together
8. Glue the next section, put it together and screw it together.
9. Glue the next section, put it together and screw it together.
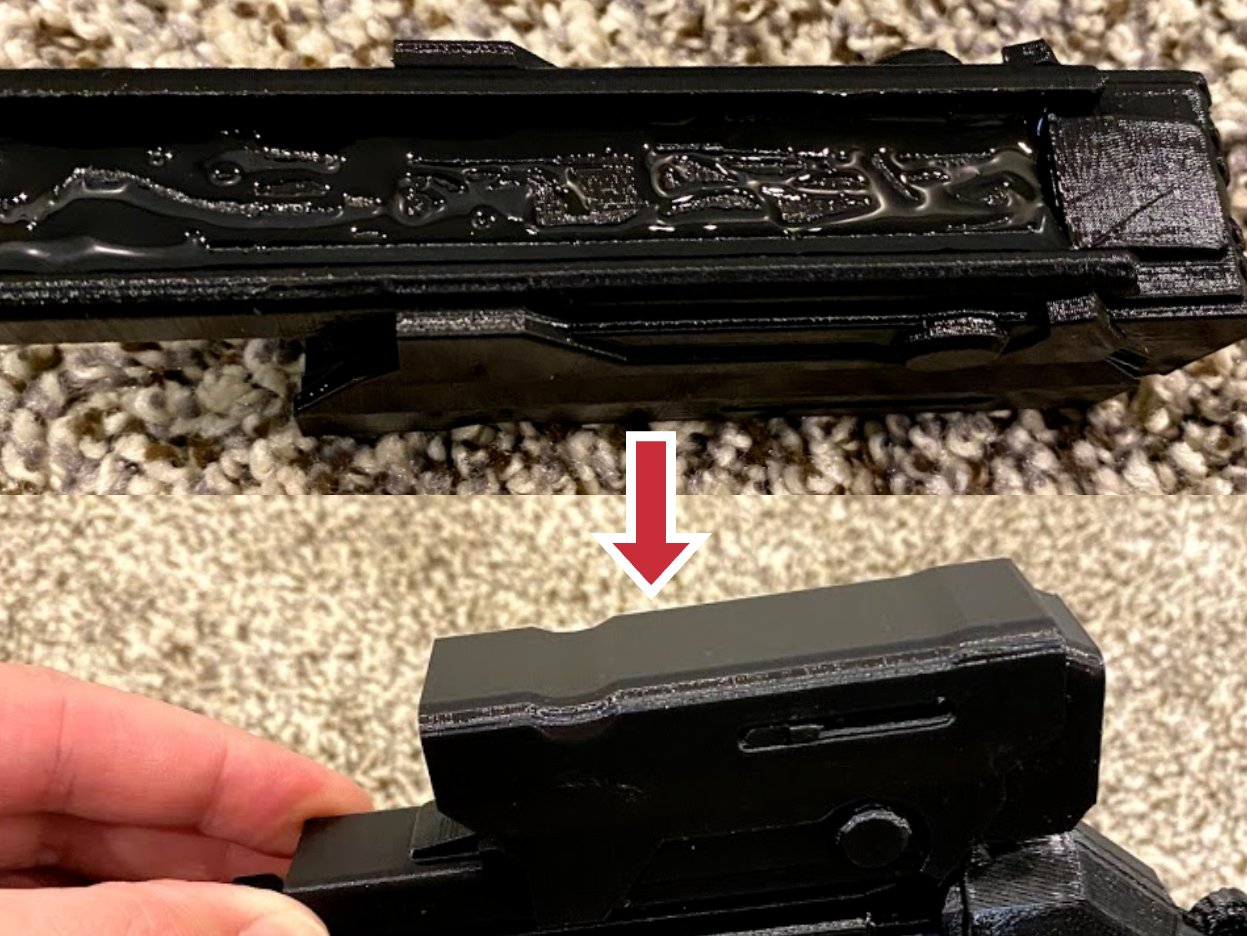
10. Glue the barrel together and glue the front on. Secure the middle of the barrel parts with 1/2″ screws.
11. Glue the back of the barrel slide it in place and secure it with a 1/2″ screw.
12. Prop up the gun and let it dry.
Painting
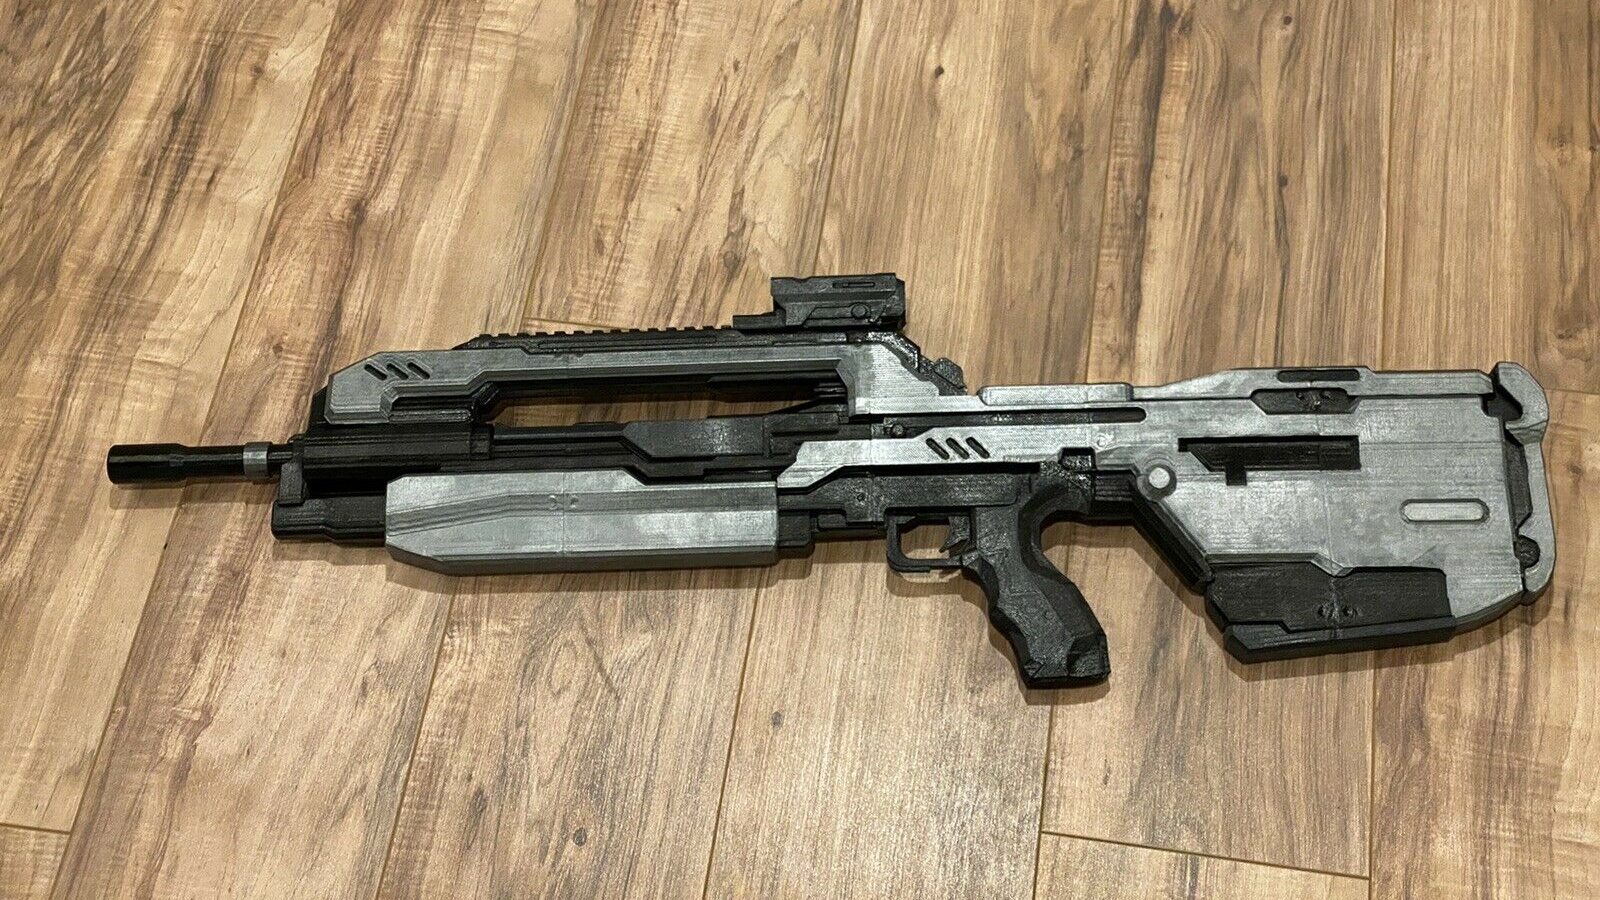
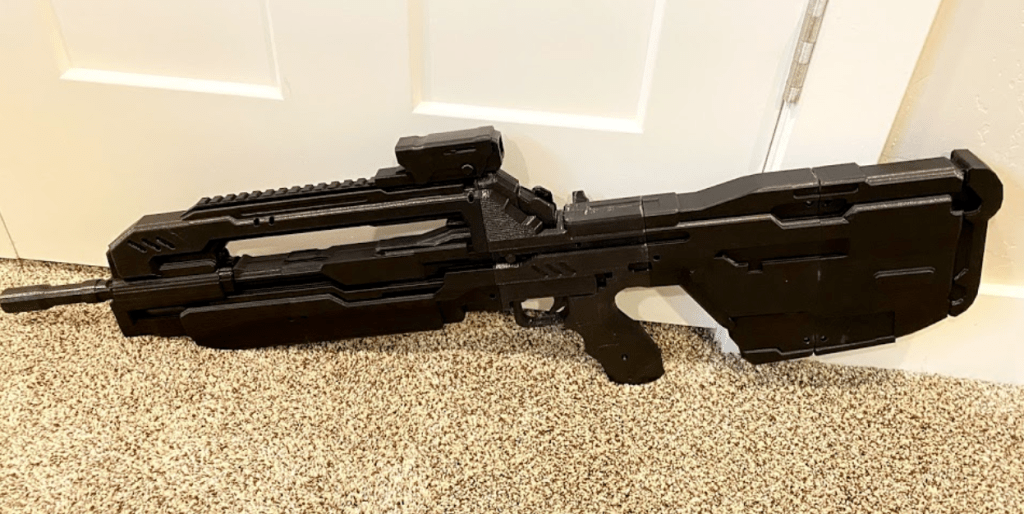
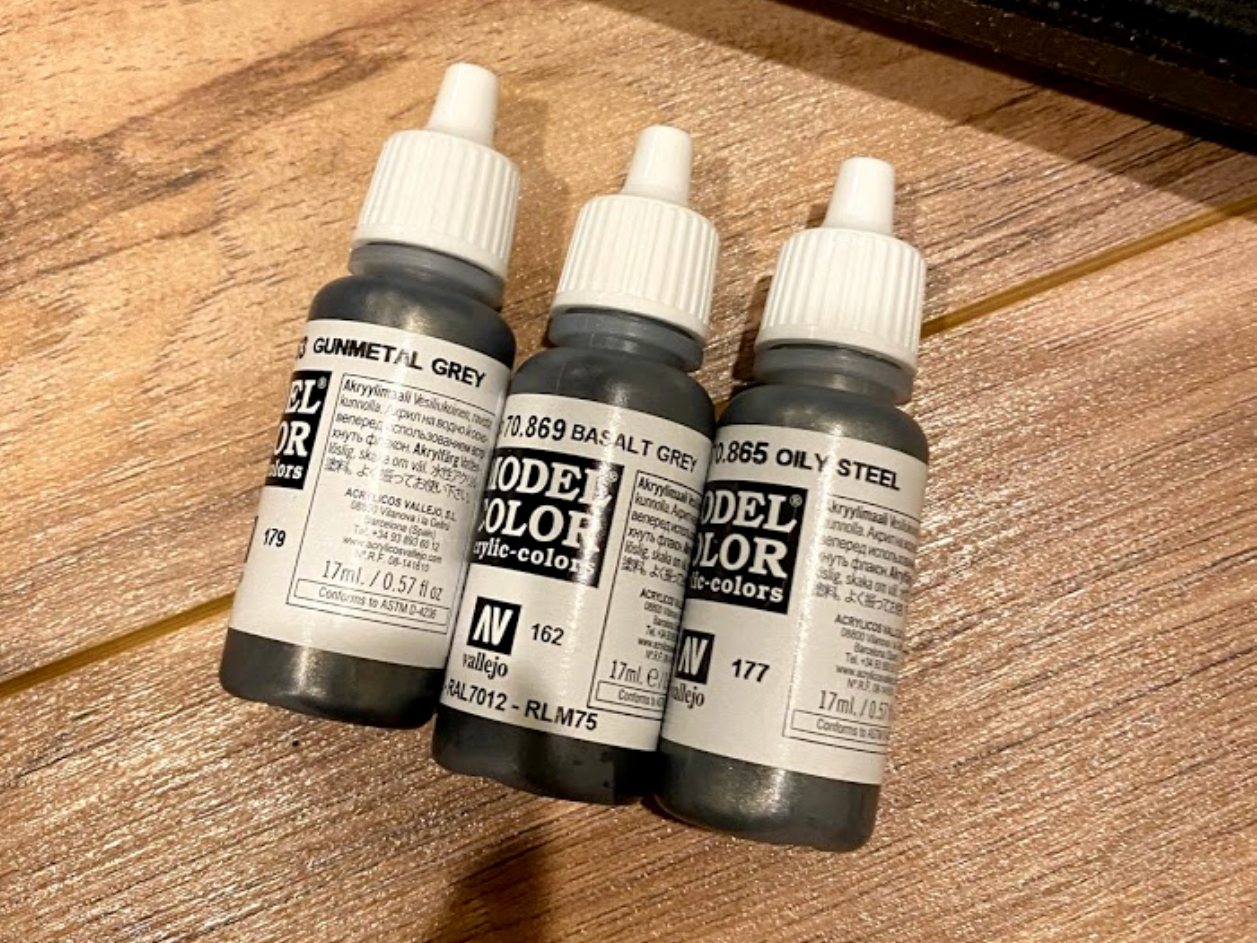
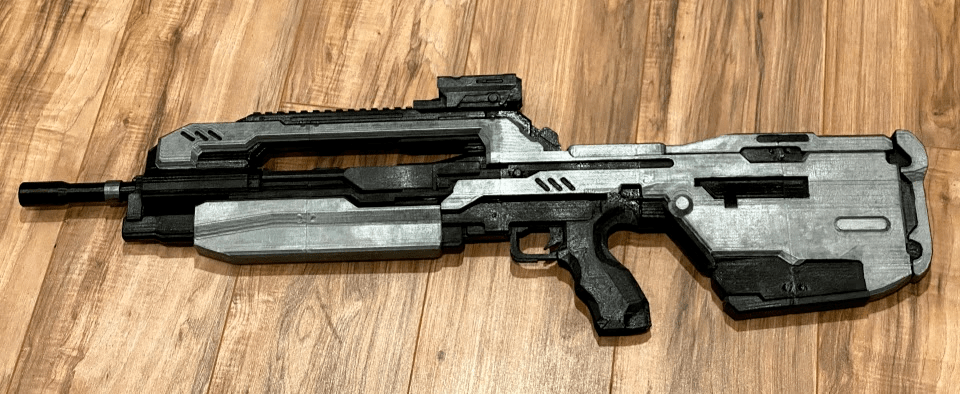
1. The kit shown in the listing was brush painted with Vallejo paint. I used Gunmetal, Basalt and Oily Steel Steel, I also used black (not pictured). People have had incredible results with airbrushes but its possible to get good results with paint brushes.
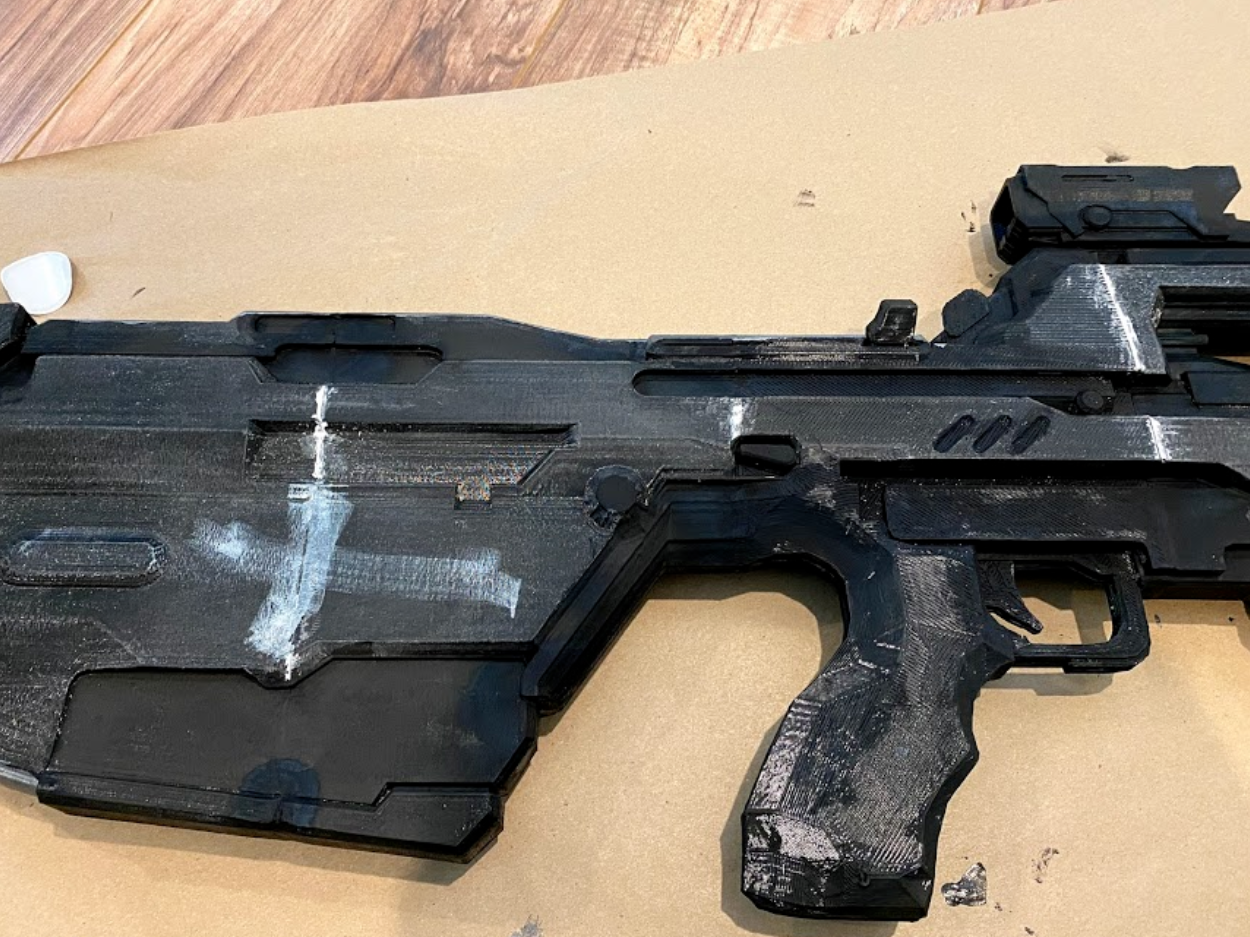
2. Start with the black sections of the gun. This is up to your interpretation of what parts are colored which color. You can take a look at my example below for inspiration.
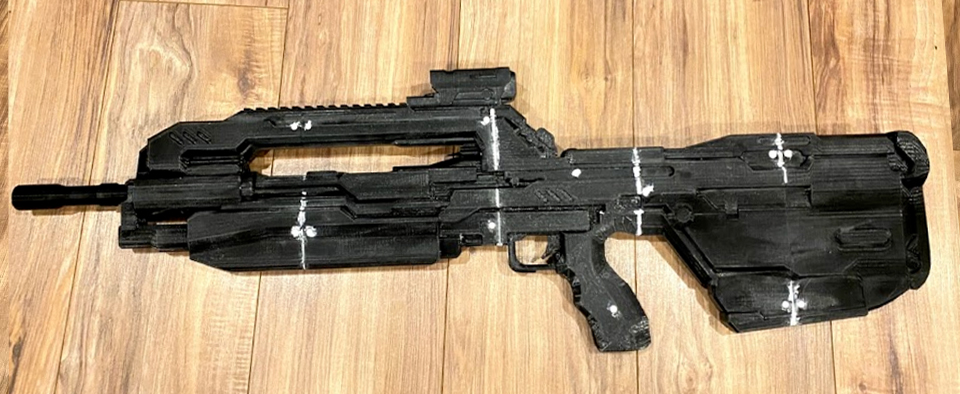
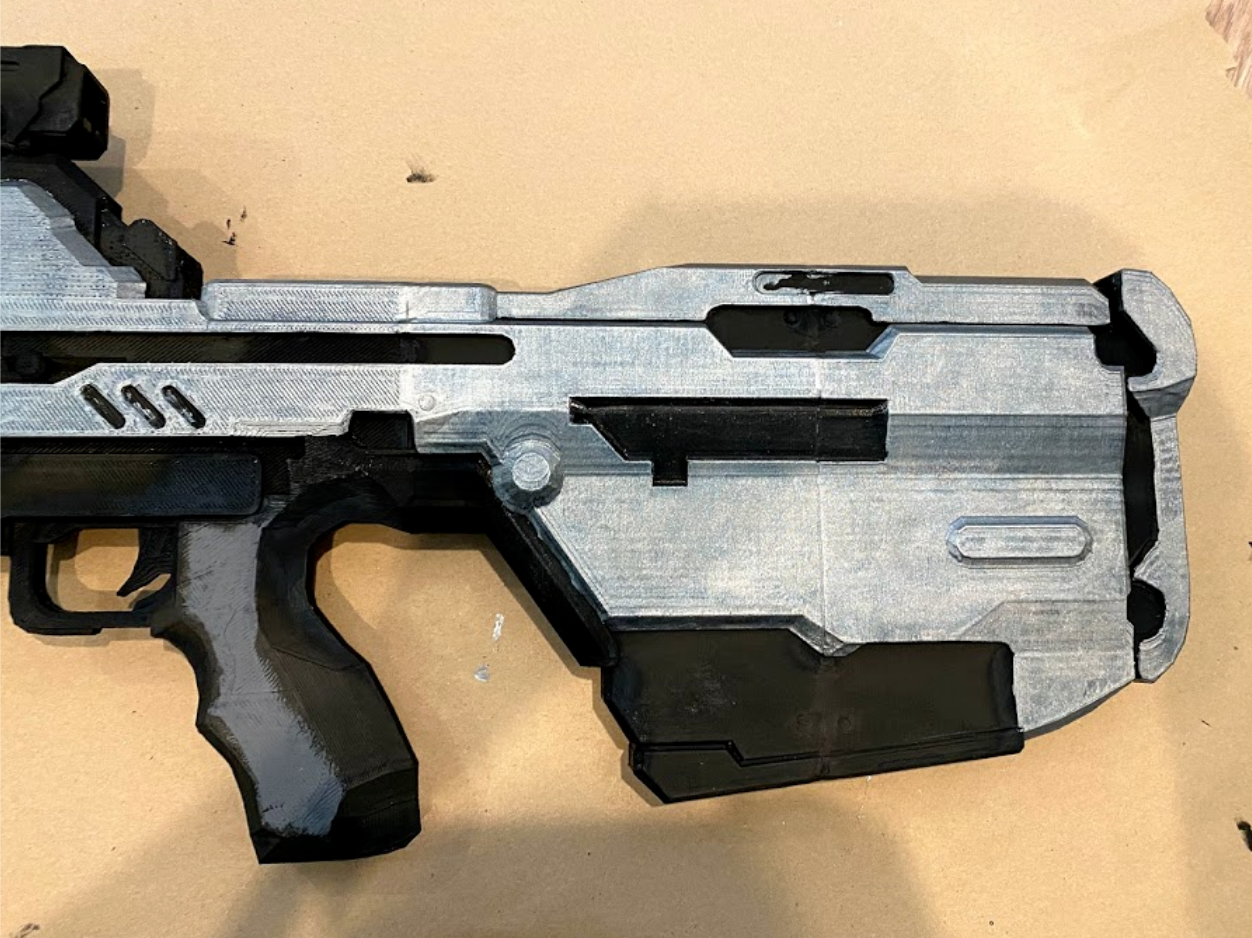
3. Next paint the light color, be careful to not smudge on the sections that will be another color. Its bound to happen which will be covered later.
4. Go back to the black color and carefully paint any mess ups where the silver shouldn’t be.
5. Optional – You can add an accent color to give it some character. Then check the gun for any other imperfections or missed spots. I went over it about 3 times with each color cleaning up my lines.
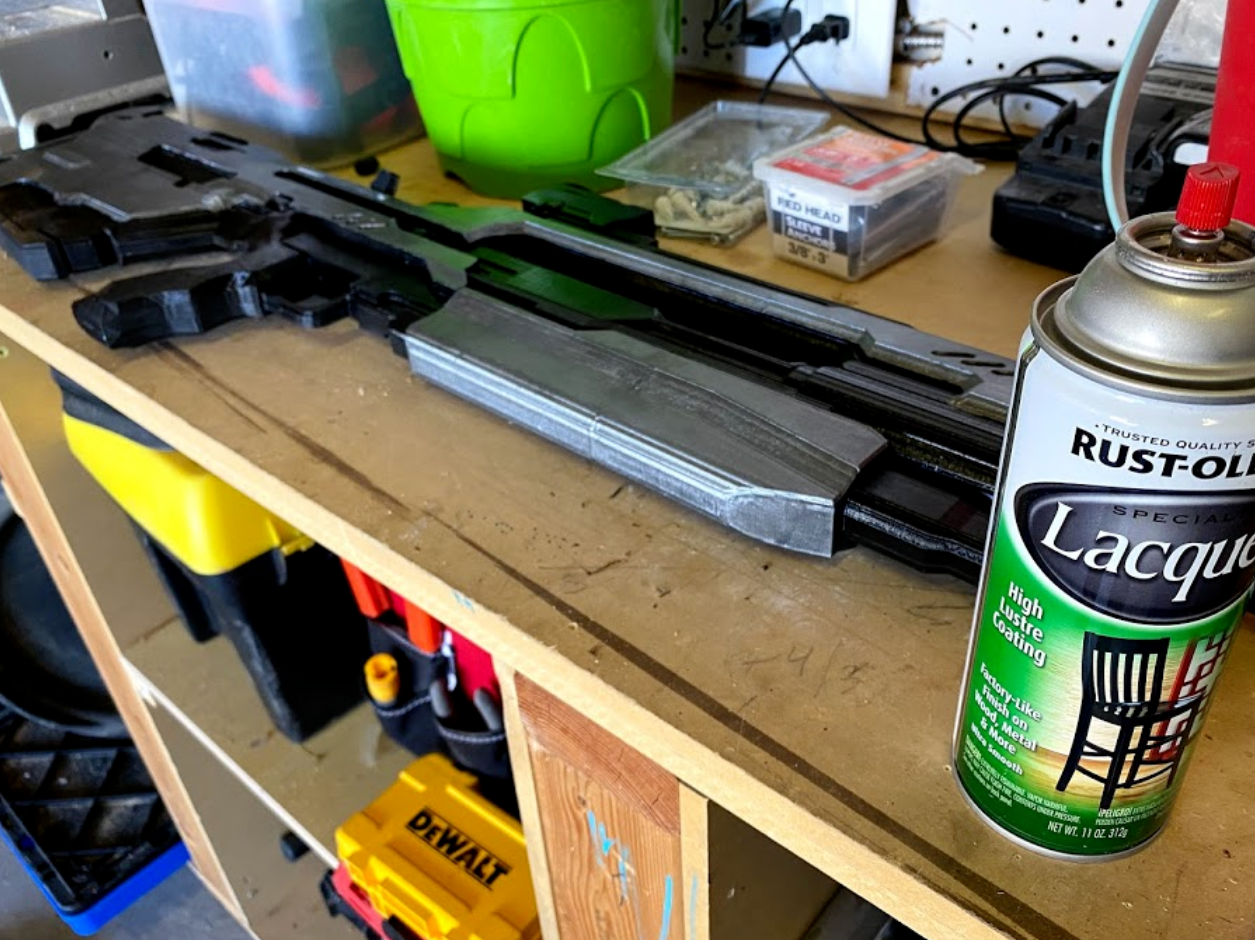
6. Once you are happy with the paint seal it with some spray on lacquer. Let it dry for at least 24 hours in a ventilated area.