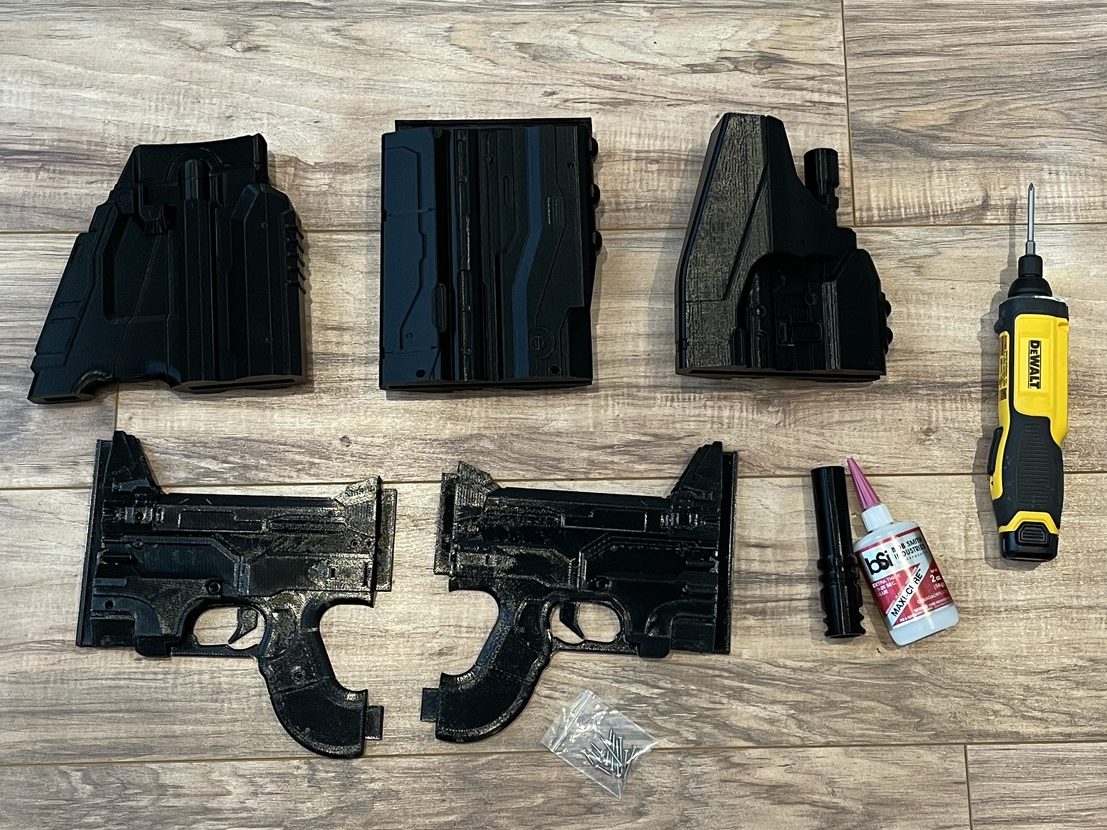
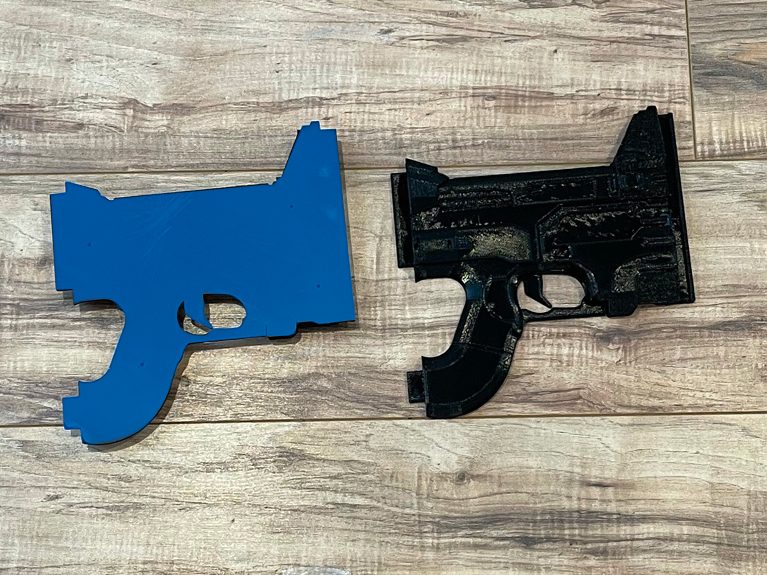
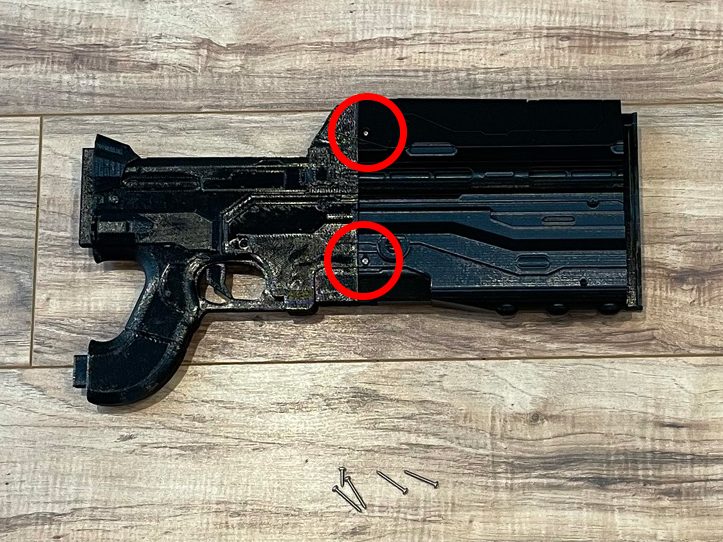
1. Lay out the parts to get an idea of how they go together. This will keep you from accidentally putting it together wrong. Recommended glue is CA glue (super glue) or epoxy. Use a liberal amount of glue and wipe excess glue off as out go.
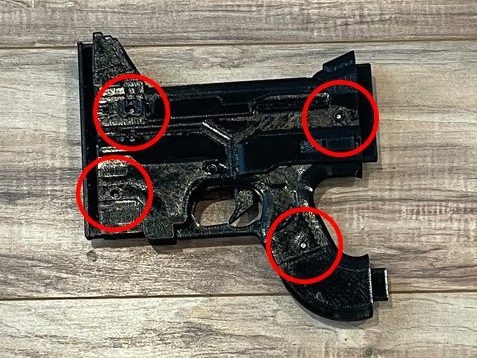
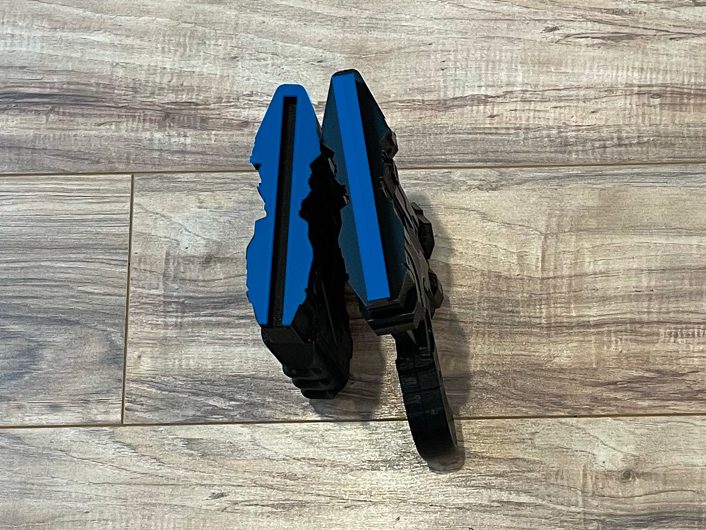
2. Glue one side of the main body.
3. Screw together the main body using 4 1/2” screws.
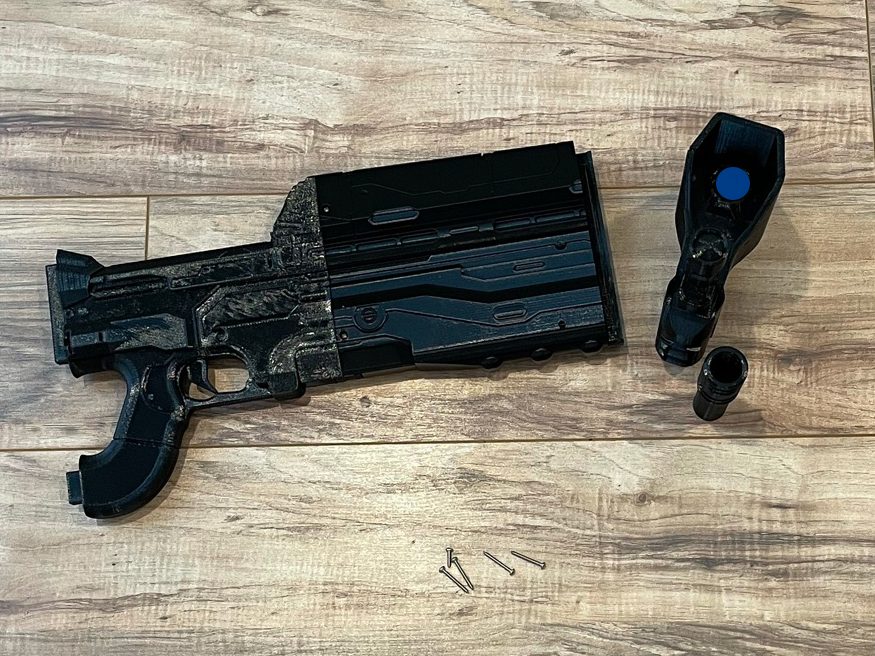
4. Glue connecting surfaces of the handle and middle section.
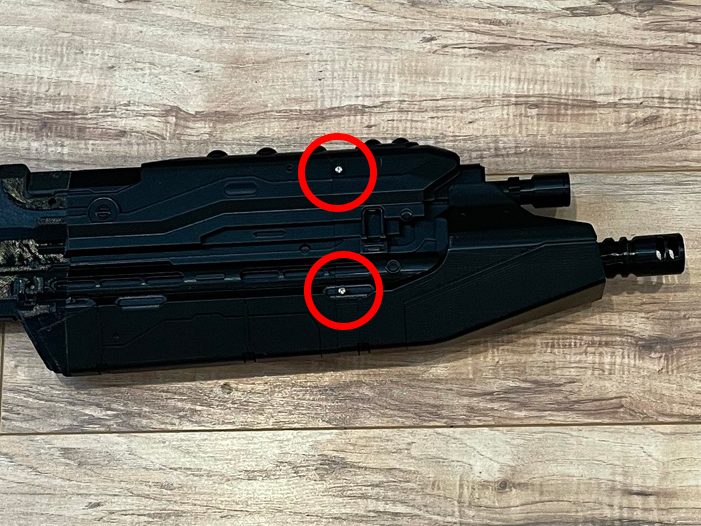
5. Attach the middle section of the gun to the main body using 2 1/2” screws.
6. Apply glue in the barrel socket
7. Attach and orient the barrel, vent holes should face sideways.
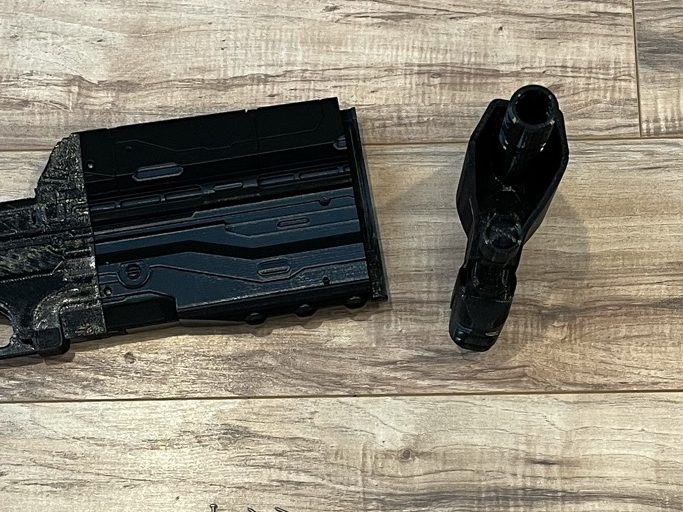
8. Apply glue to the middle section and front sections connected surfaces.
9. Attach and screw in the front with 2 1/2” screws.
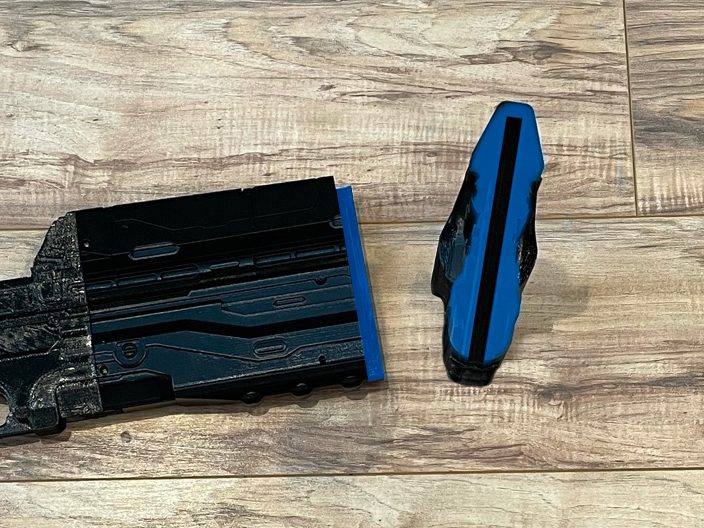
10. Apply glue to the handle and butt of the gun.
11. Attach and screw in the front with 2 1/2” screws.
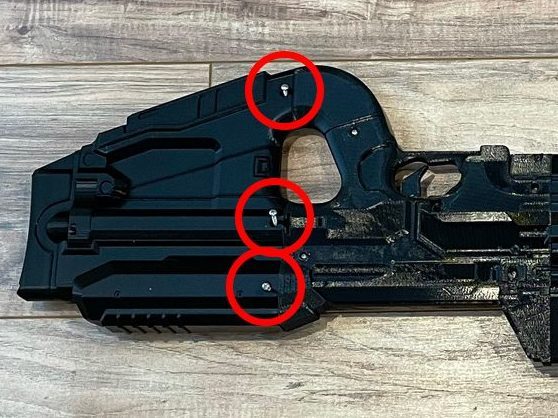
12. Attach the butt of the gun to the handle with 3 1/2” screws.
Painting
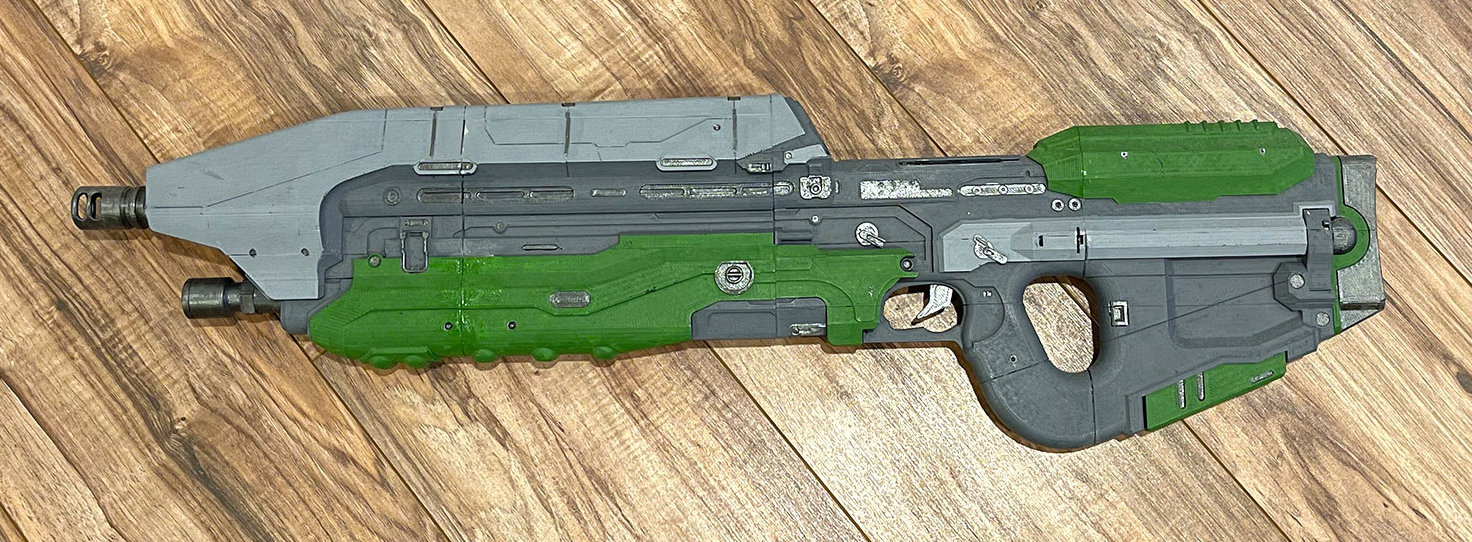
The gun is ready to be painted. I plan on putting together a video showing that process. But until that is finished, here is an example of how I painted the above model. You can fill the connecting parts with model putty but I didn’t bother with that. I also skipped the primer. I use Vallejo paint. I painted one color at a time on every surface of the gun. I let it dry and then moved on to the next color. I went over each color 2 to 3 times to help fix overlaps and missing spots. Let it fully dry before adding another layer. Once you are happy with the paint job finish it with a spray-on lacquer.