
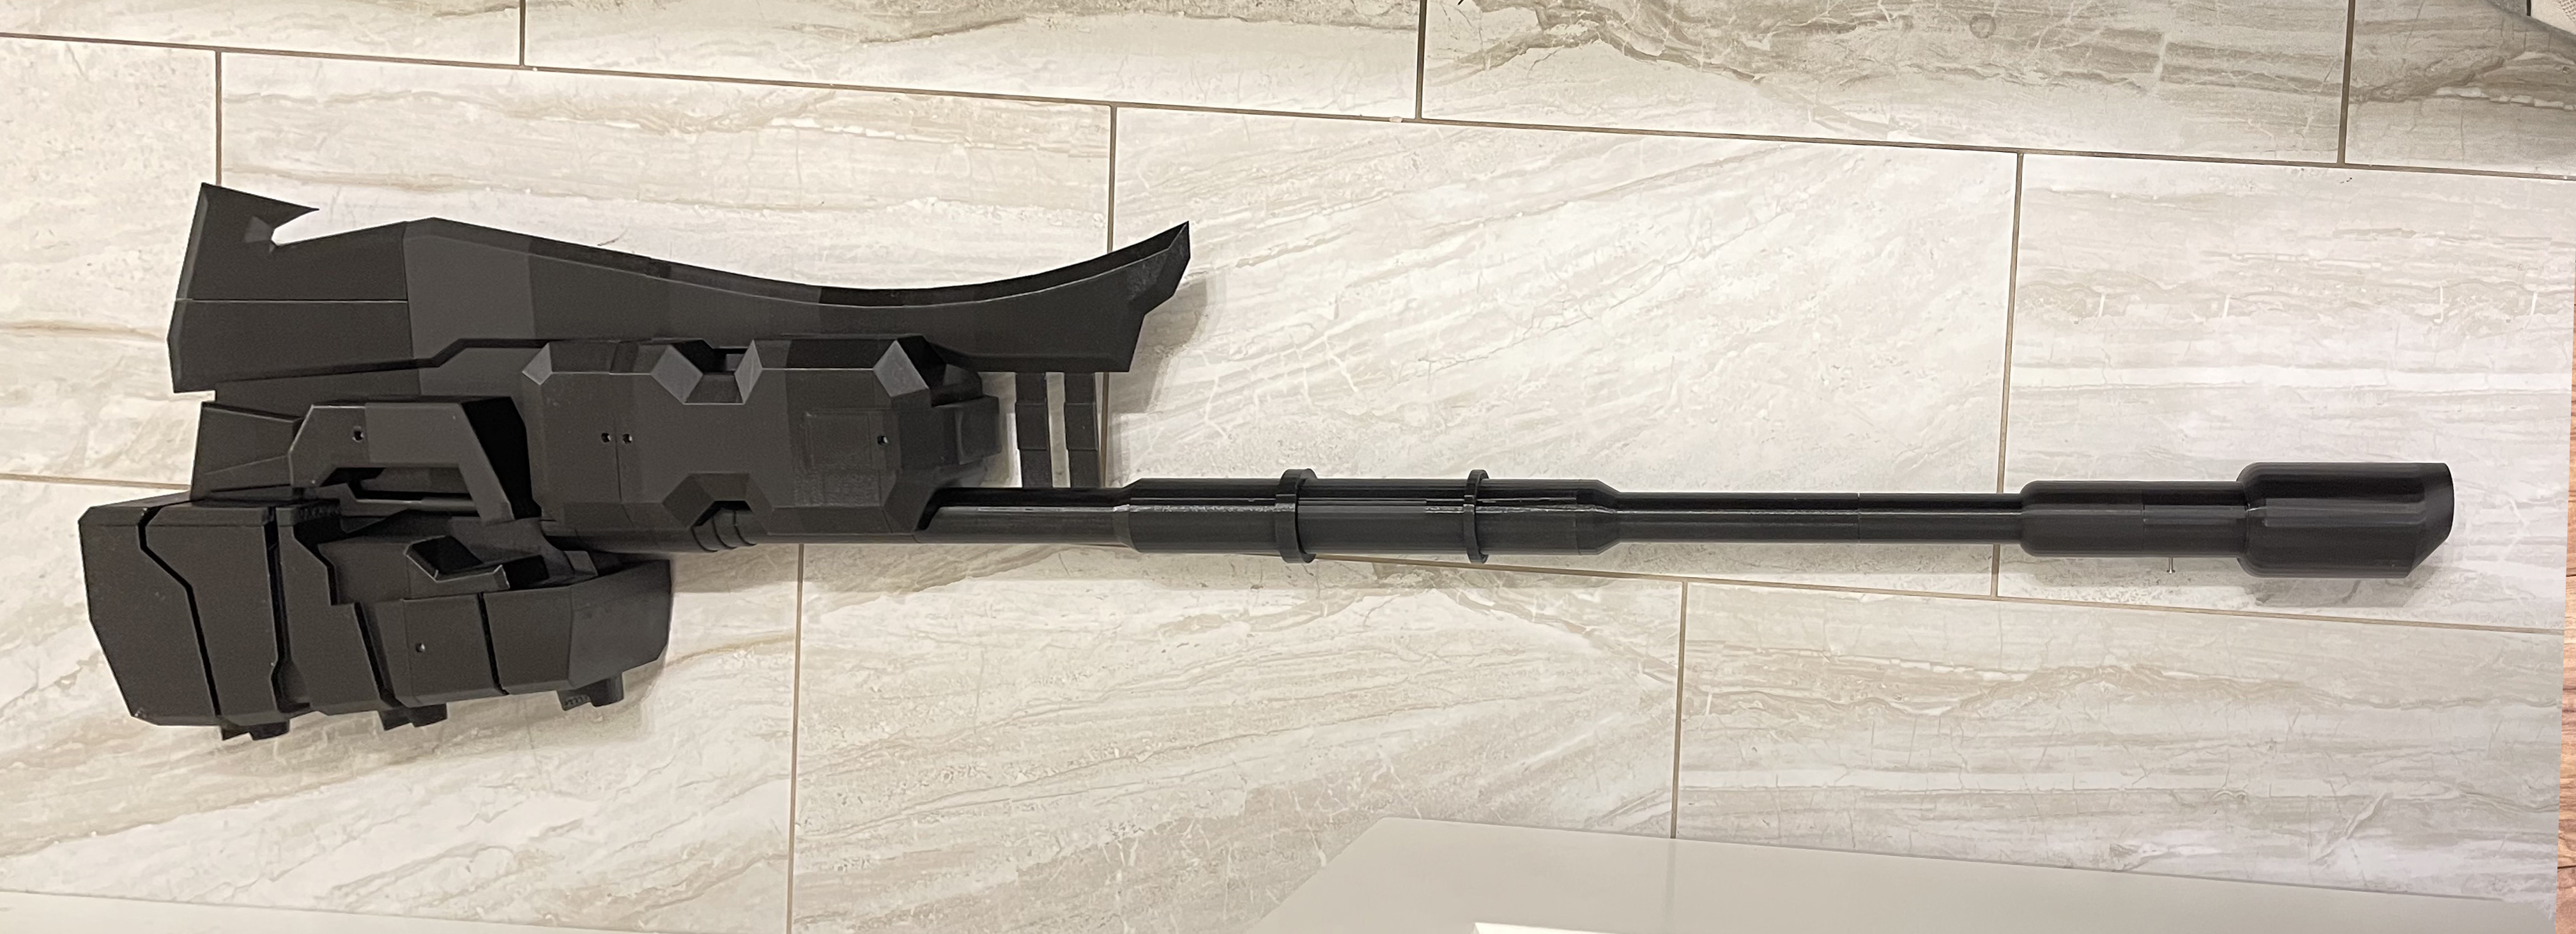
Halo Gravity Hammer
• • • • • • • Assembly Instructions • • • • • • •

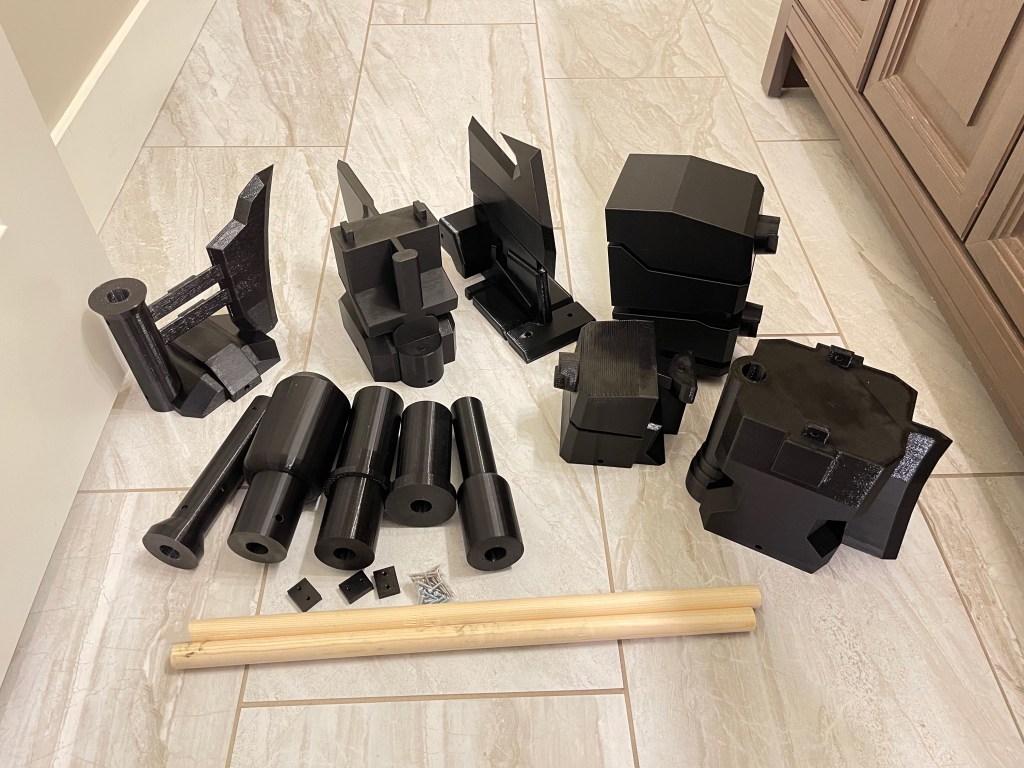
Assembly


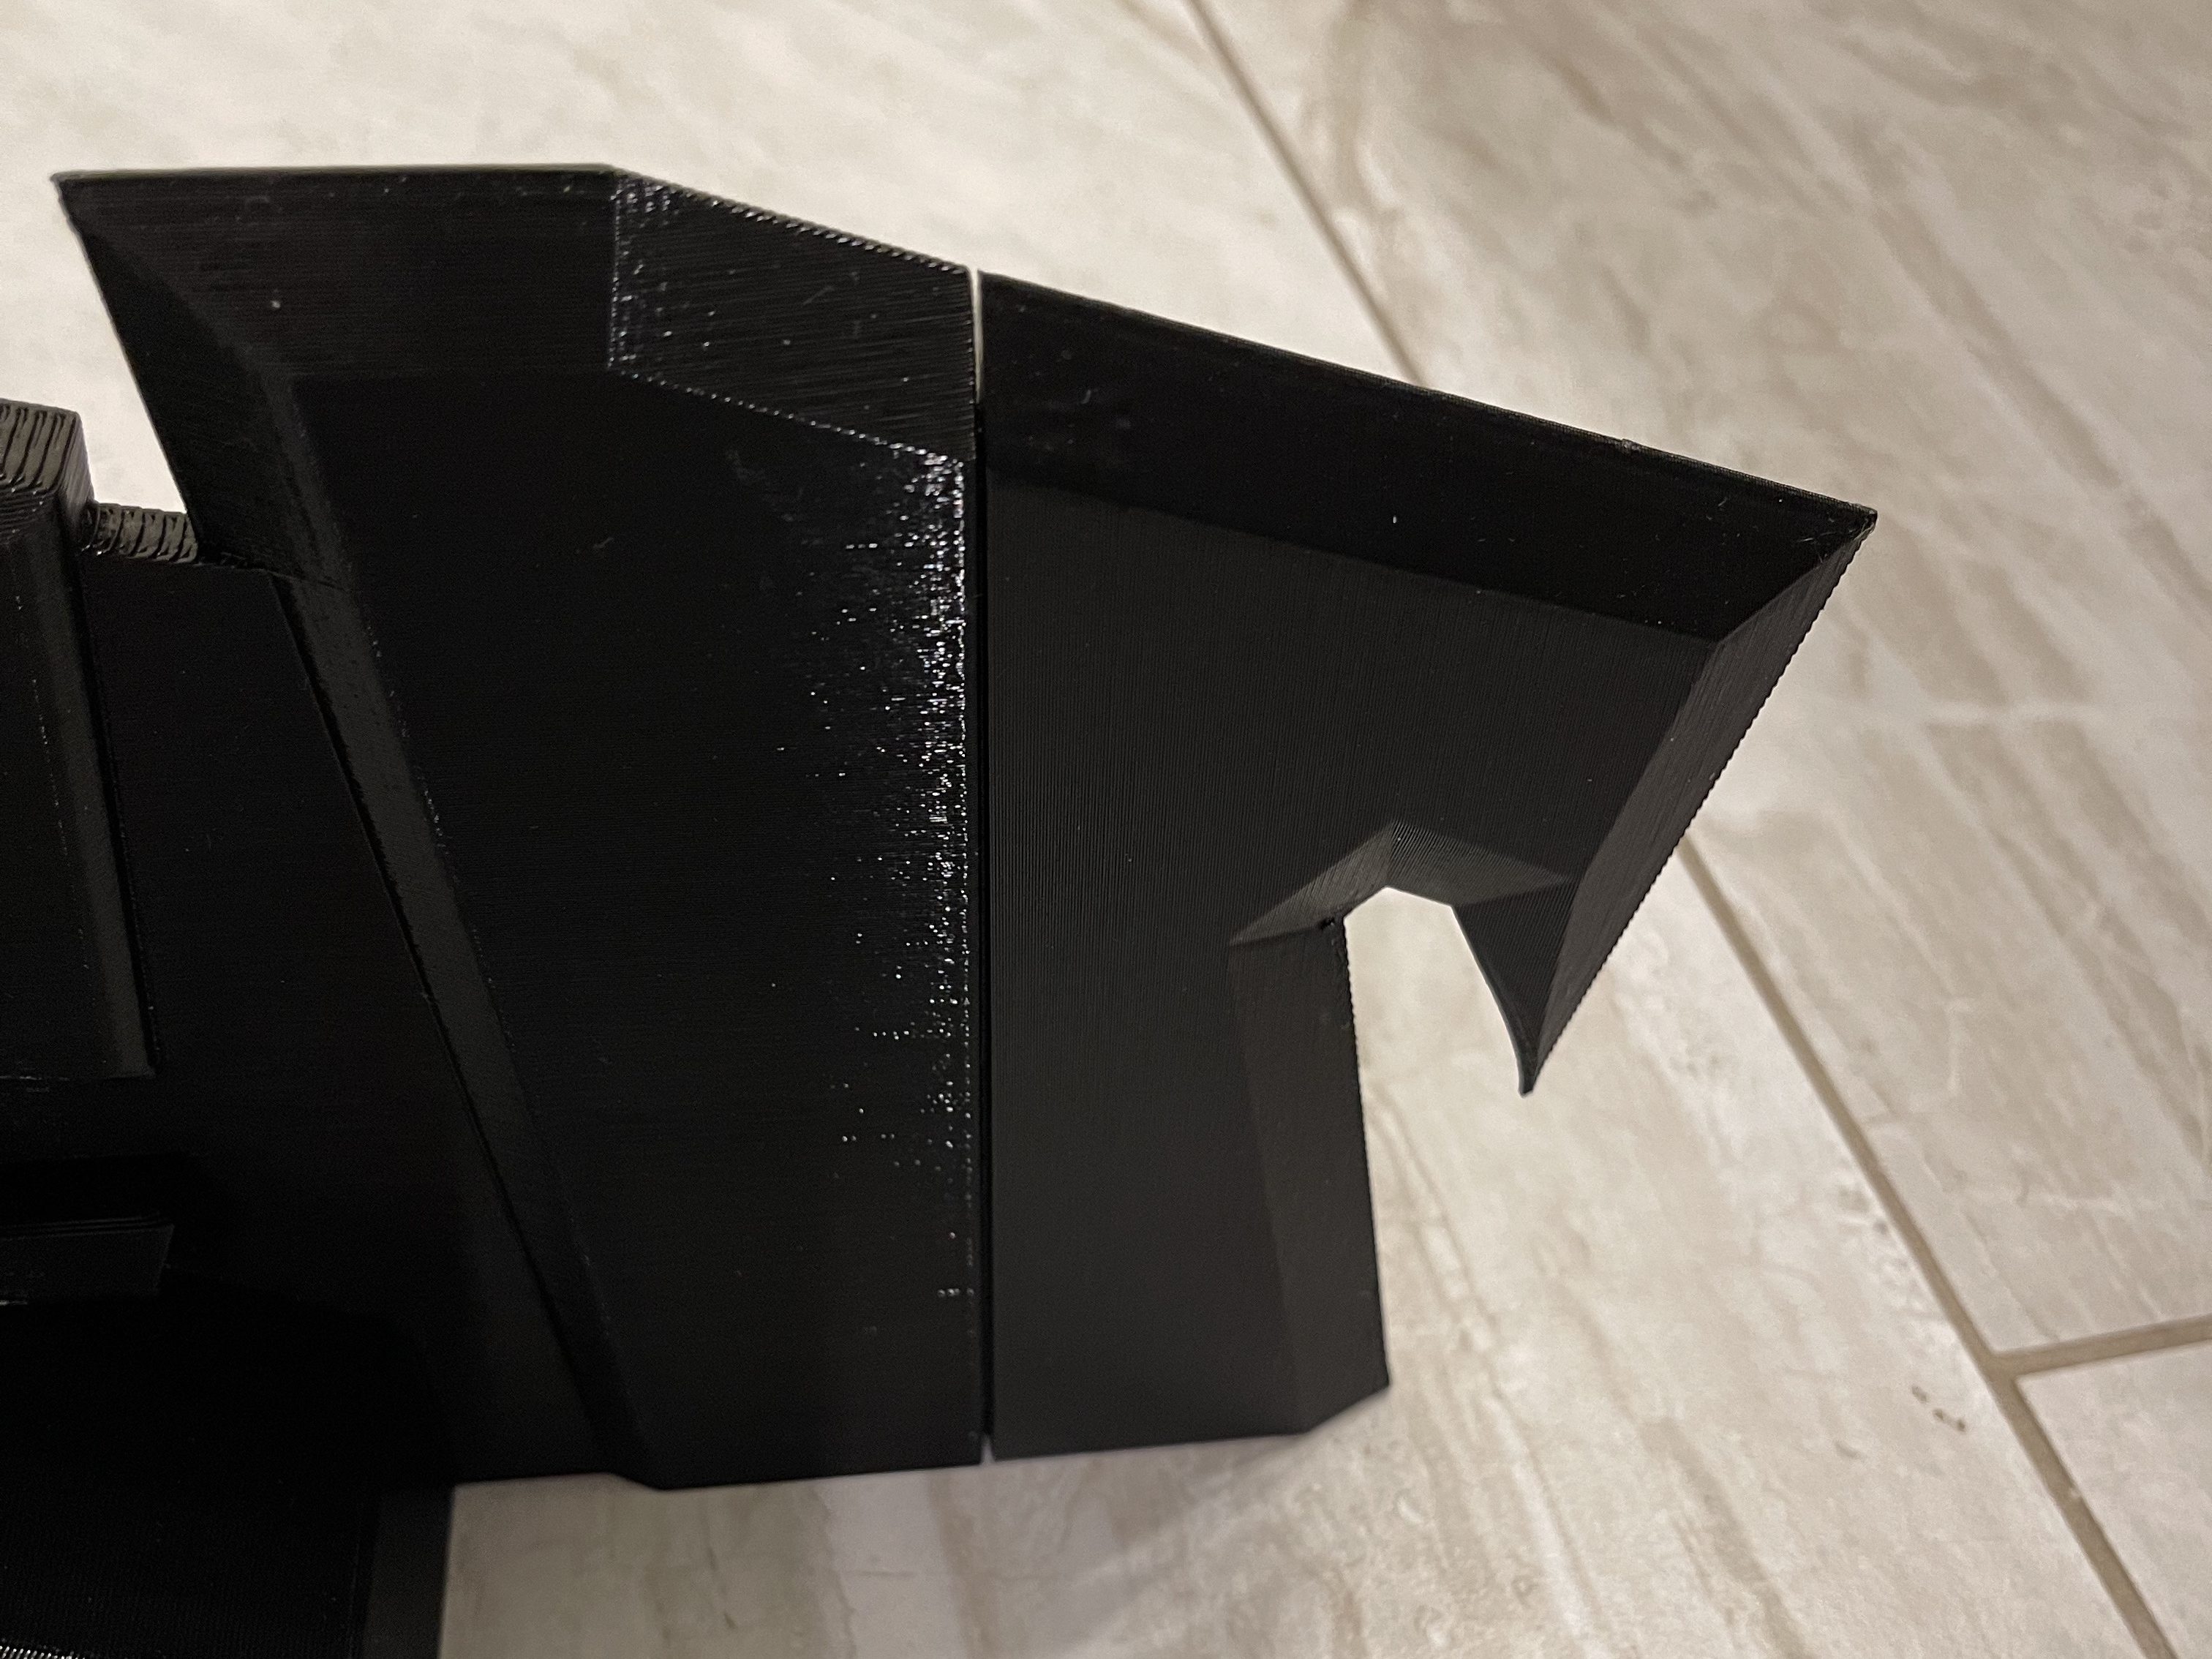


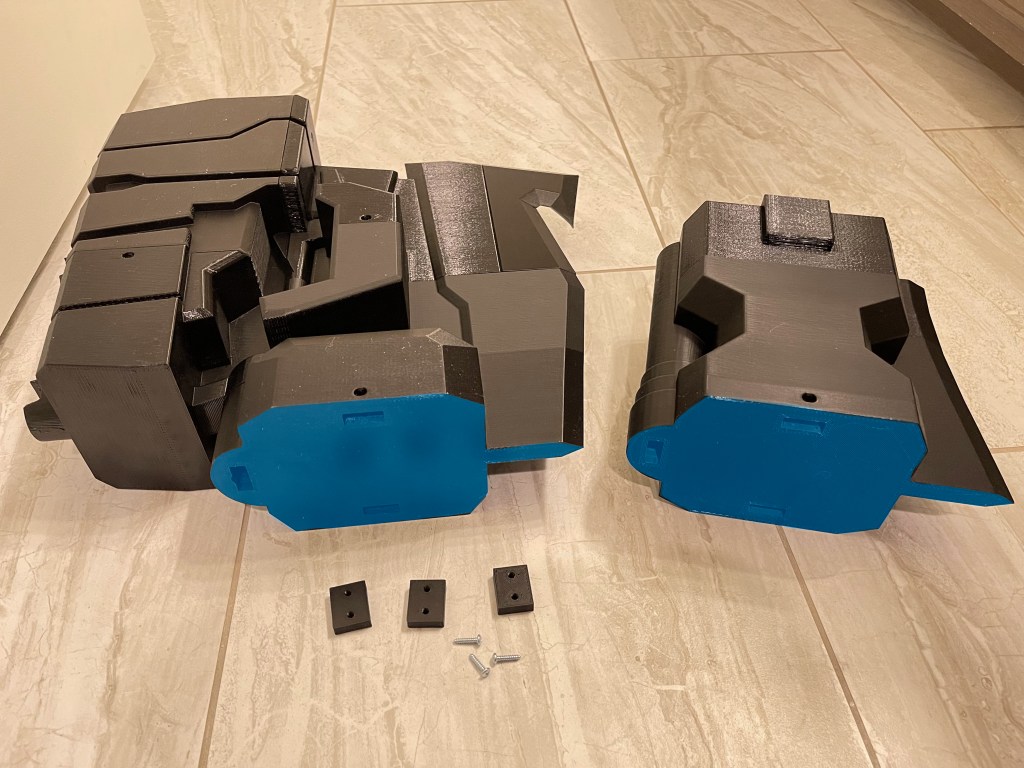
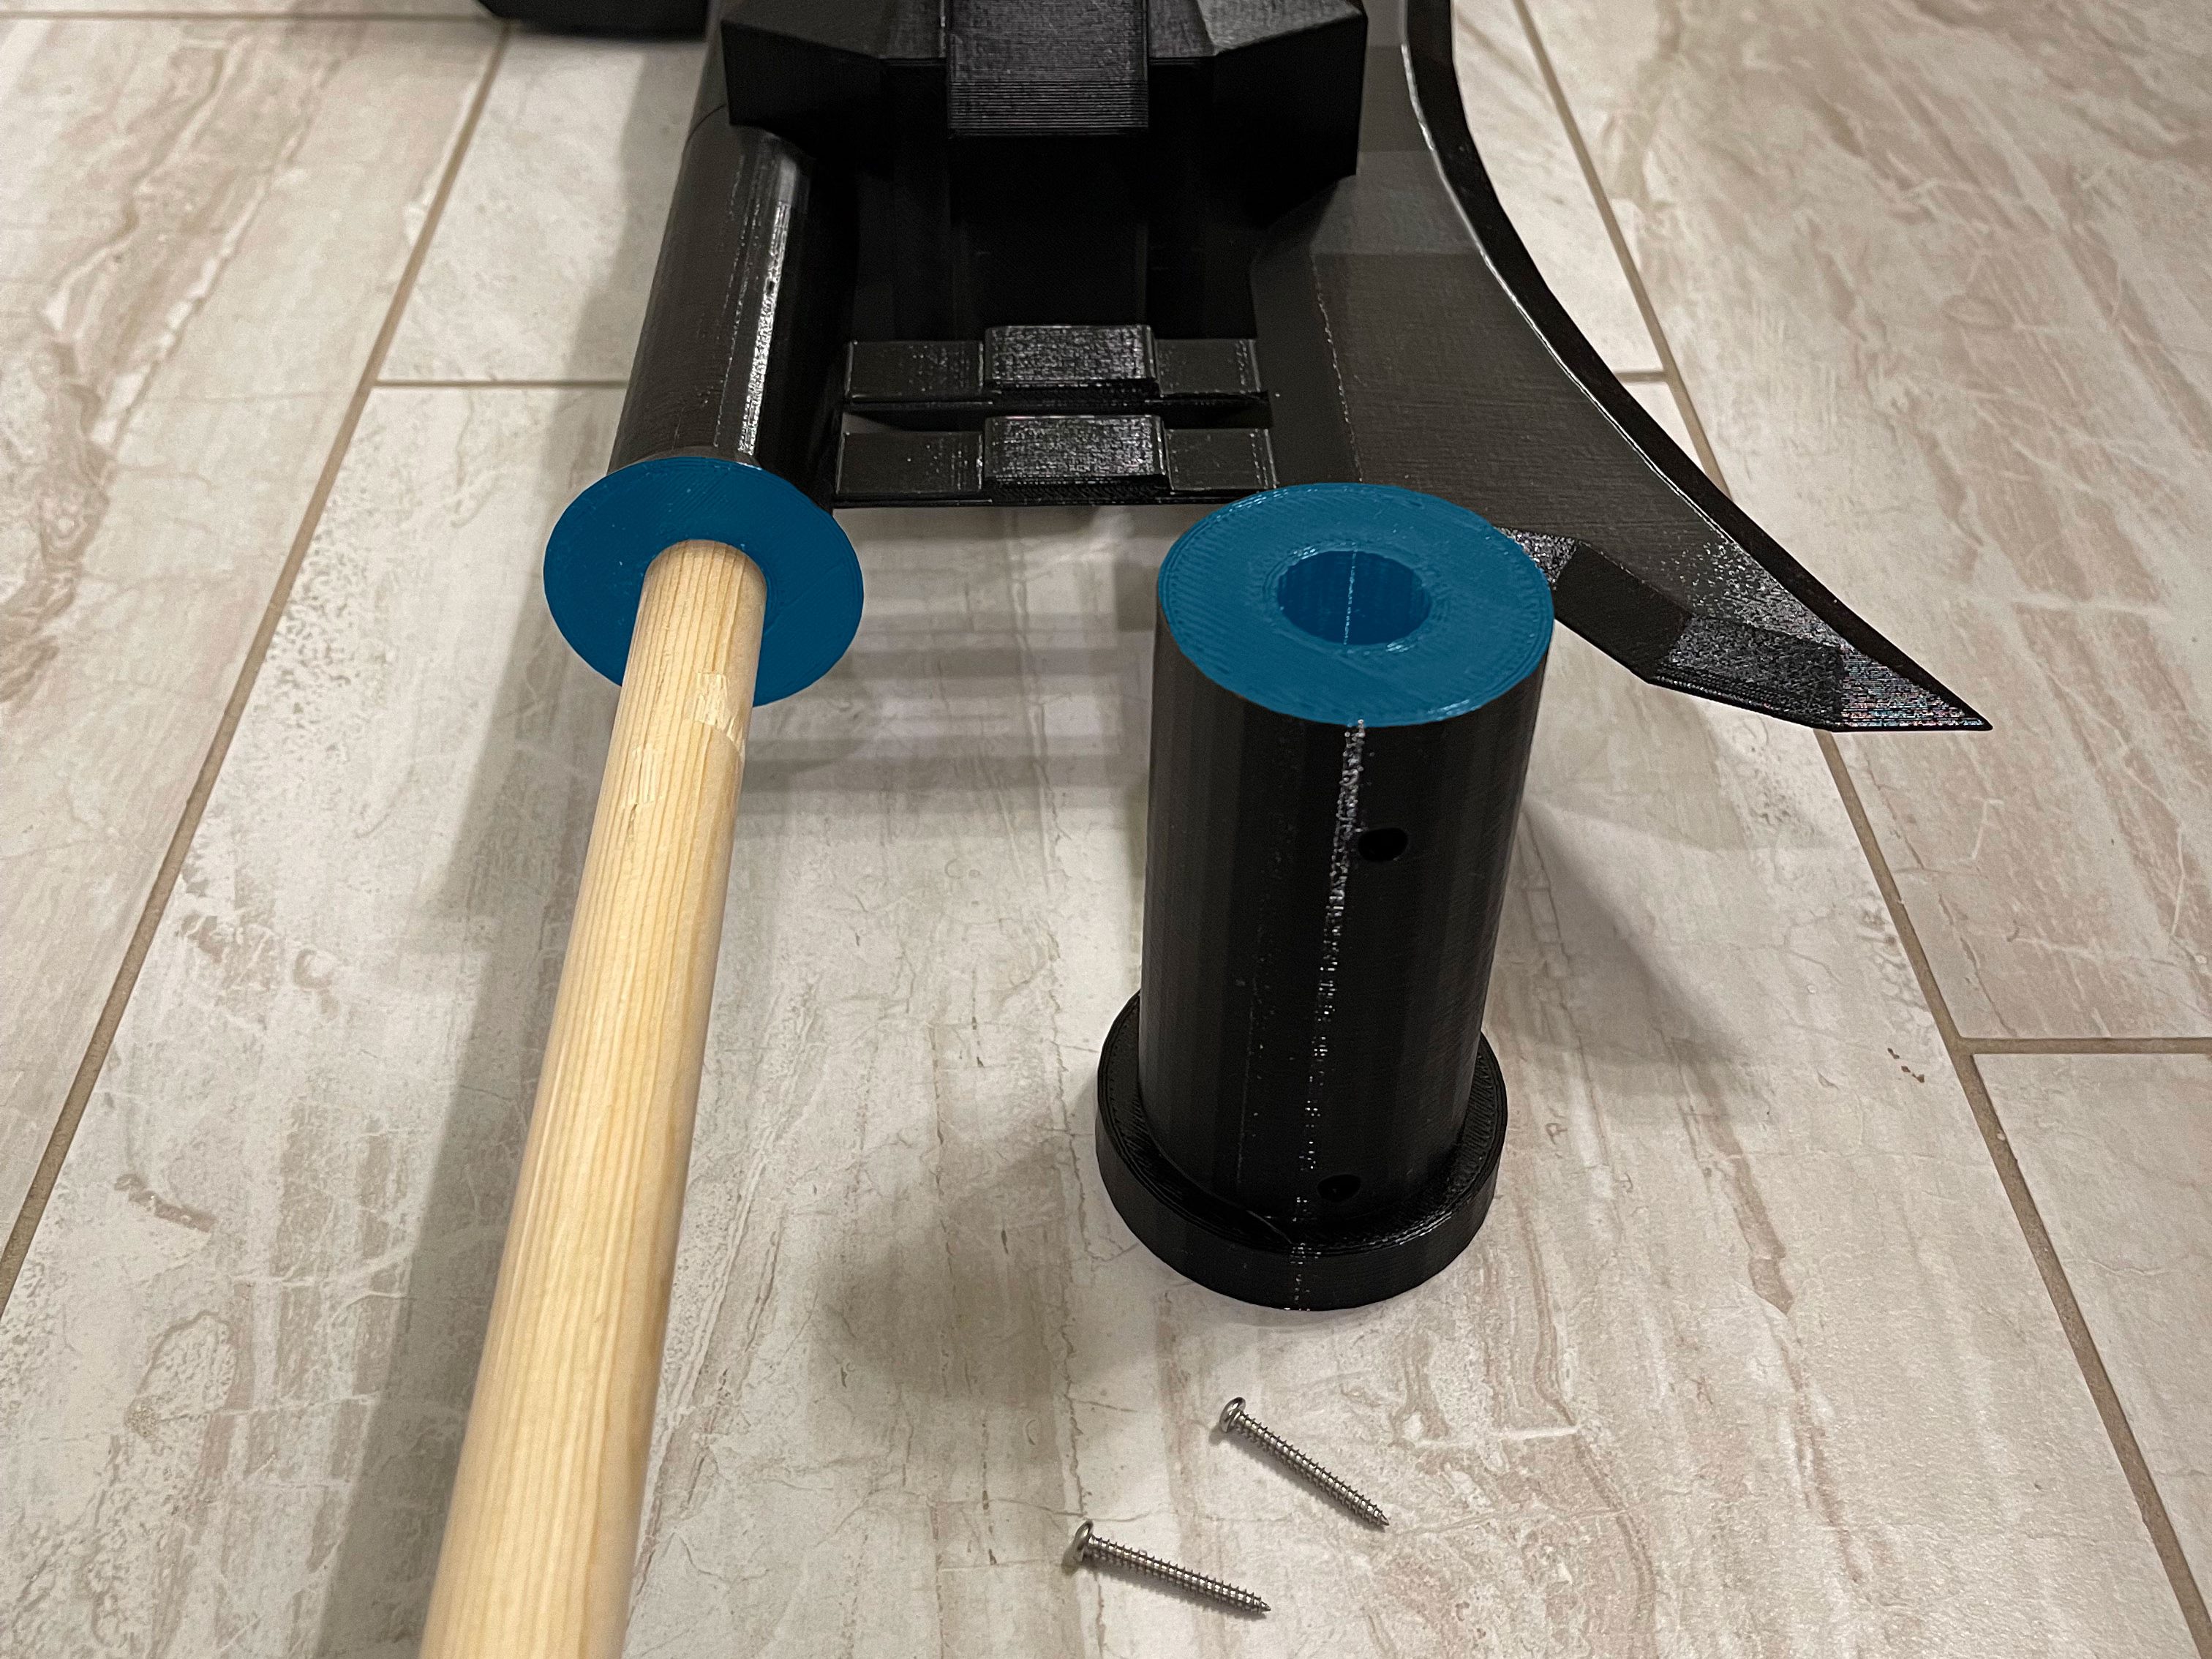

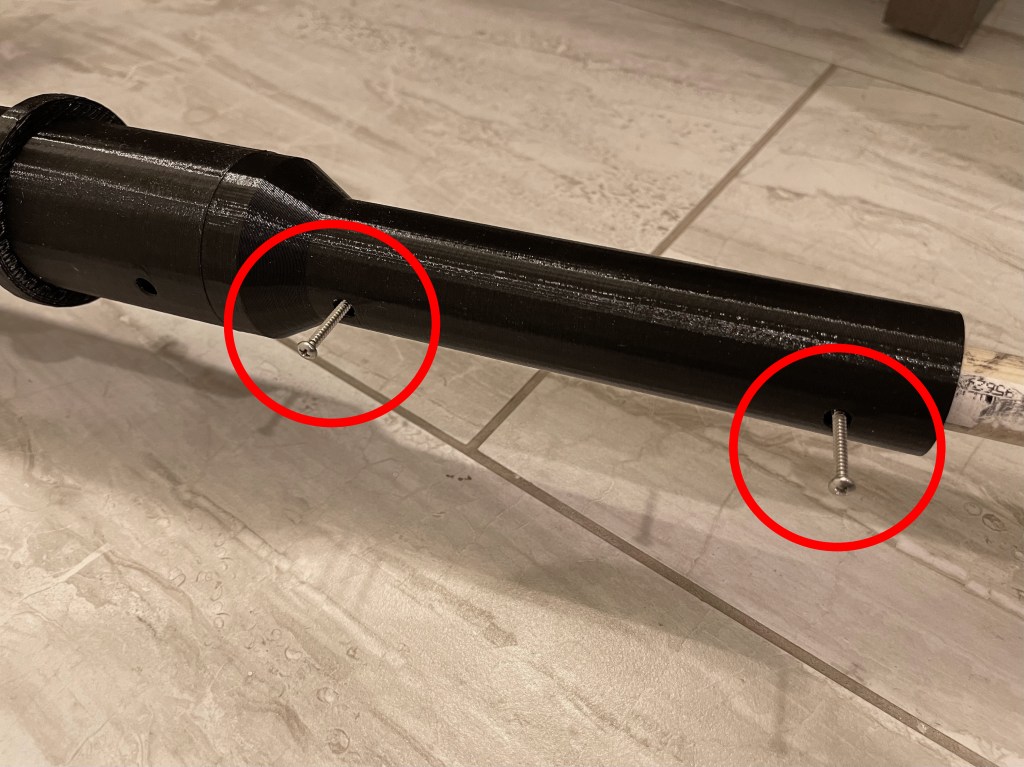
twist it if its tight, then secure it with 2 1″ screws
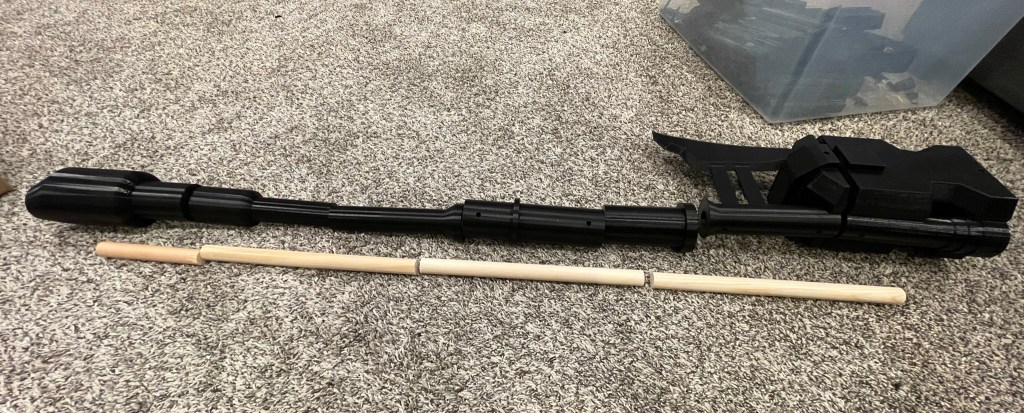
recommend putting the longer side first (The side down in this picture).
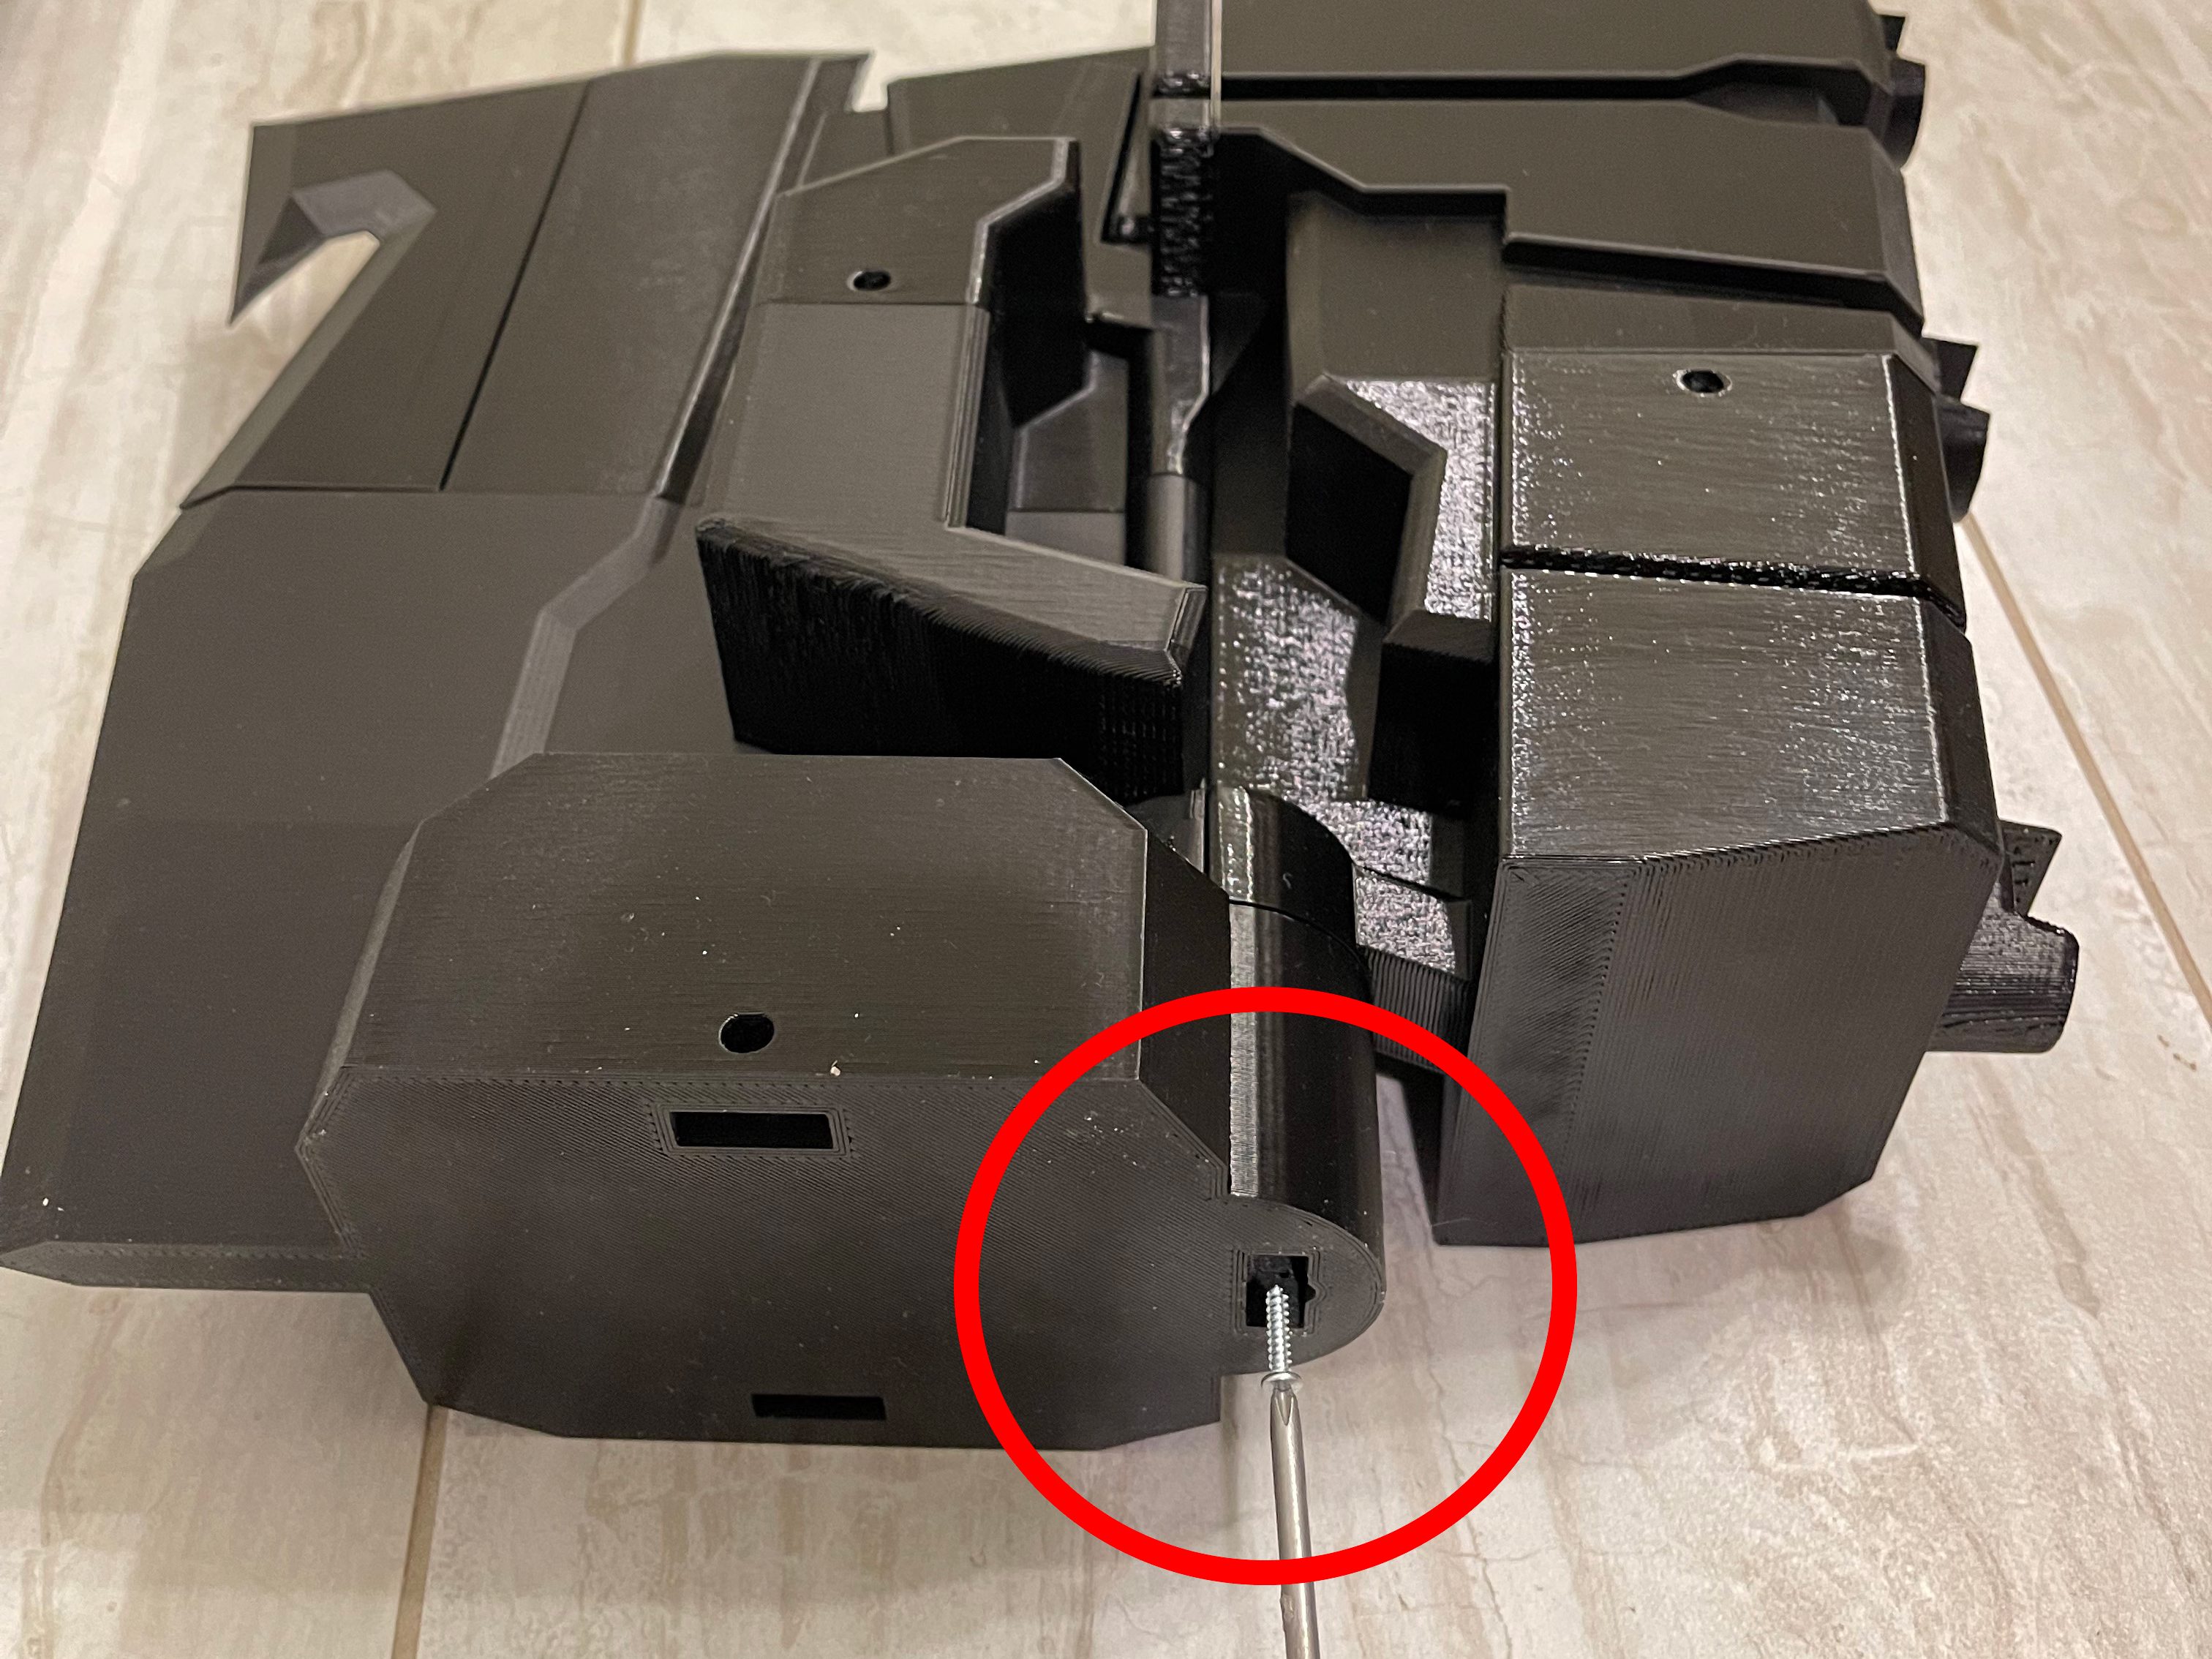
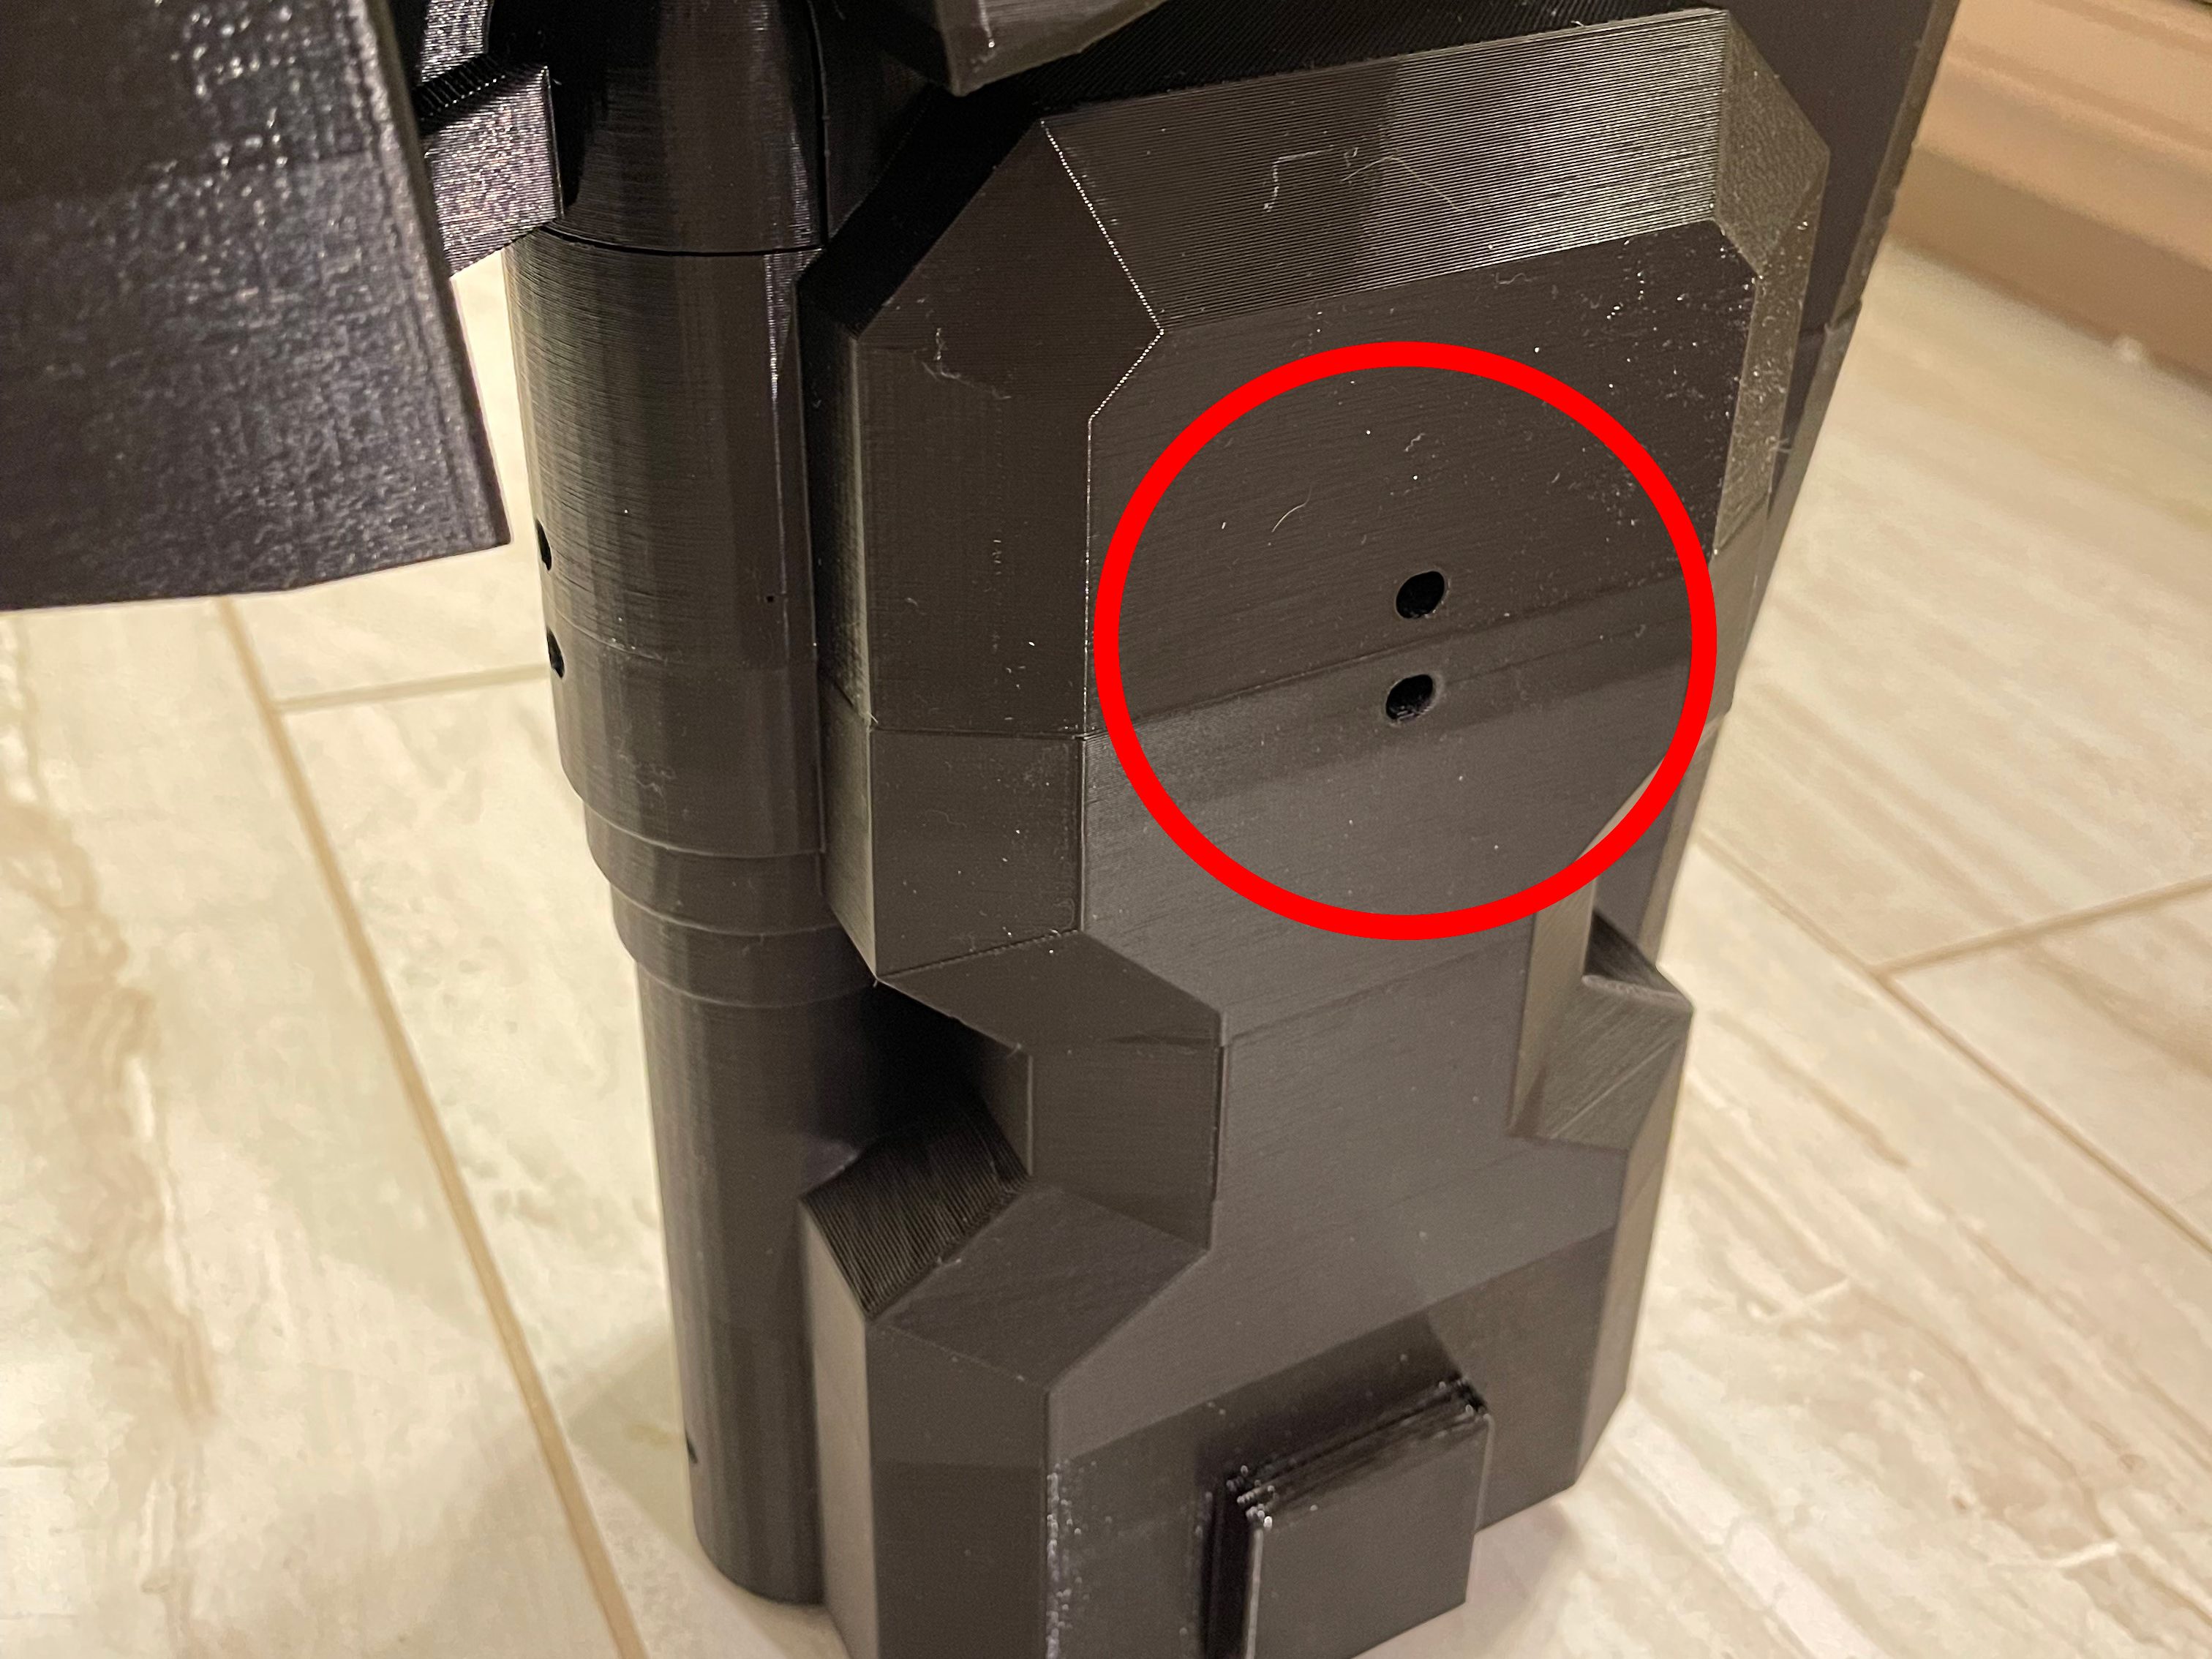
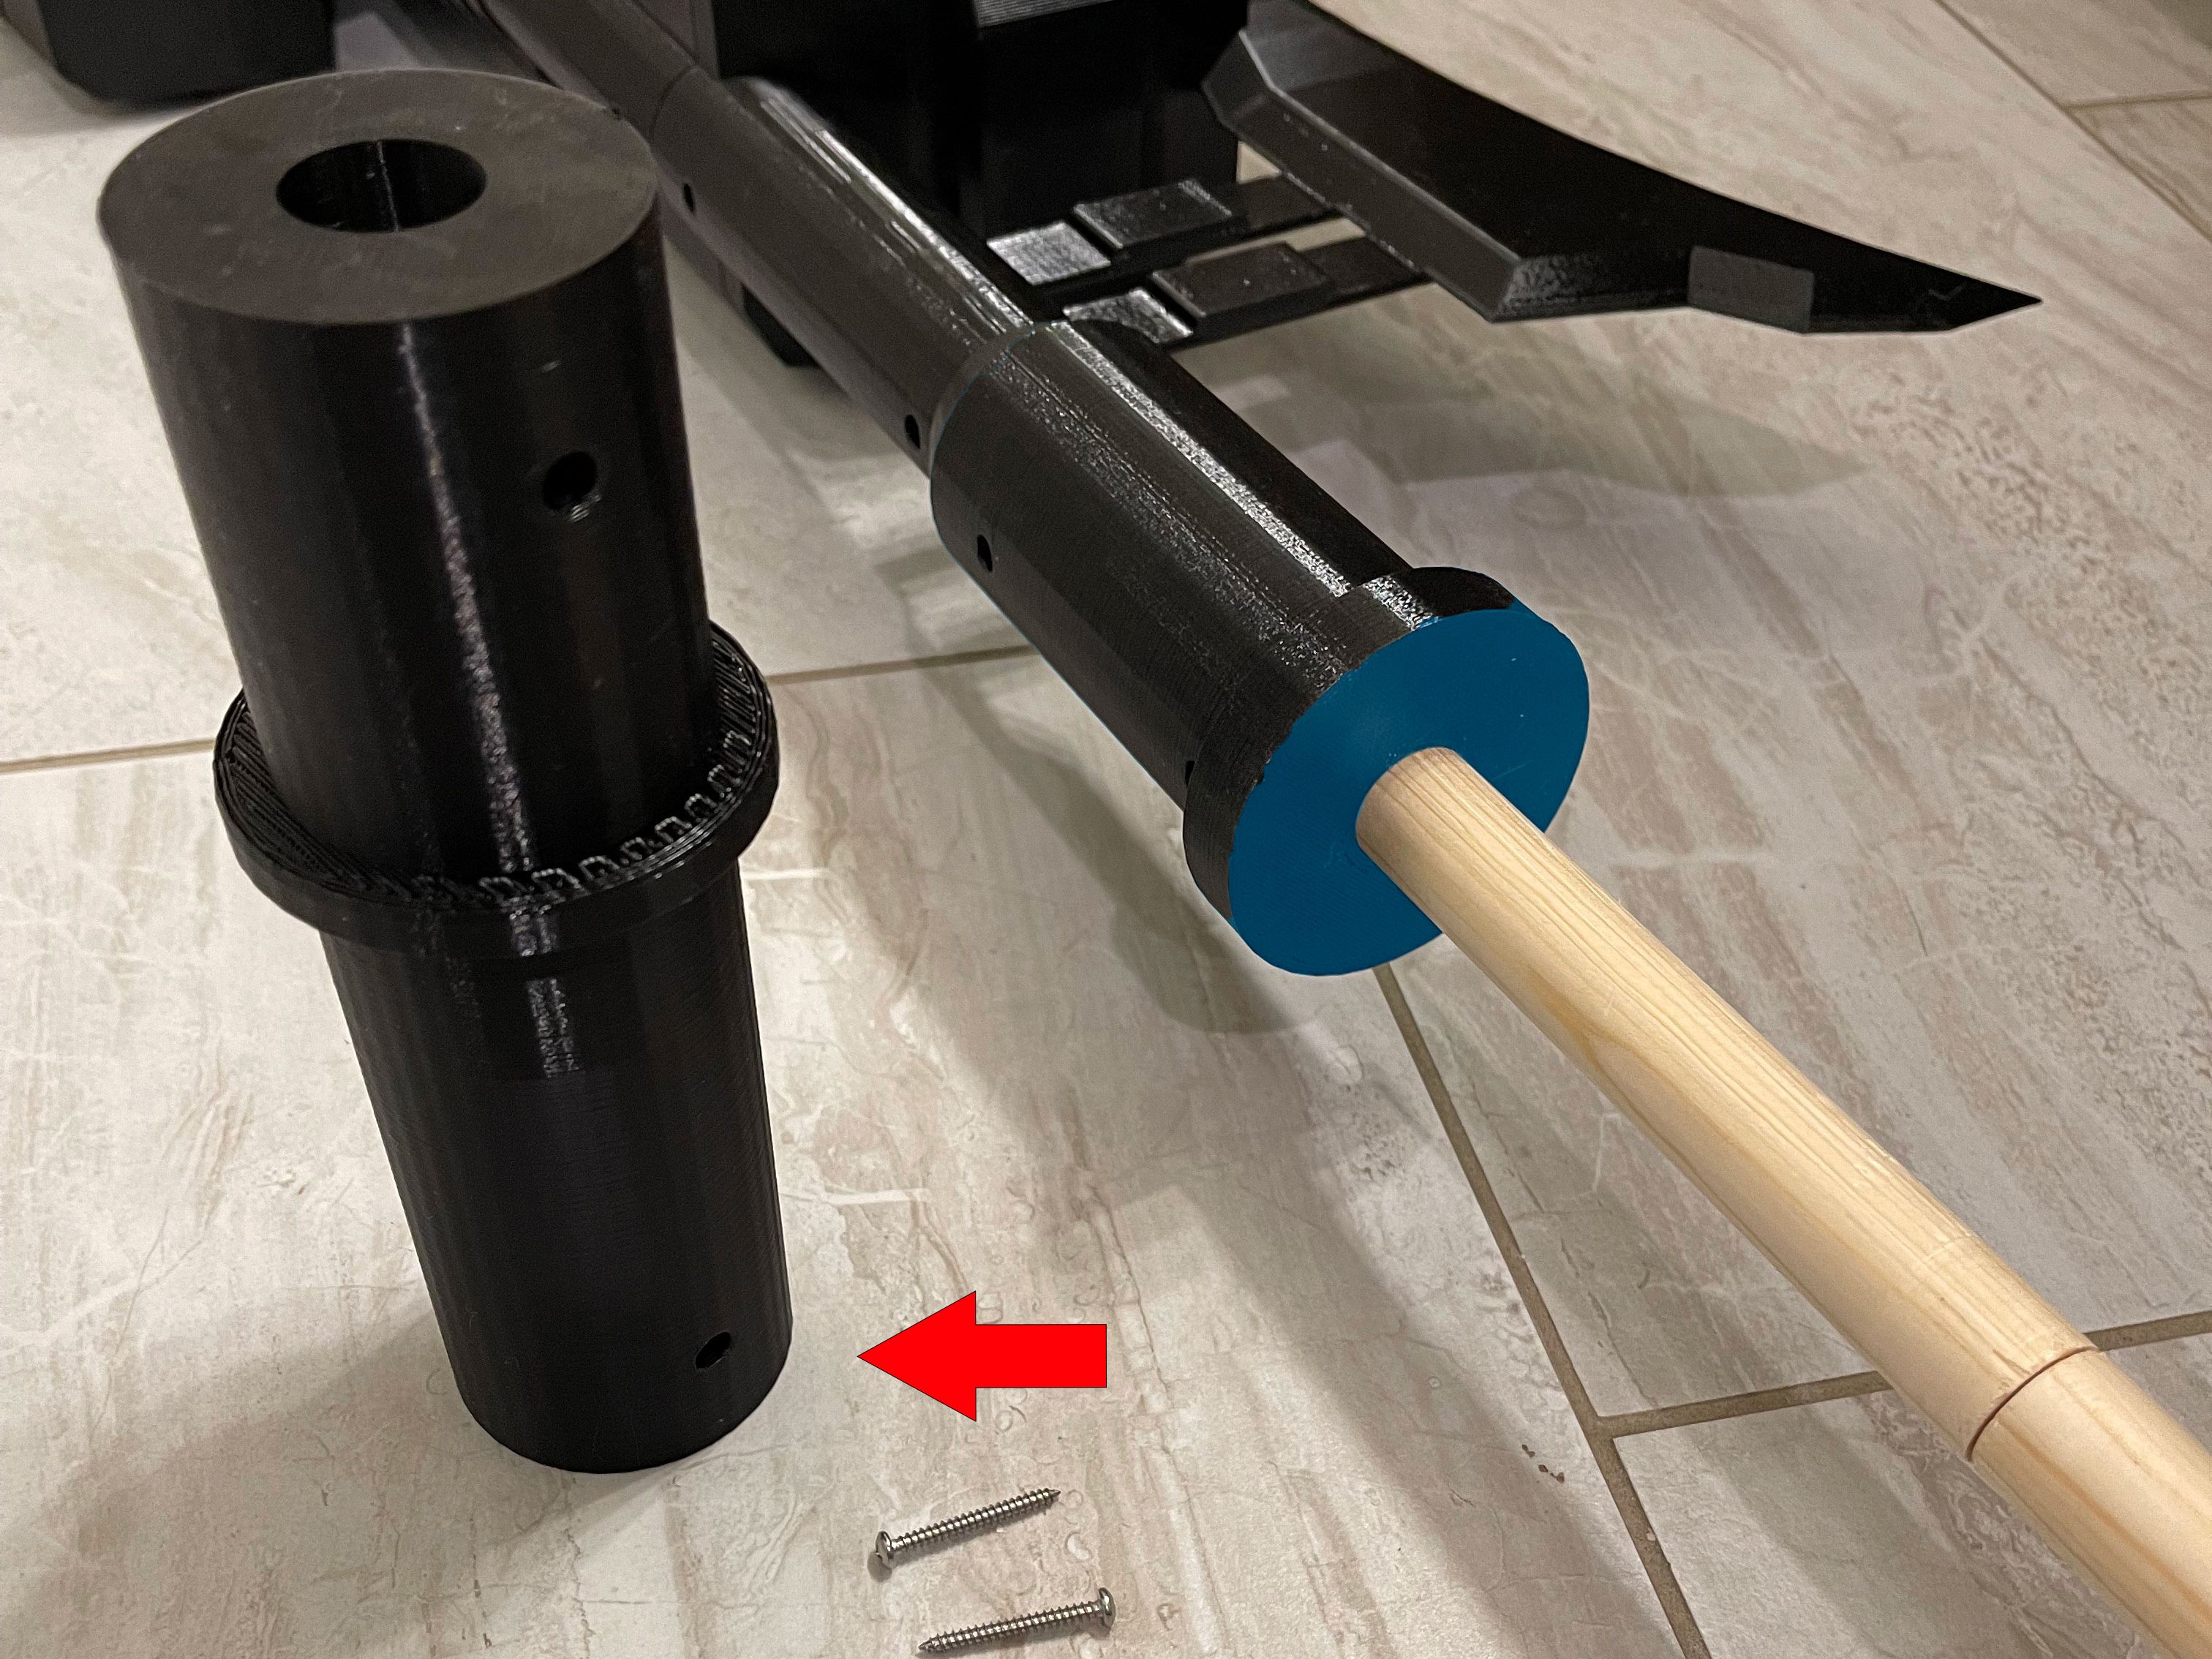
twist it if its tight, then secure it with 2 1″ screws.
recommend putting the longer side first (The side down in this picture).
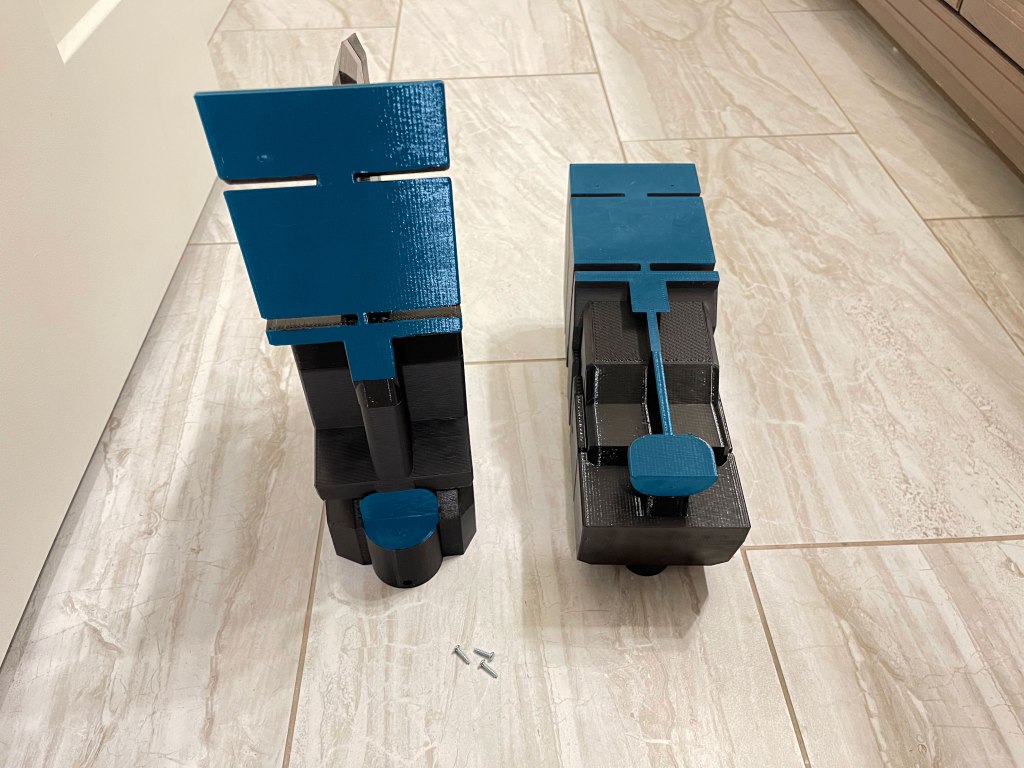
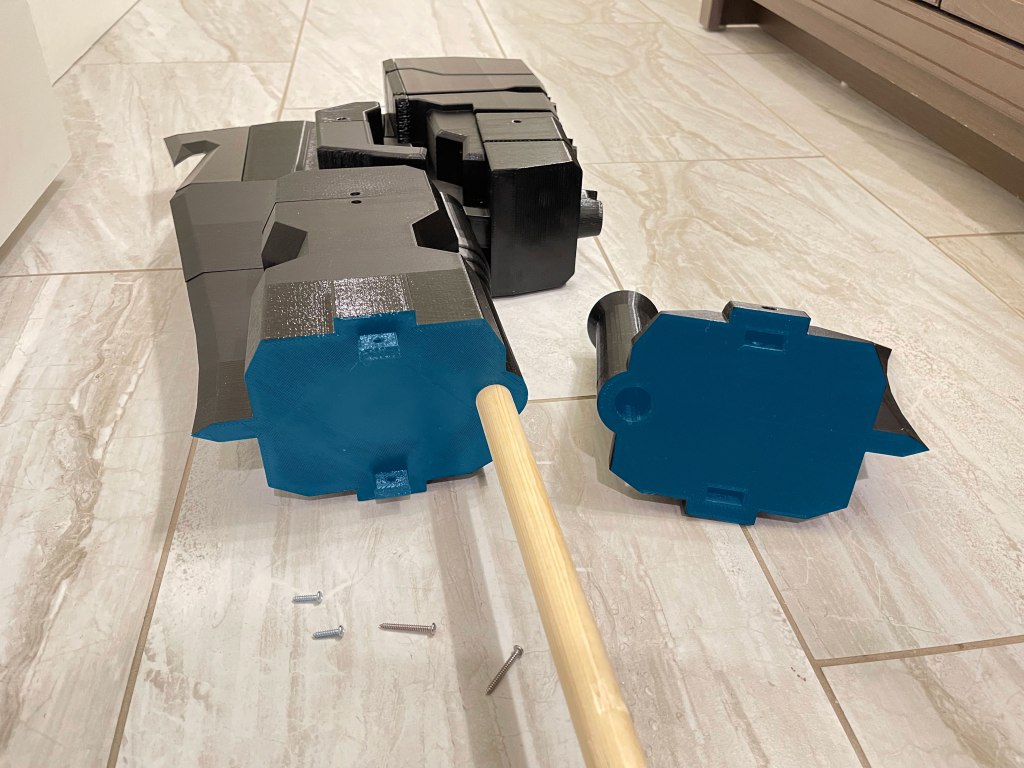
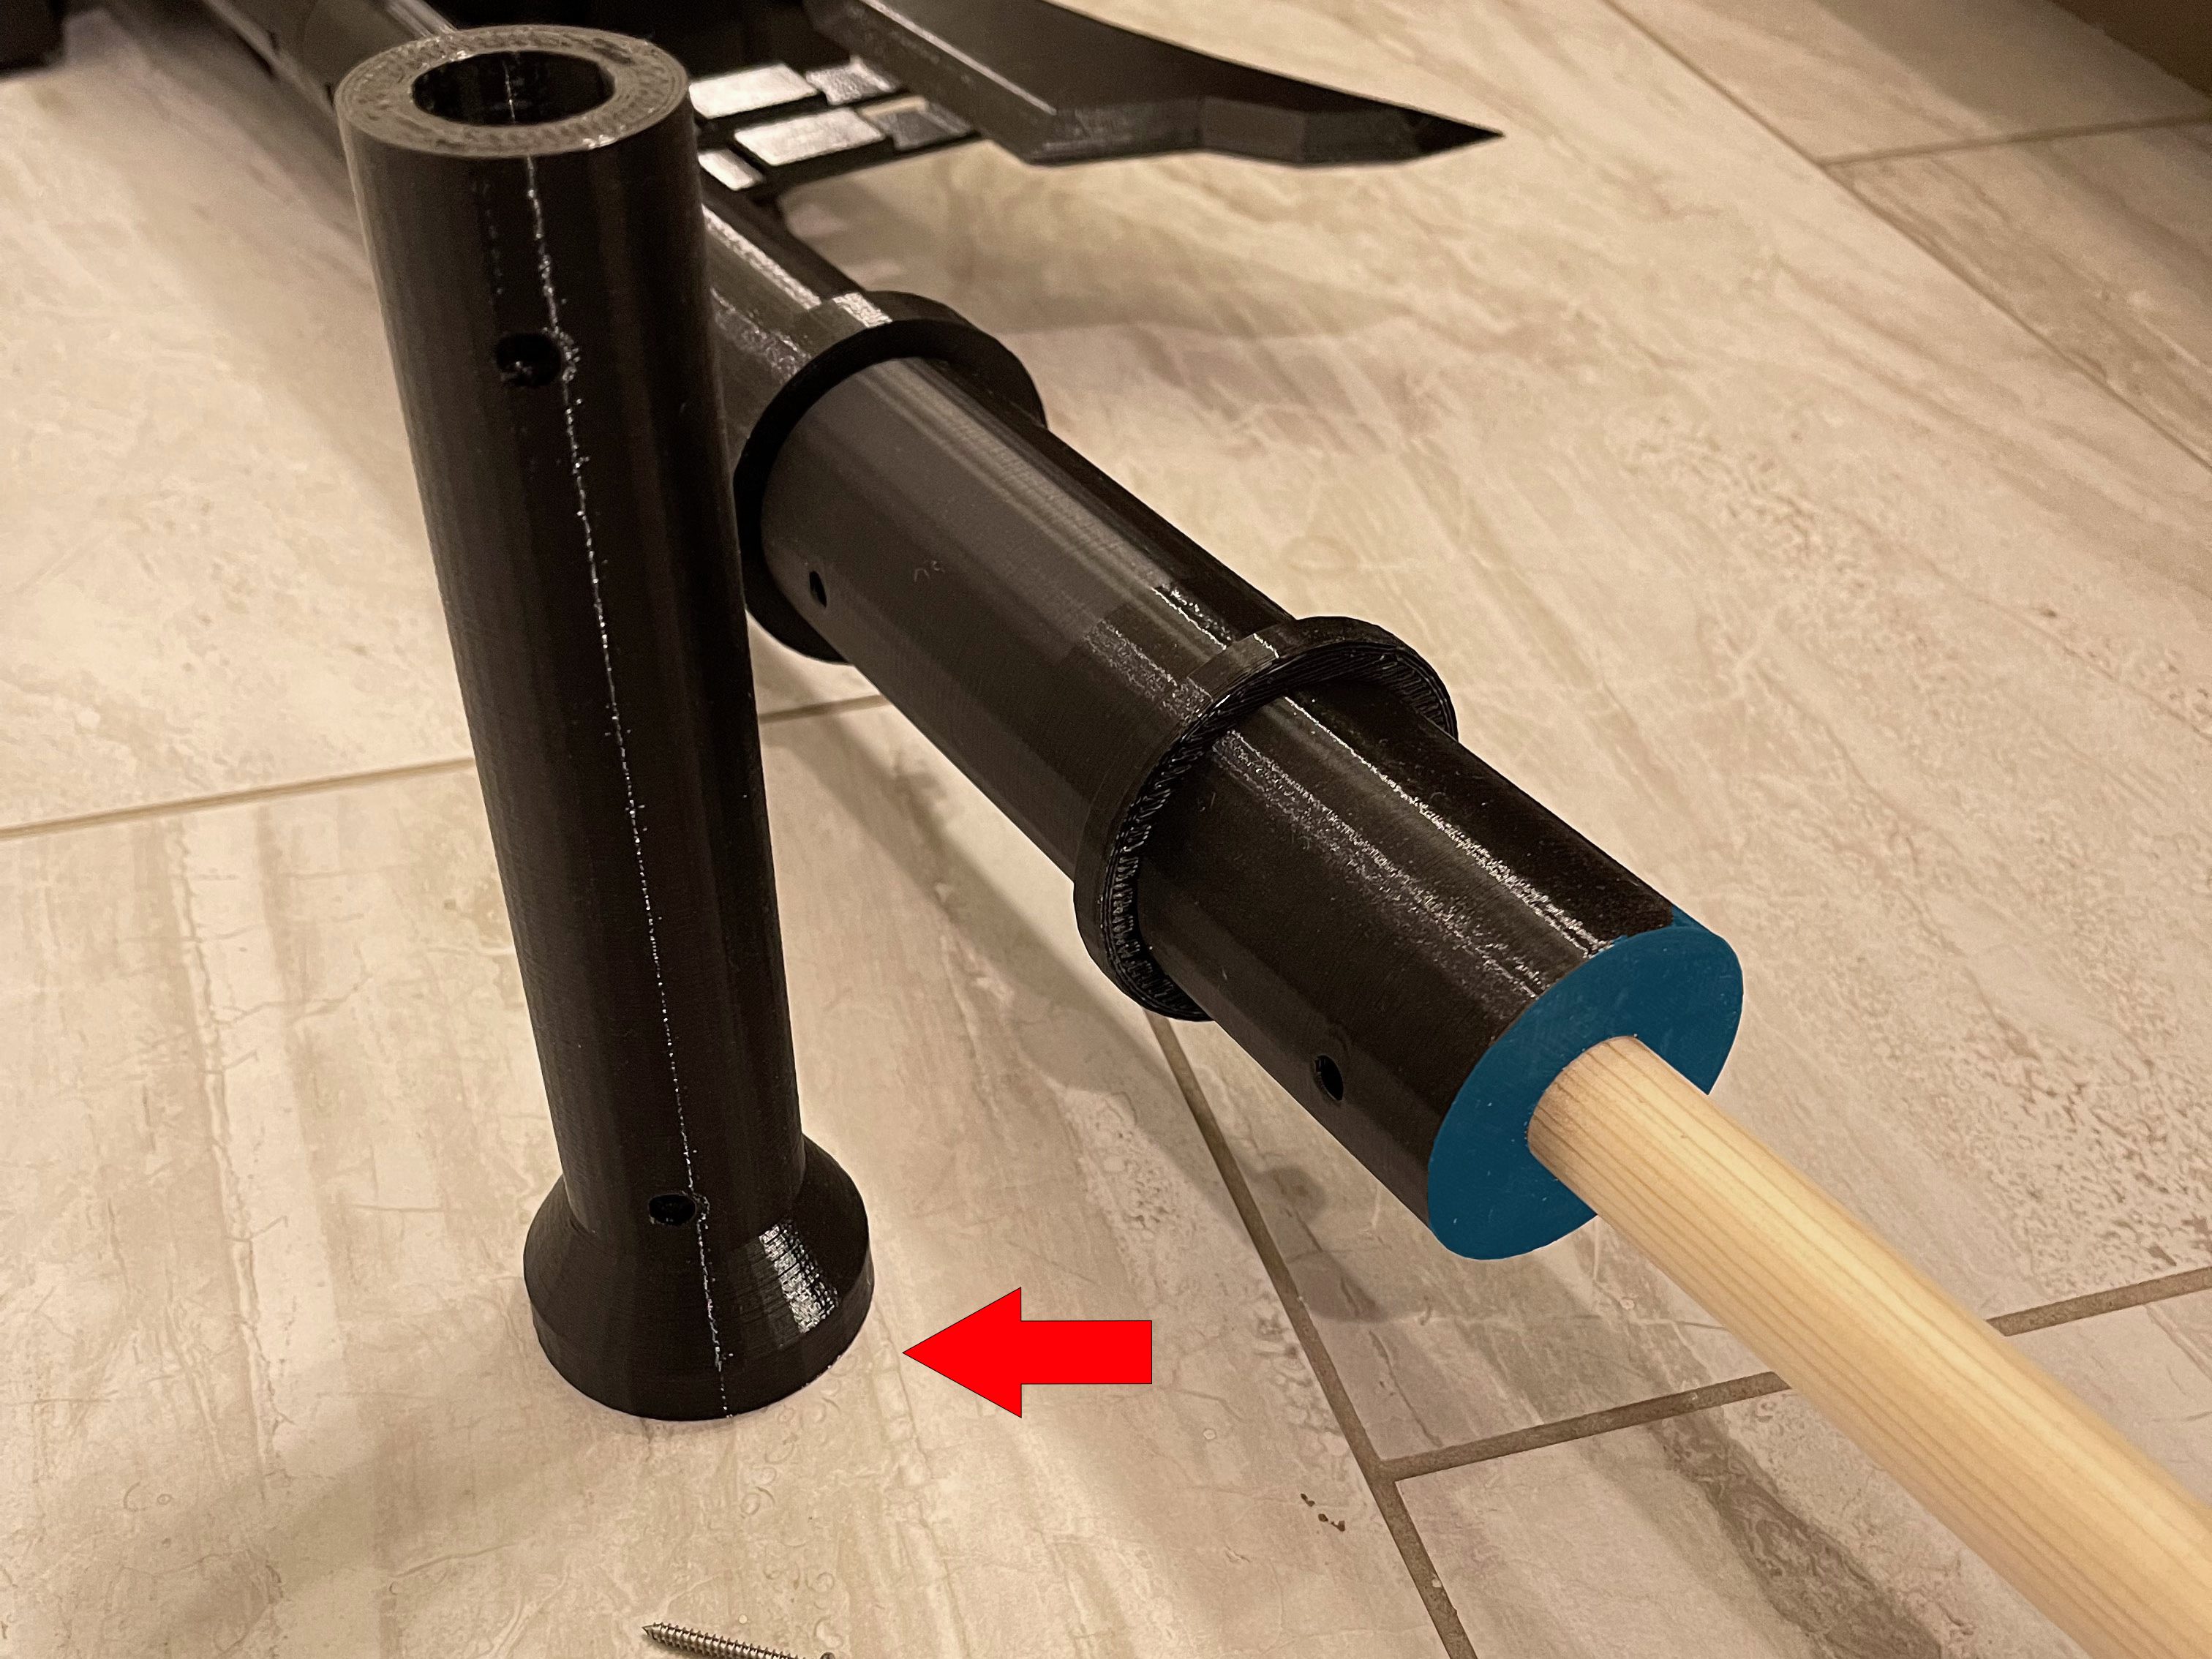
gently tap and twist it if its tight, then secure it with 2 1″ screws.
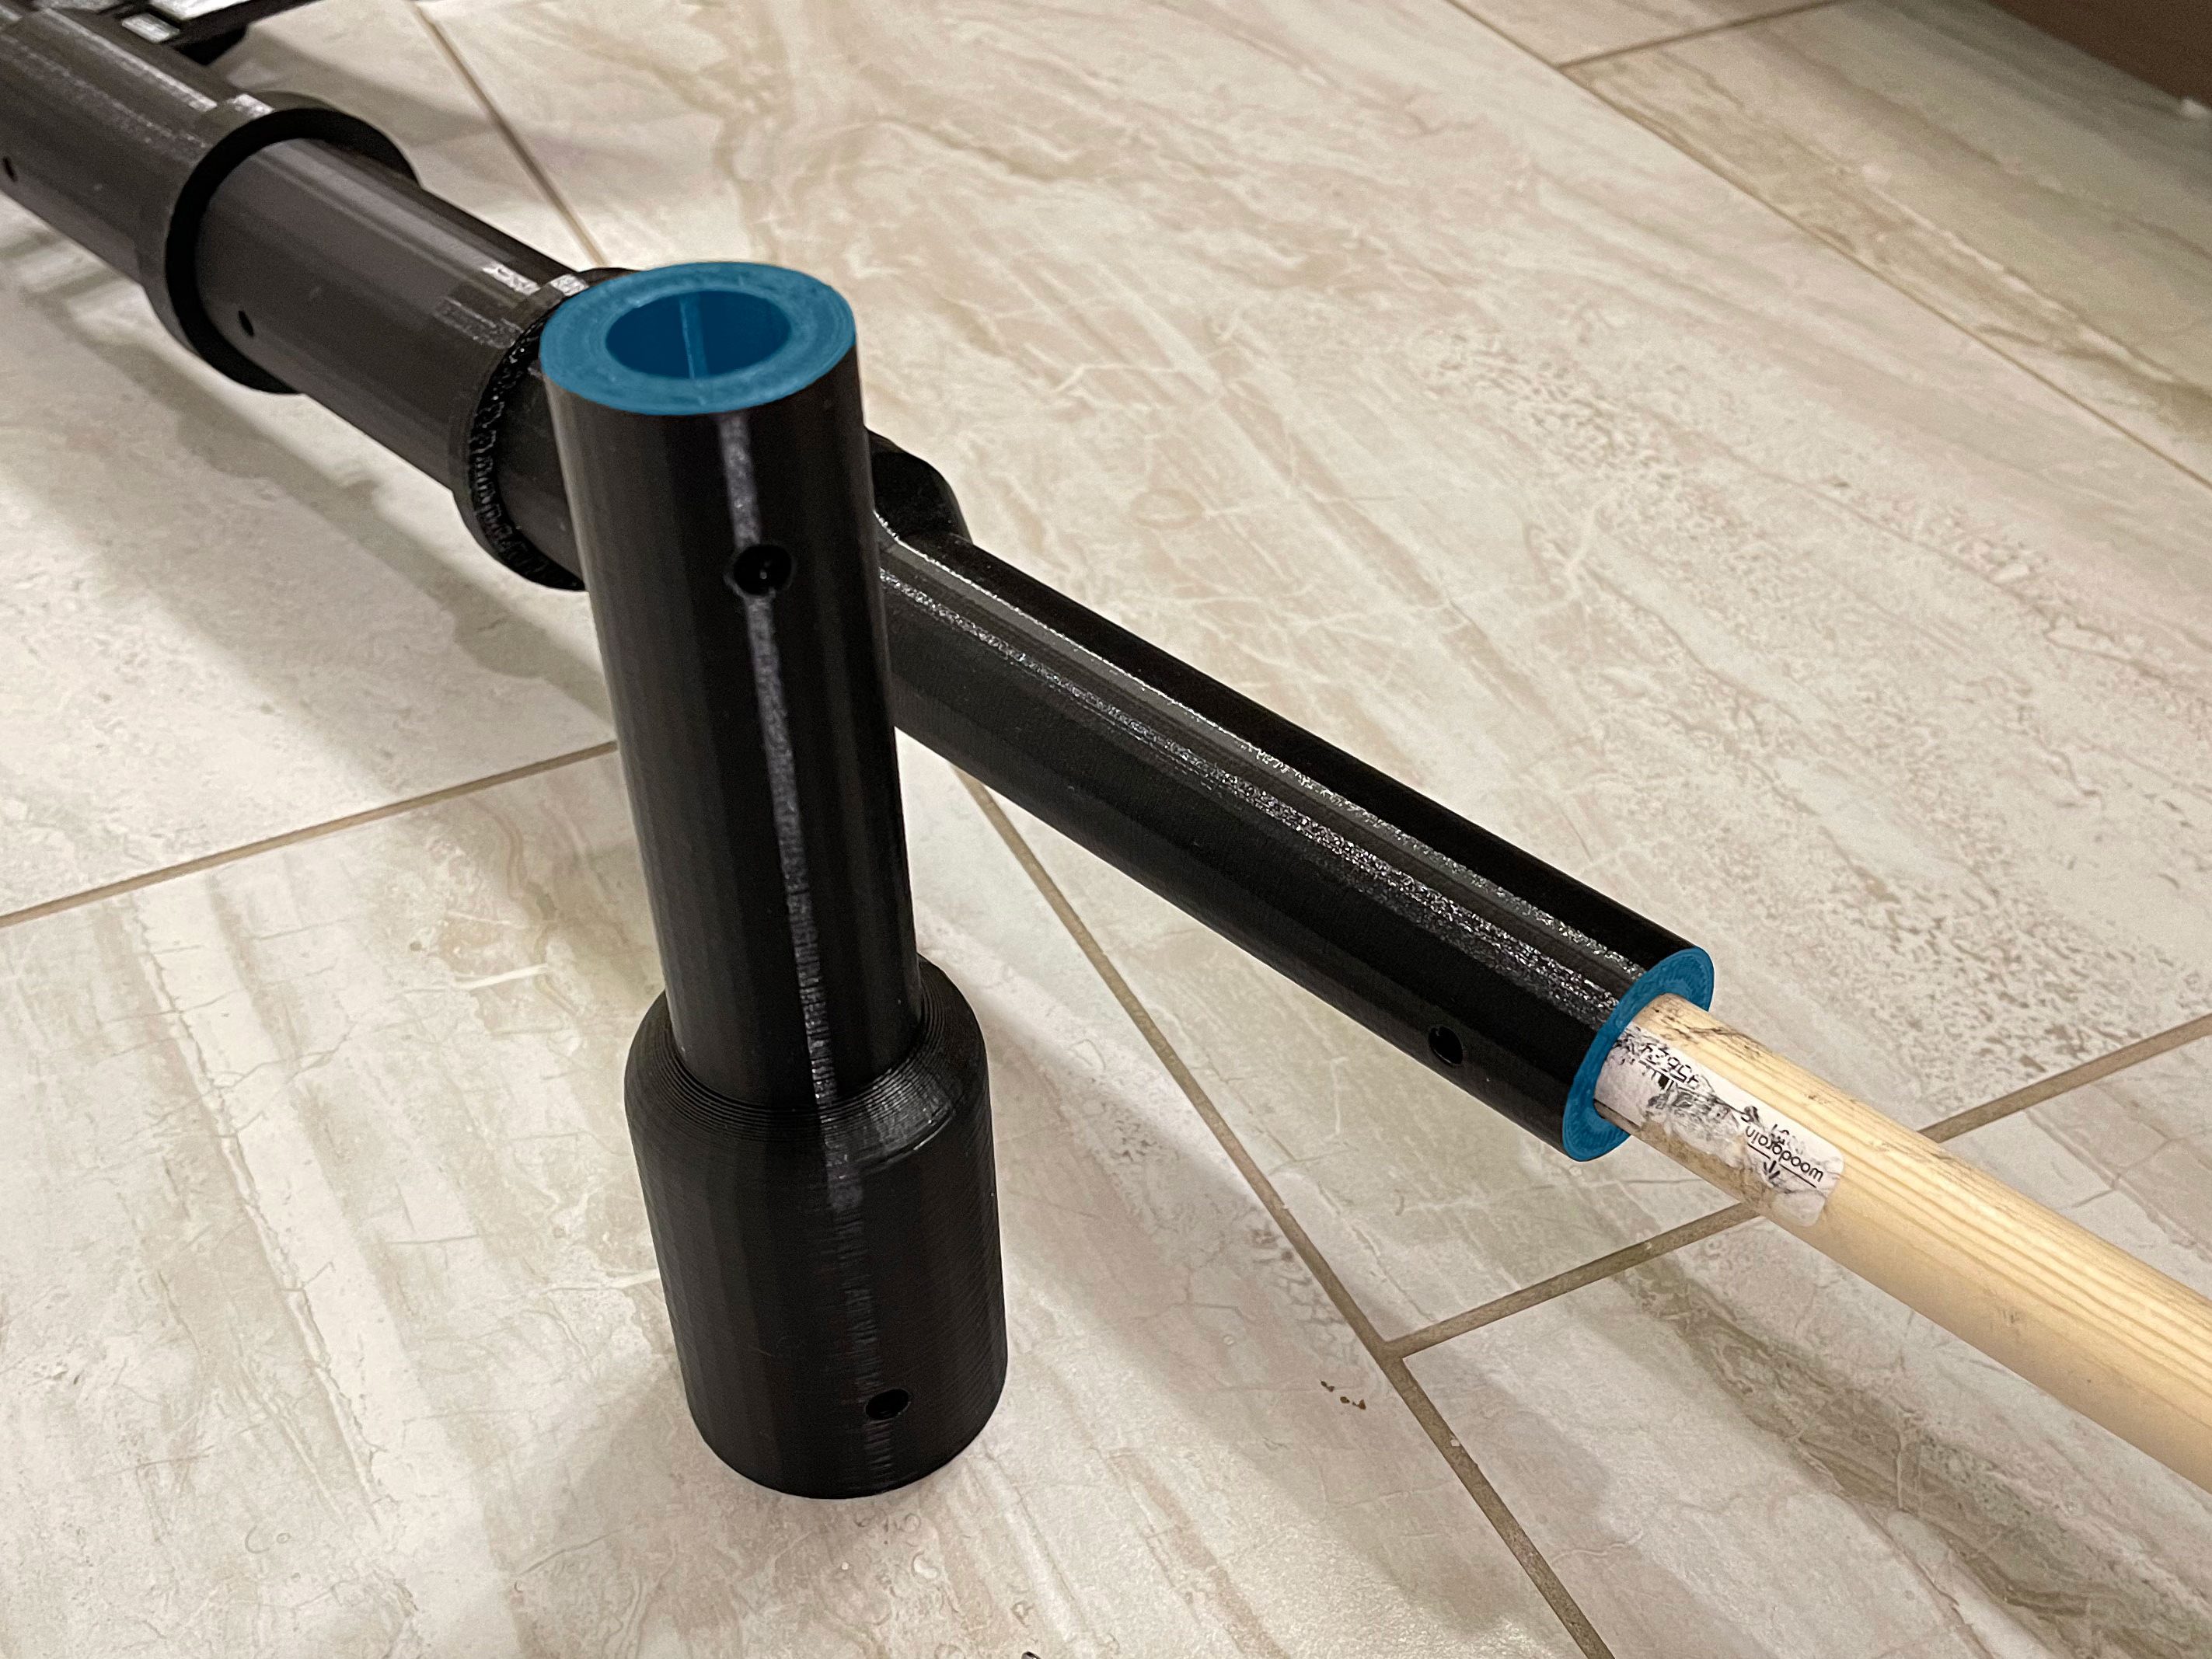
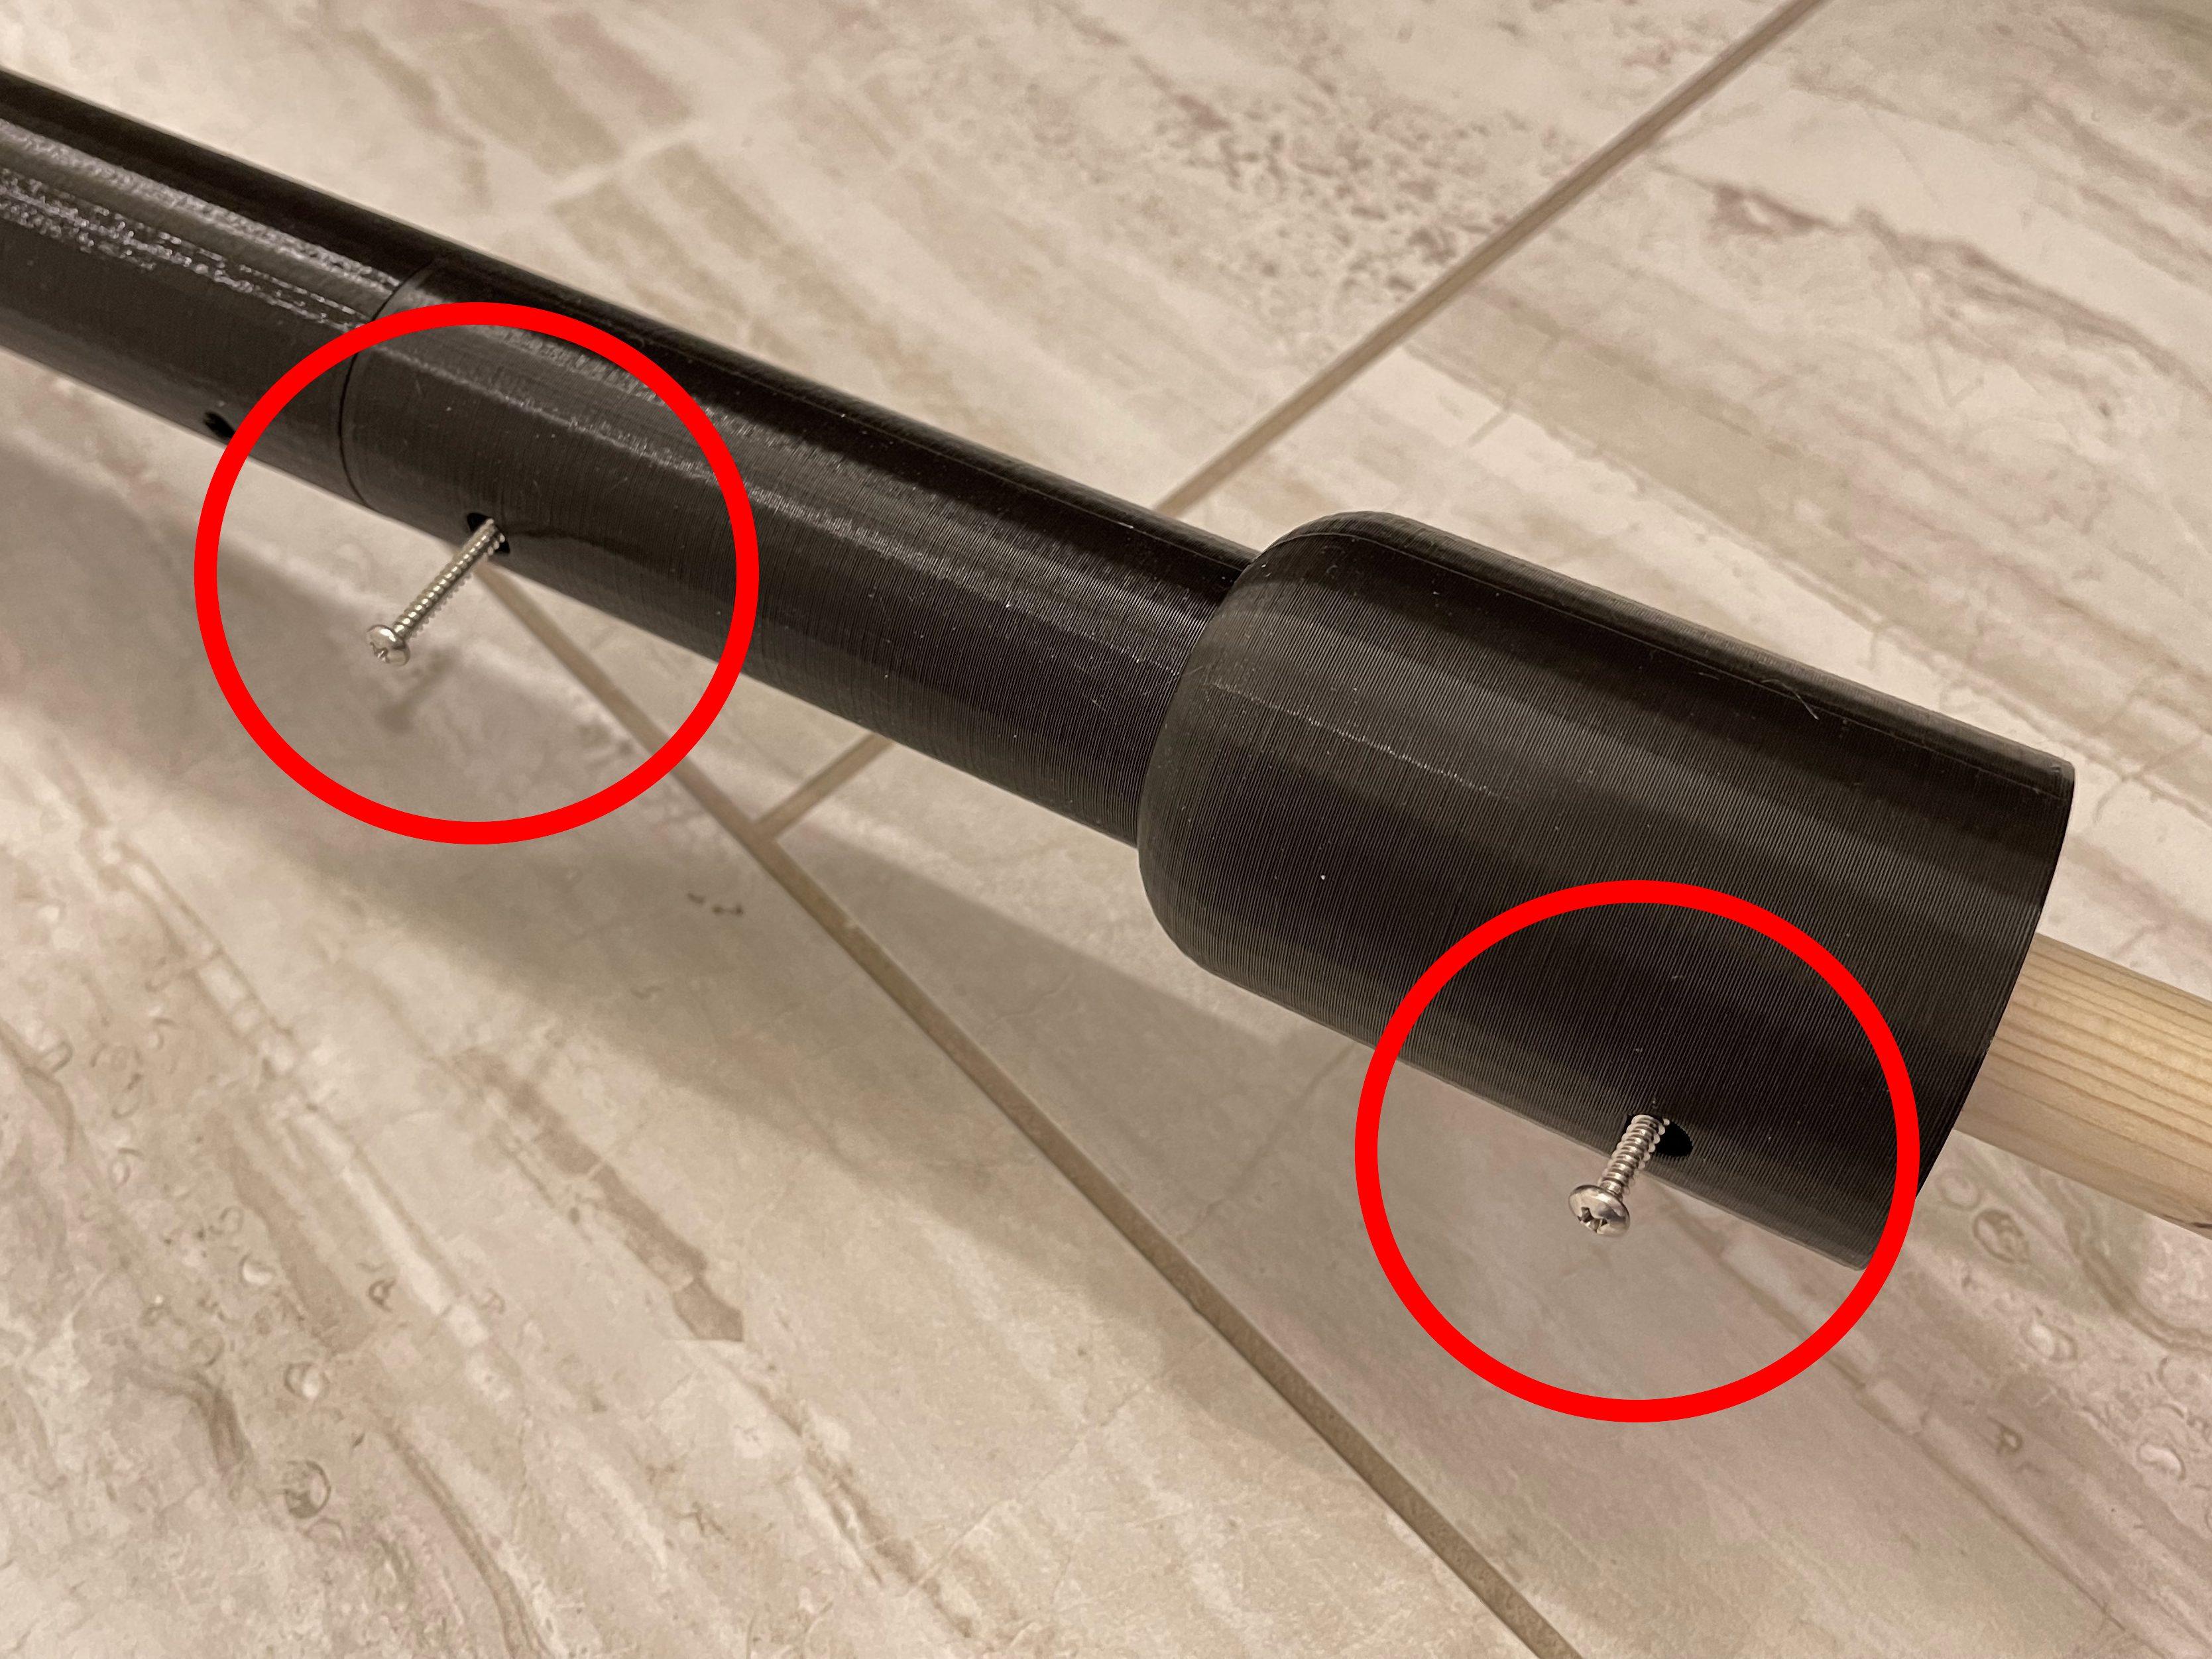
gently tap and twist it if its tight, then secure it with 2 1″ screws.
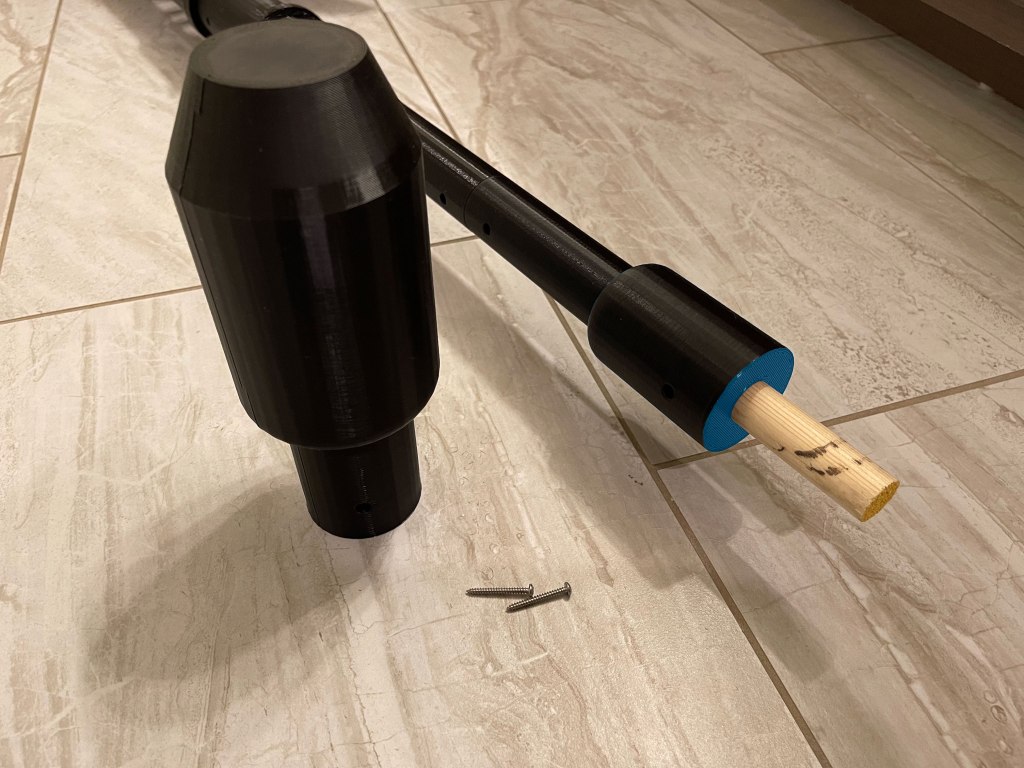

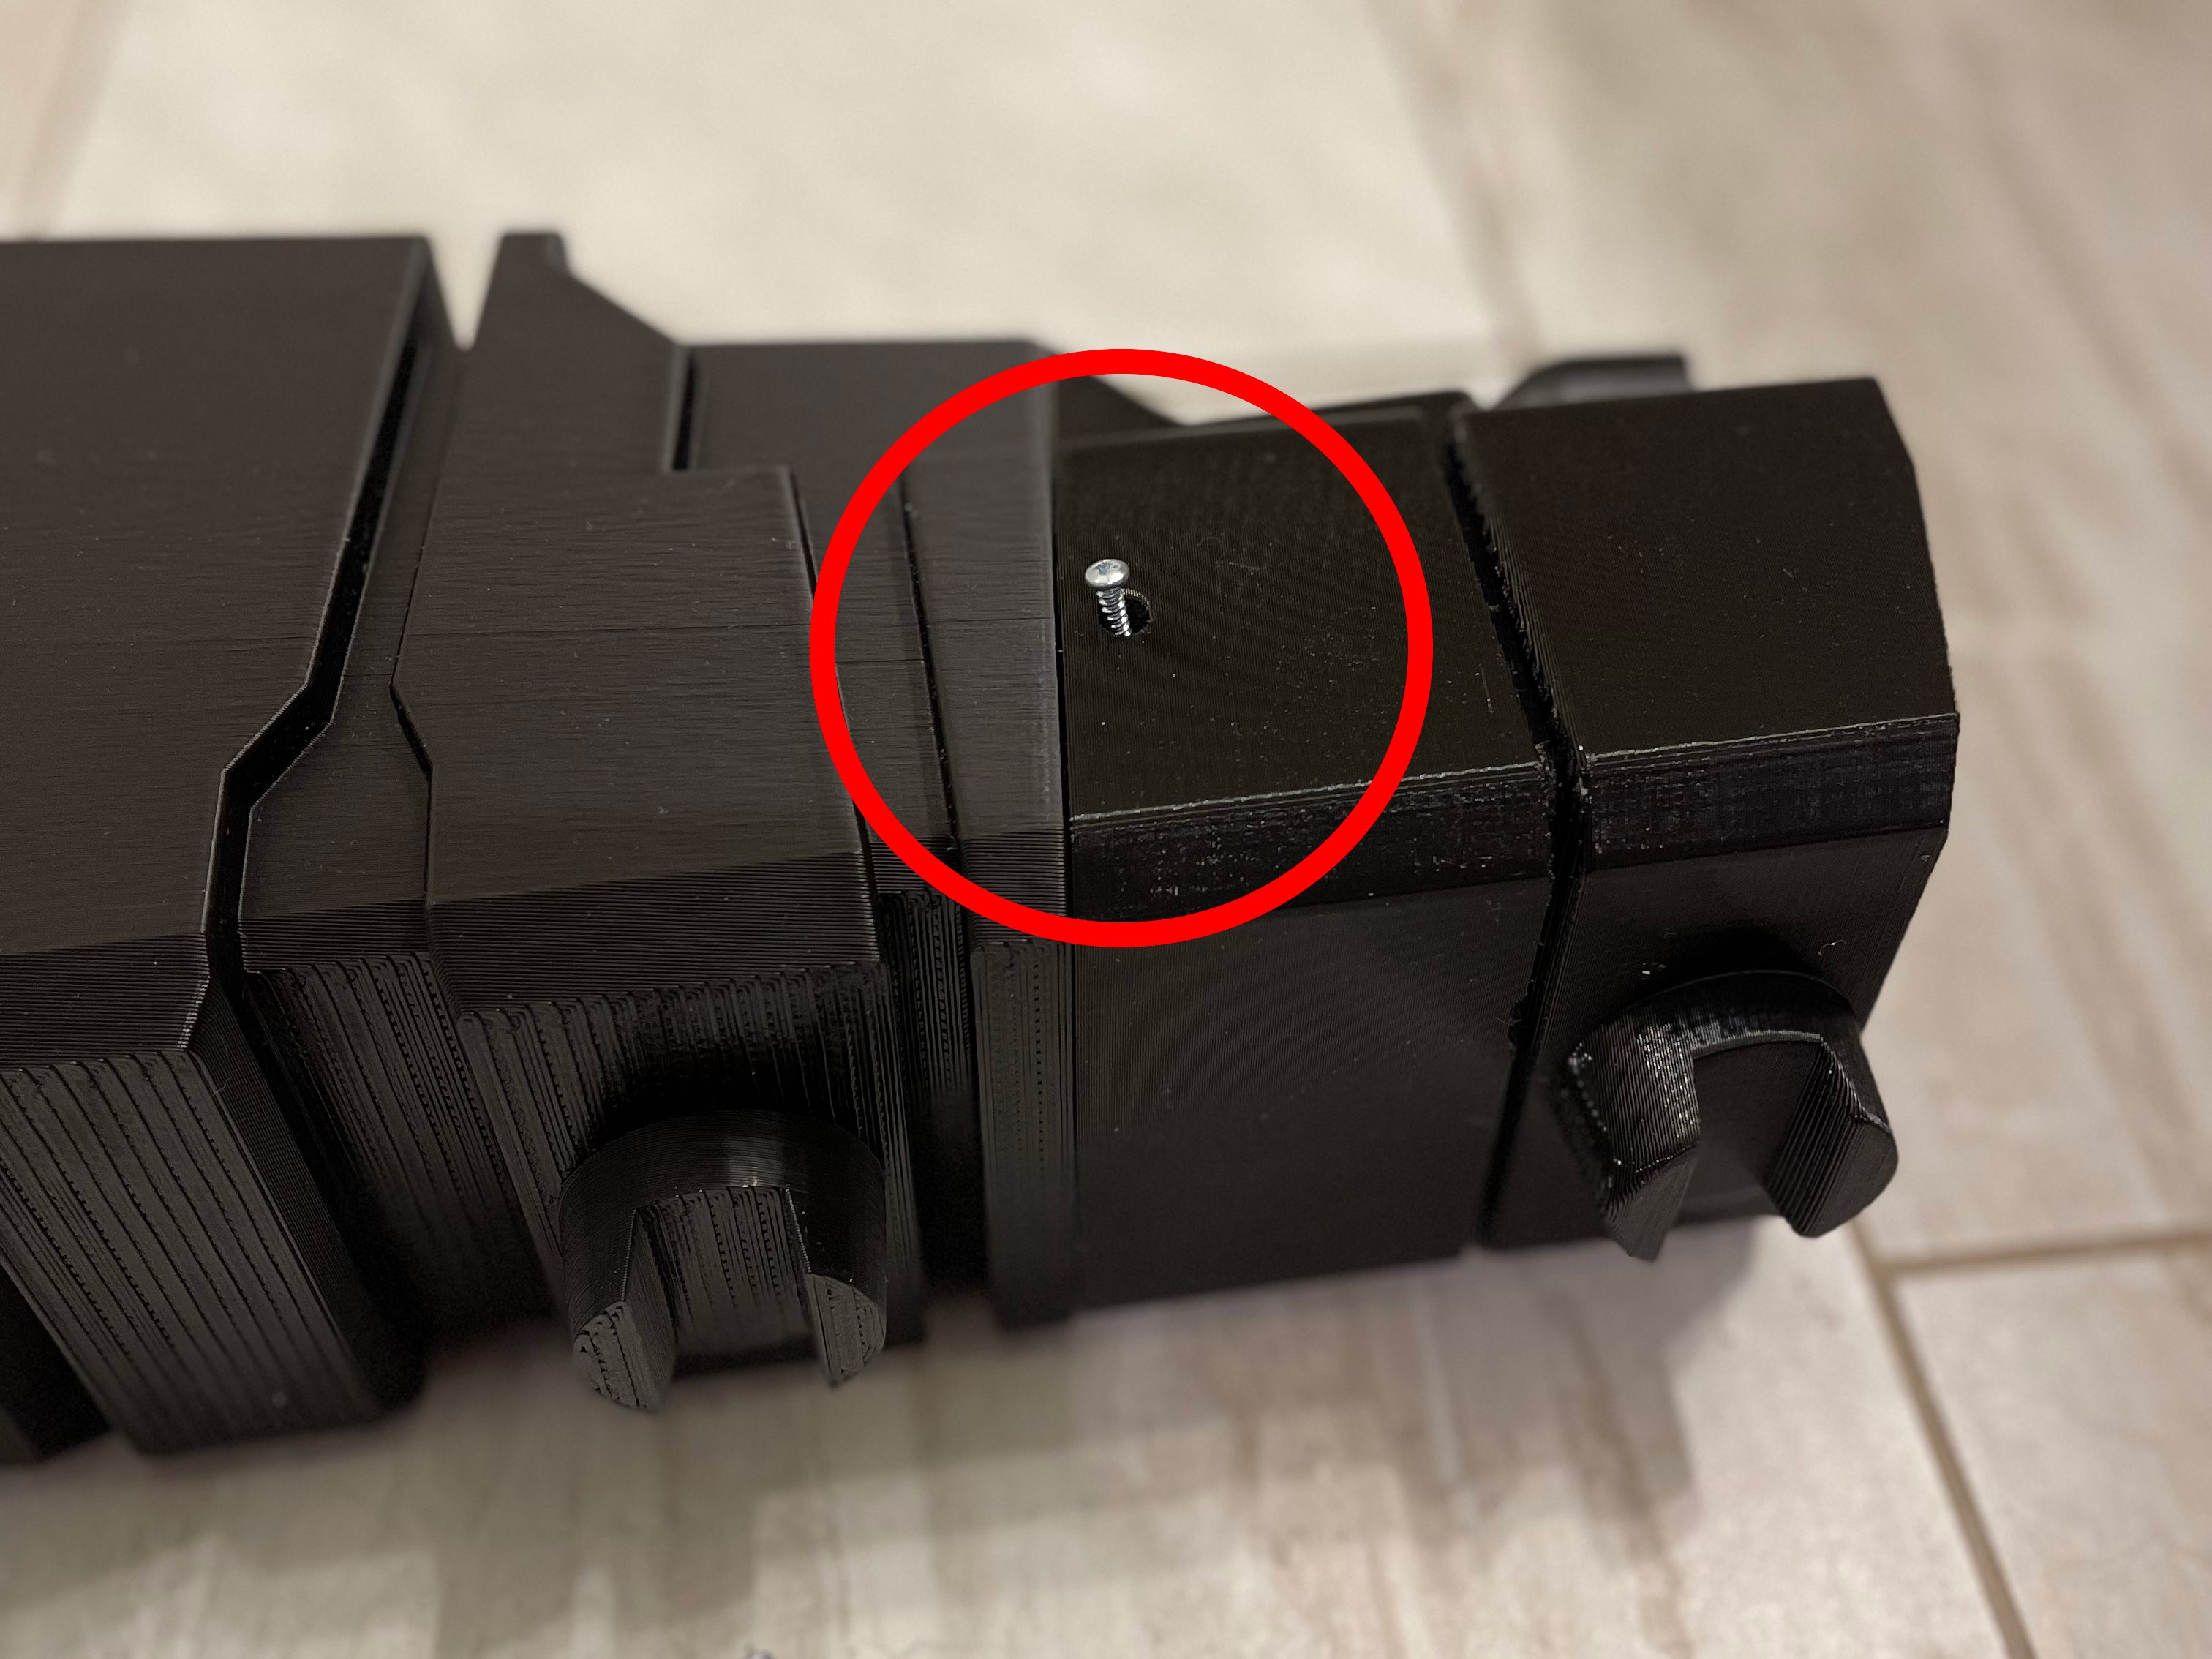
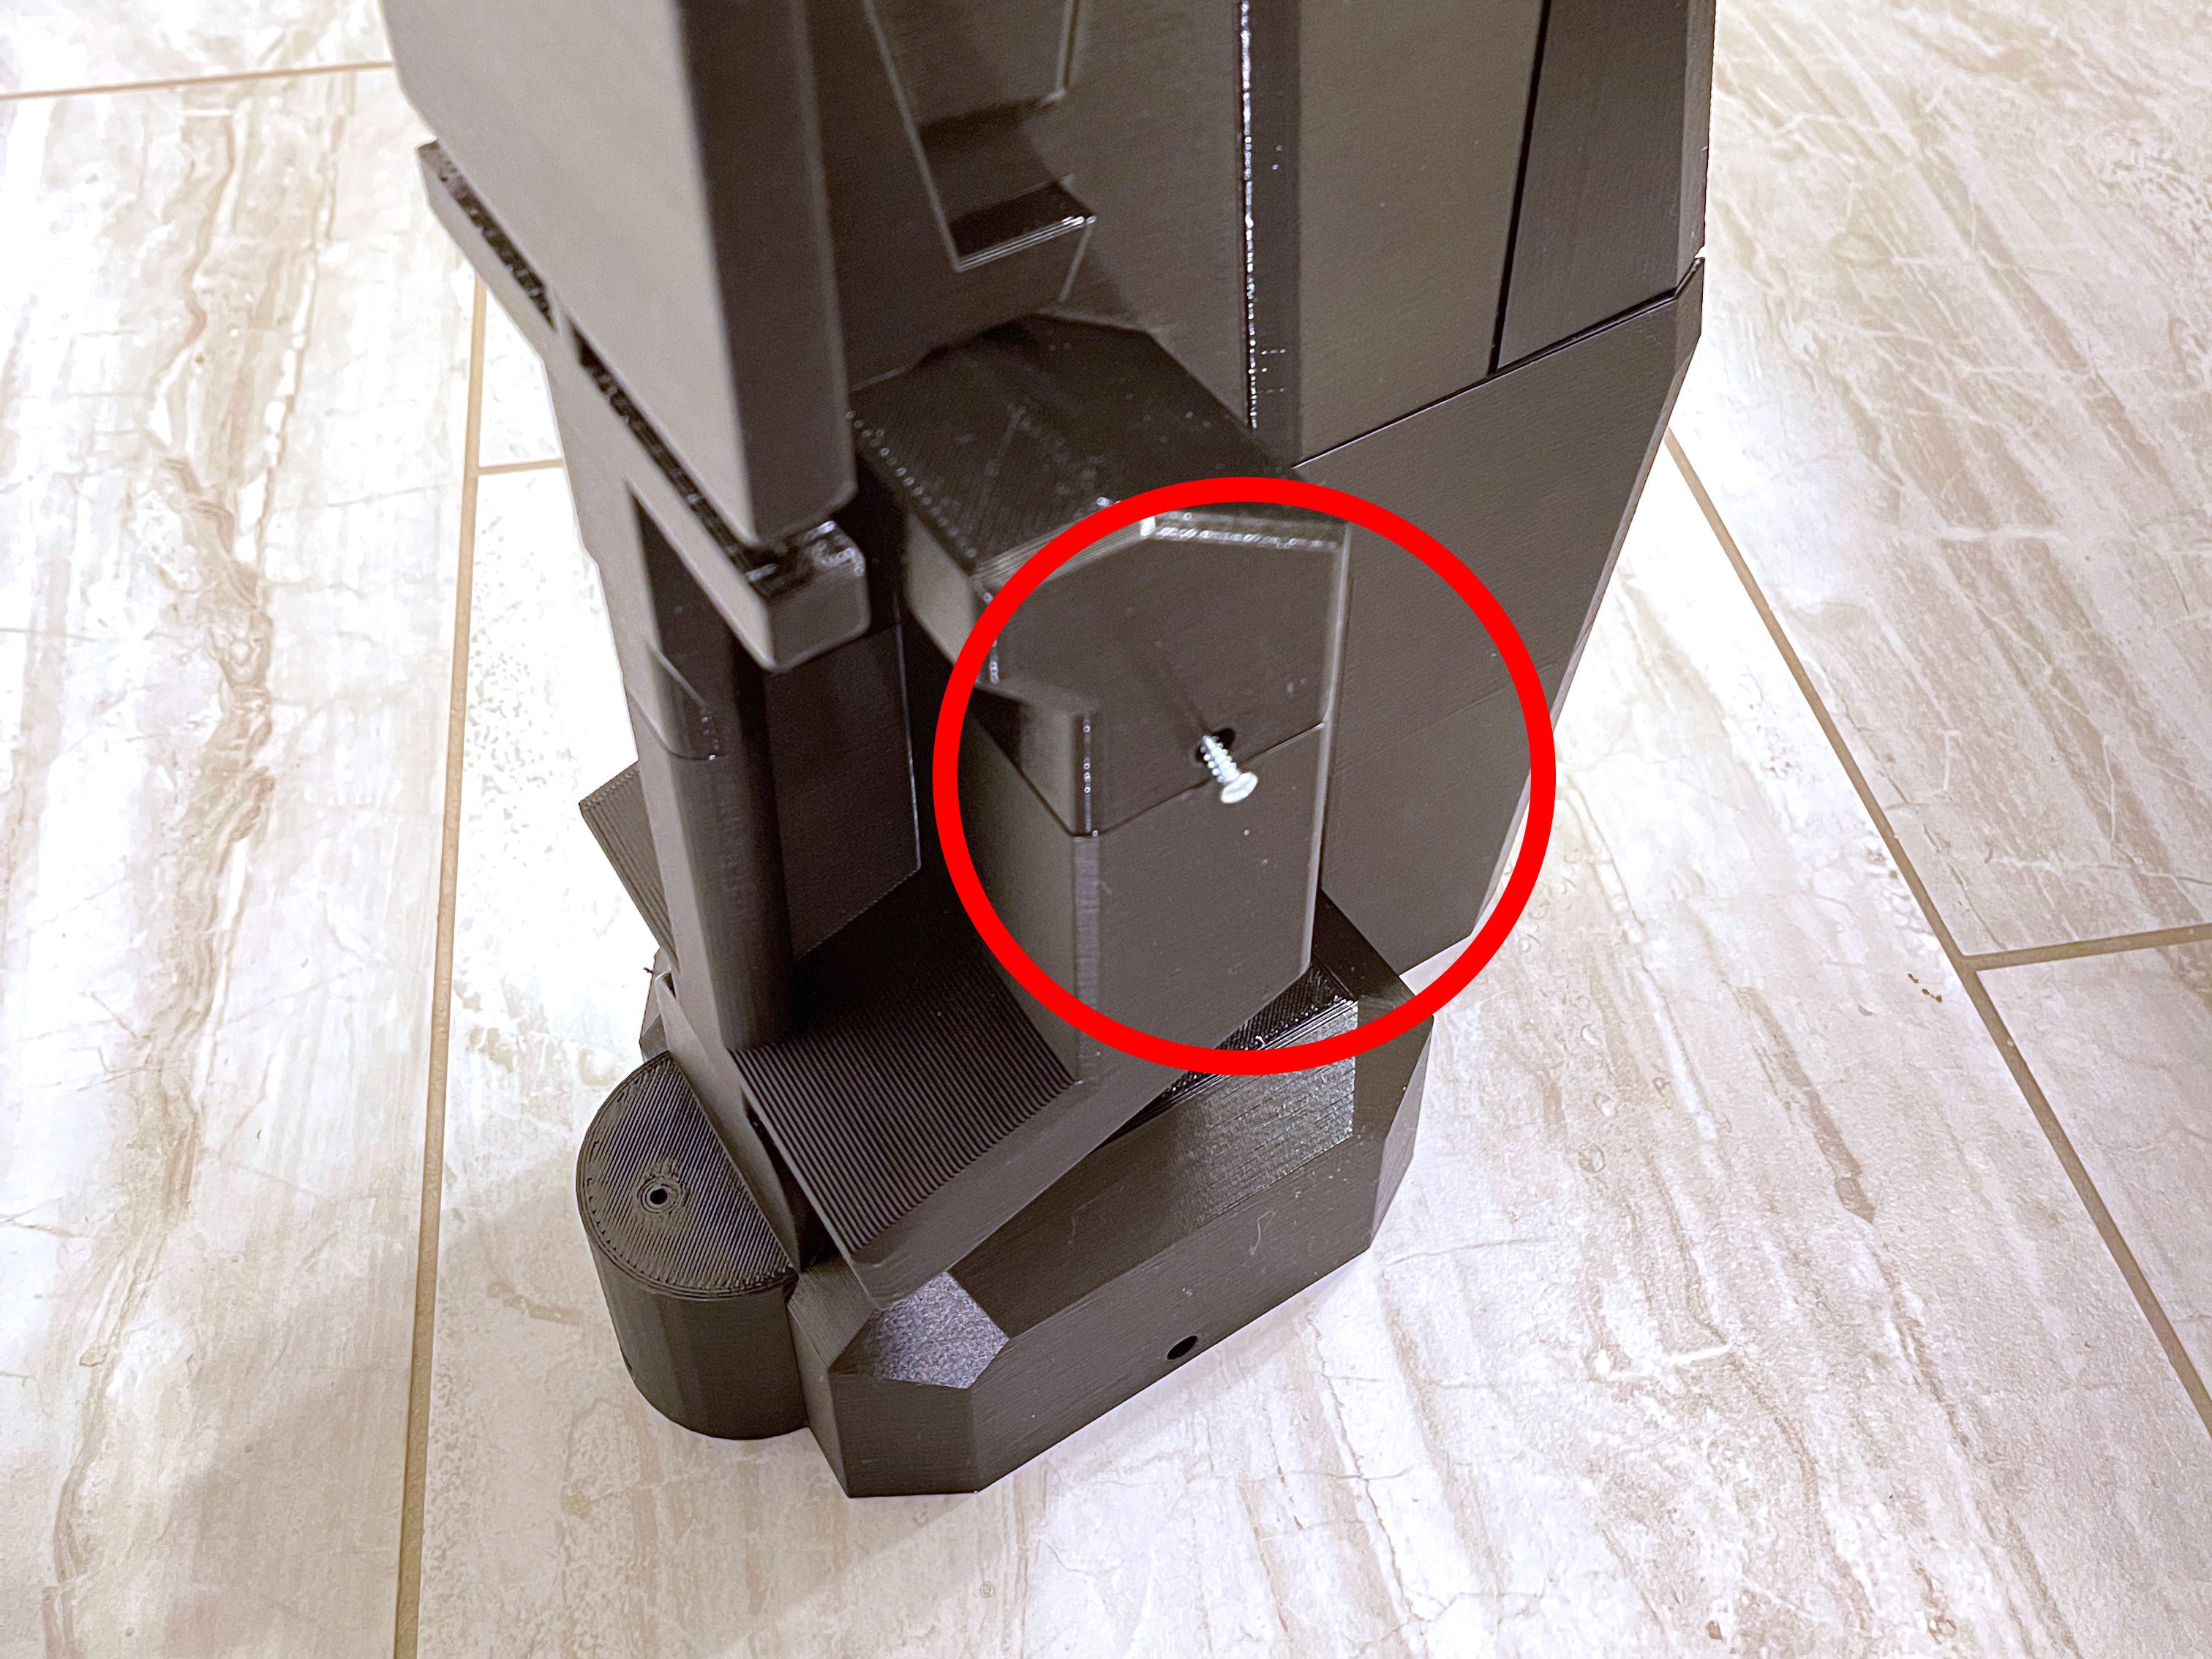
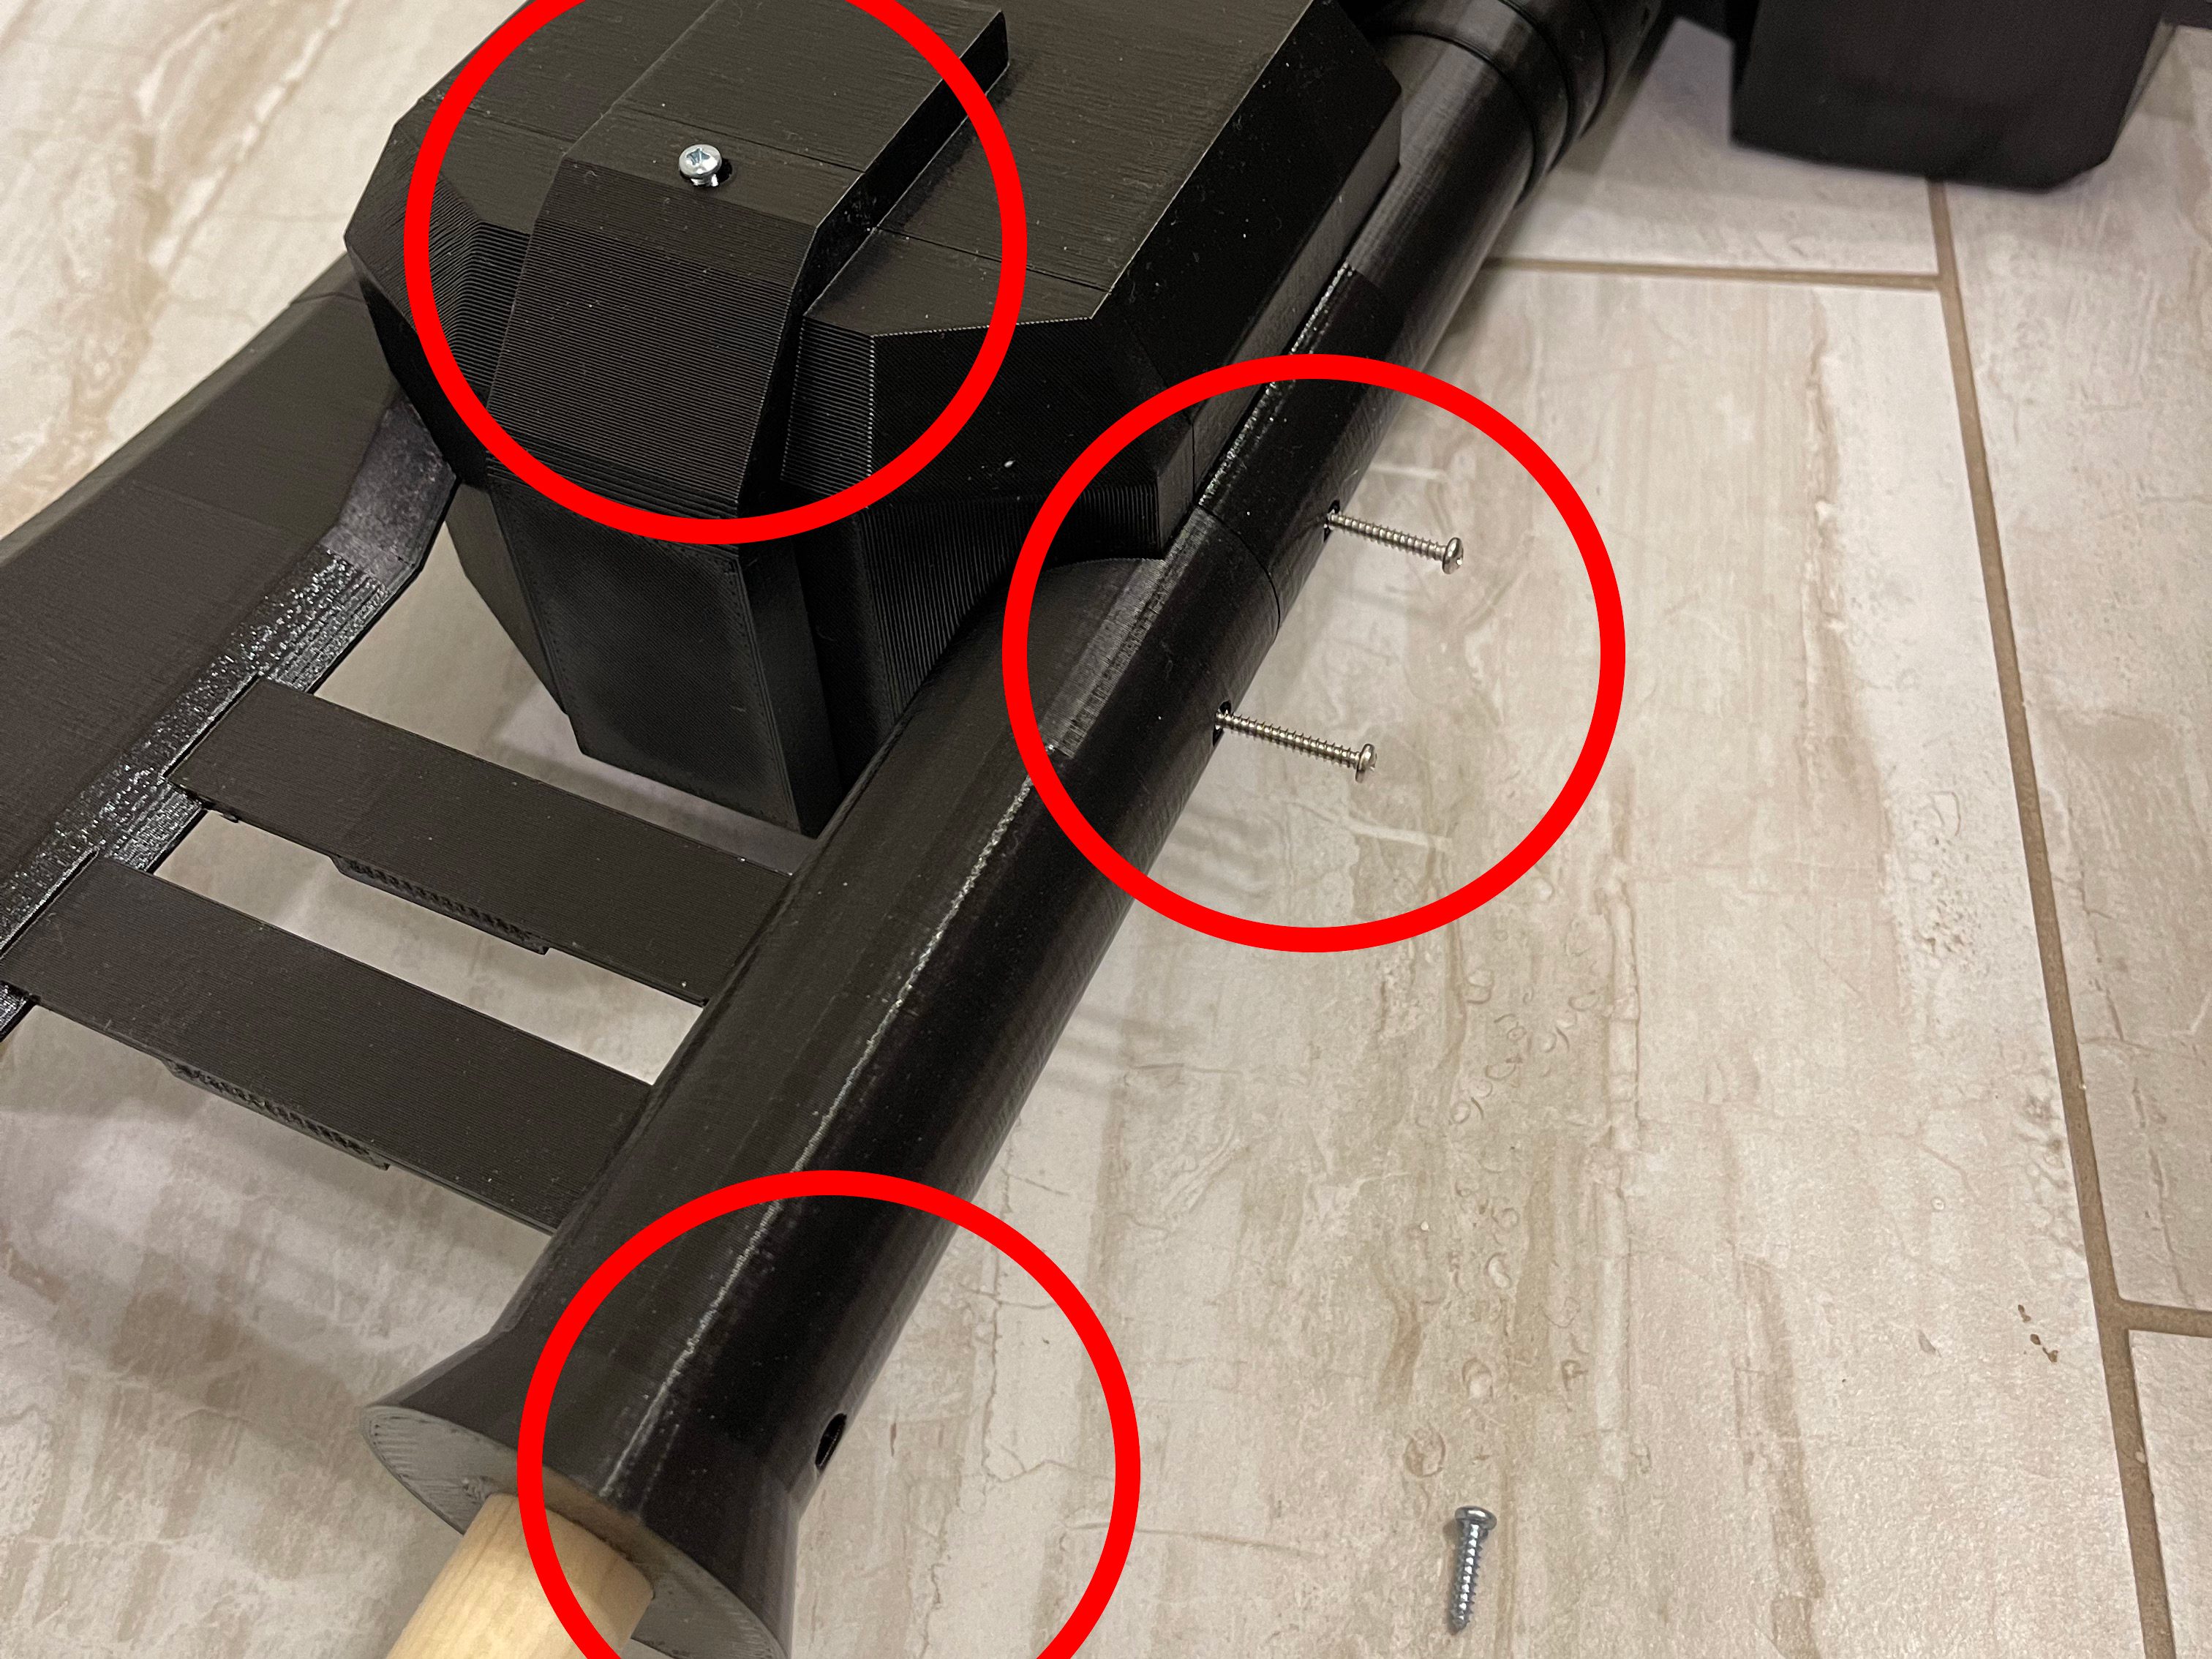
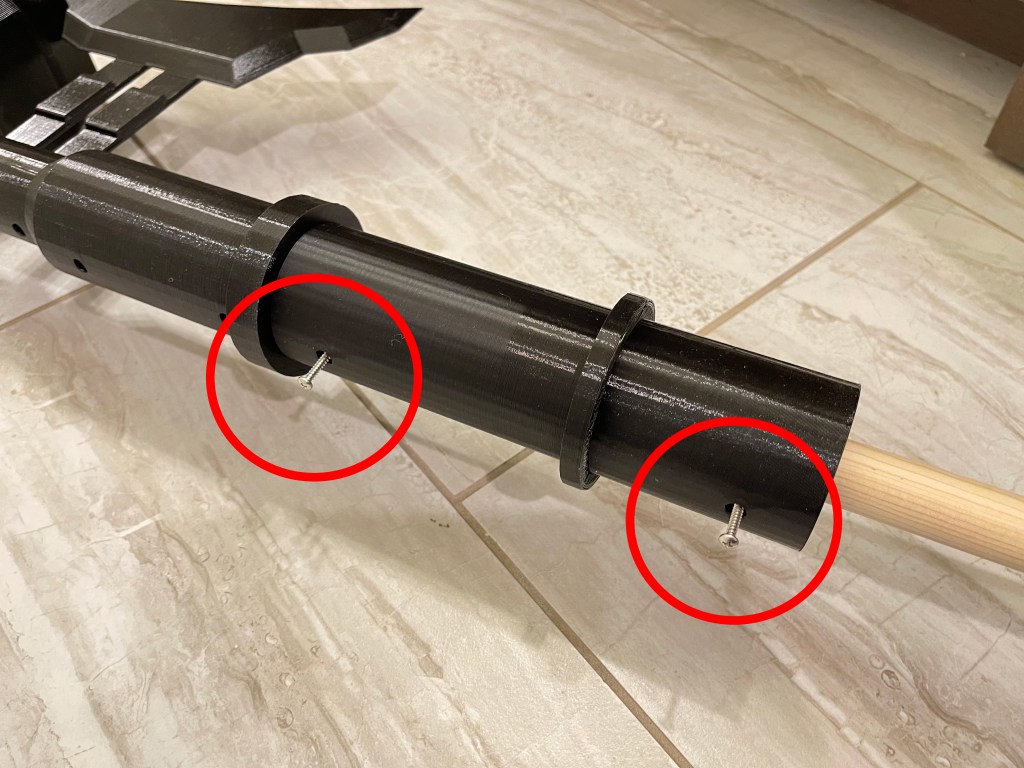
twist it in place if its tight, then secure it with a 1″ screw. You might end up with extra screws I try to put a few spares in just in case.
Painting
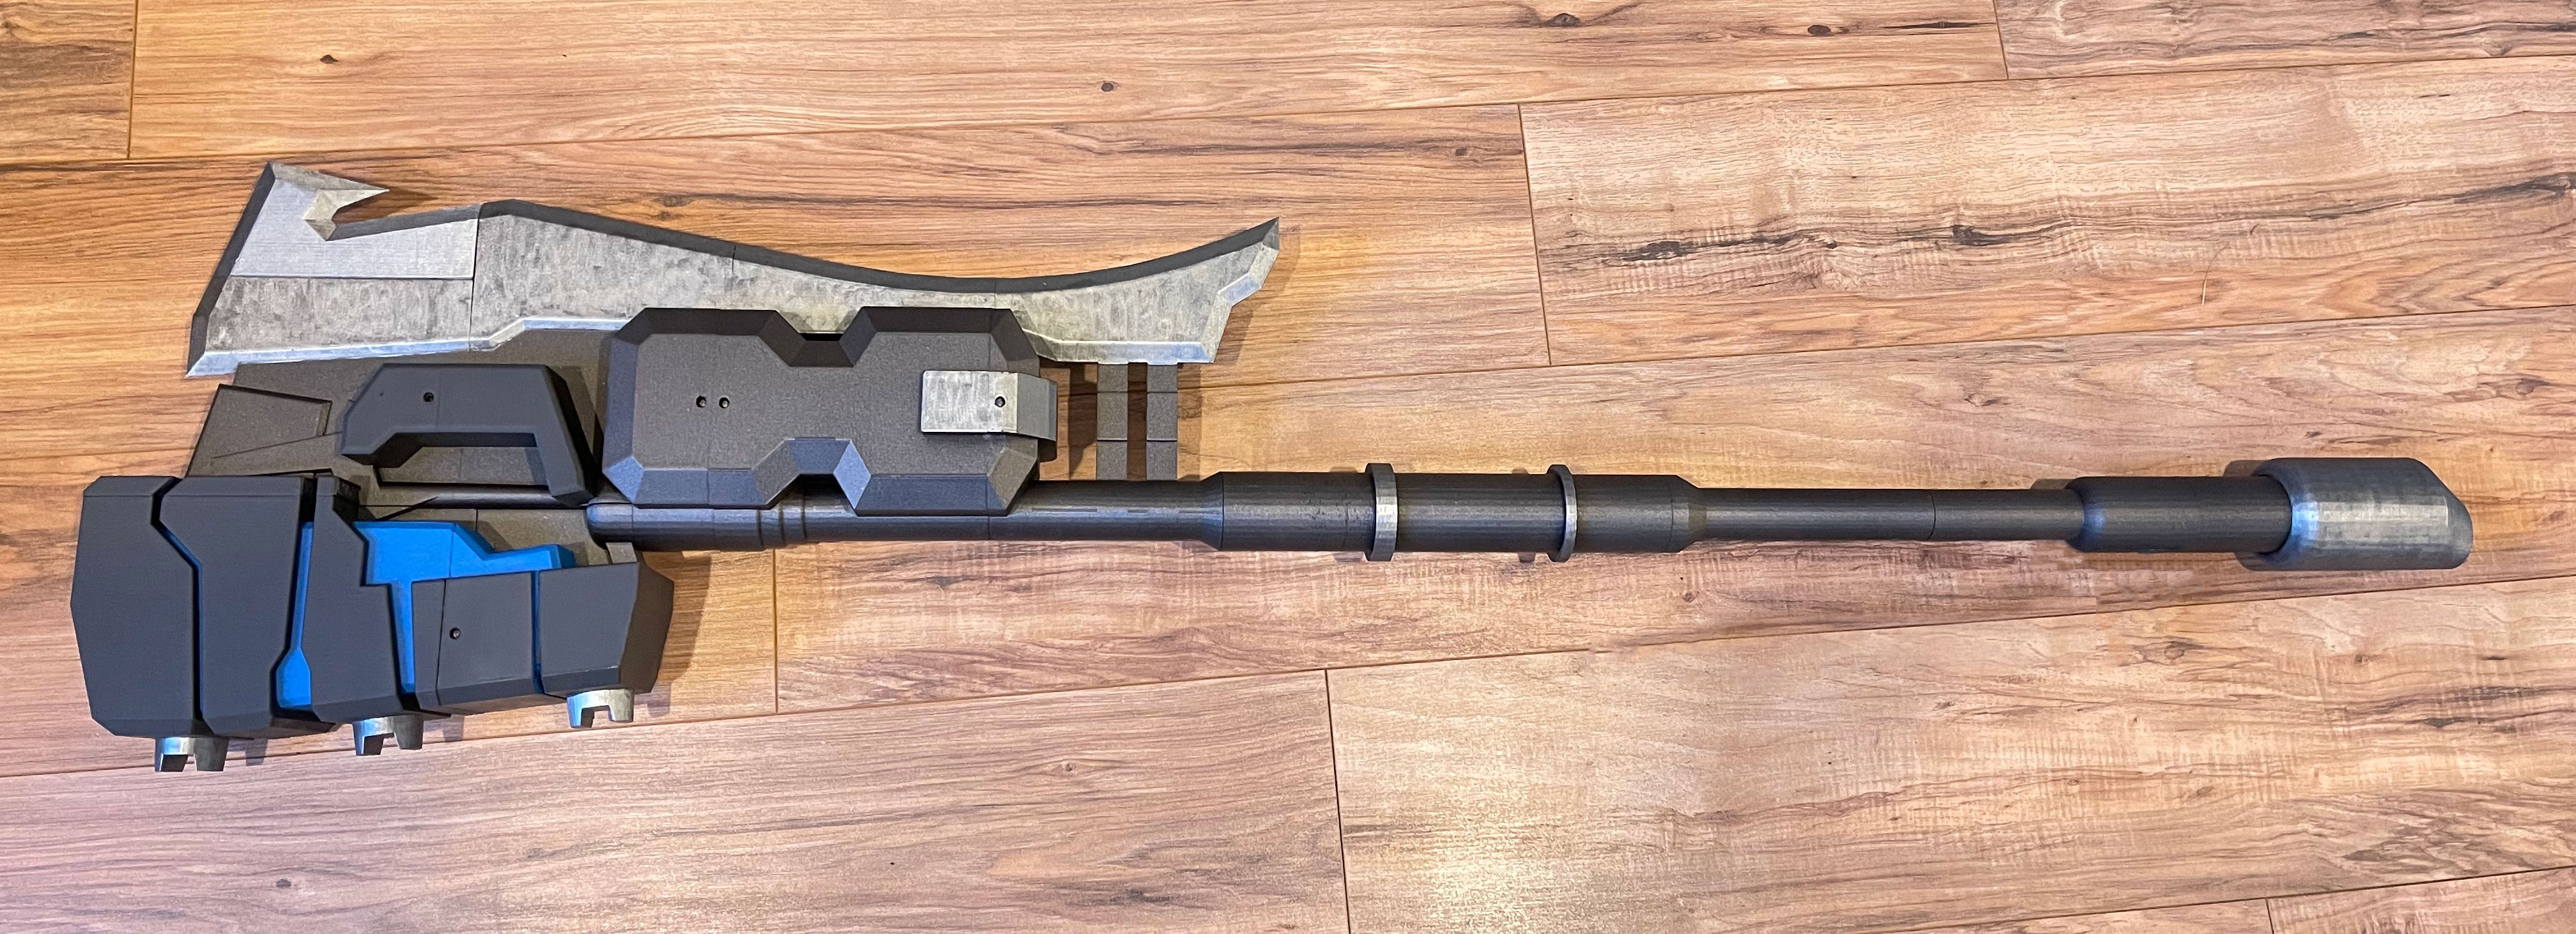
I used gun metal spray paint first then hand painted the other colors with Vallejo paint. The colors I used were: oily steel, grey black, and blue. I painted one color at a time on every surface of the gun. I let it dry and then moved on to the next color. I went over each color 2 to 3 times to help fix overlaps and missed spots. Let it fully dry before adding another layer. Once you are happy with your paint job seal it with spray on lacquer.
