
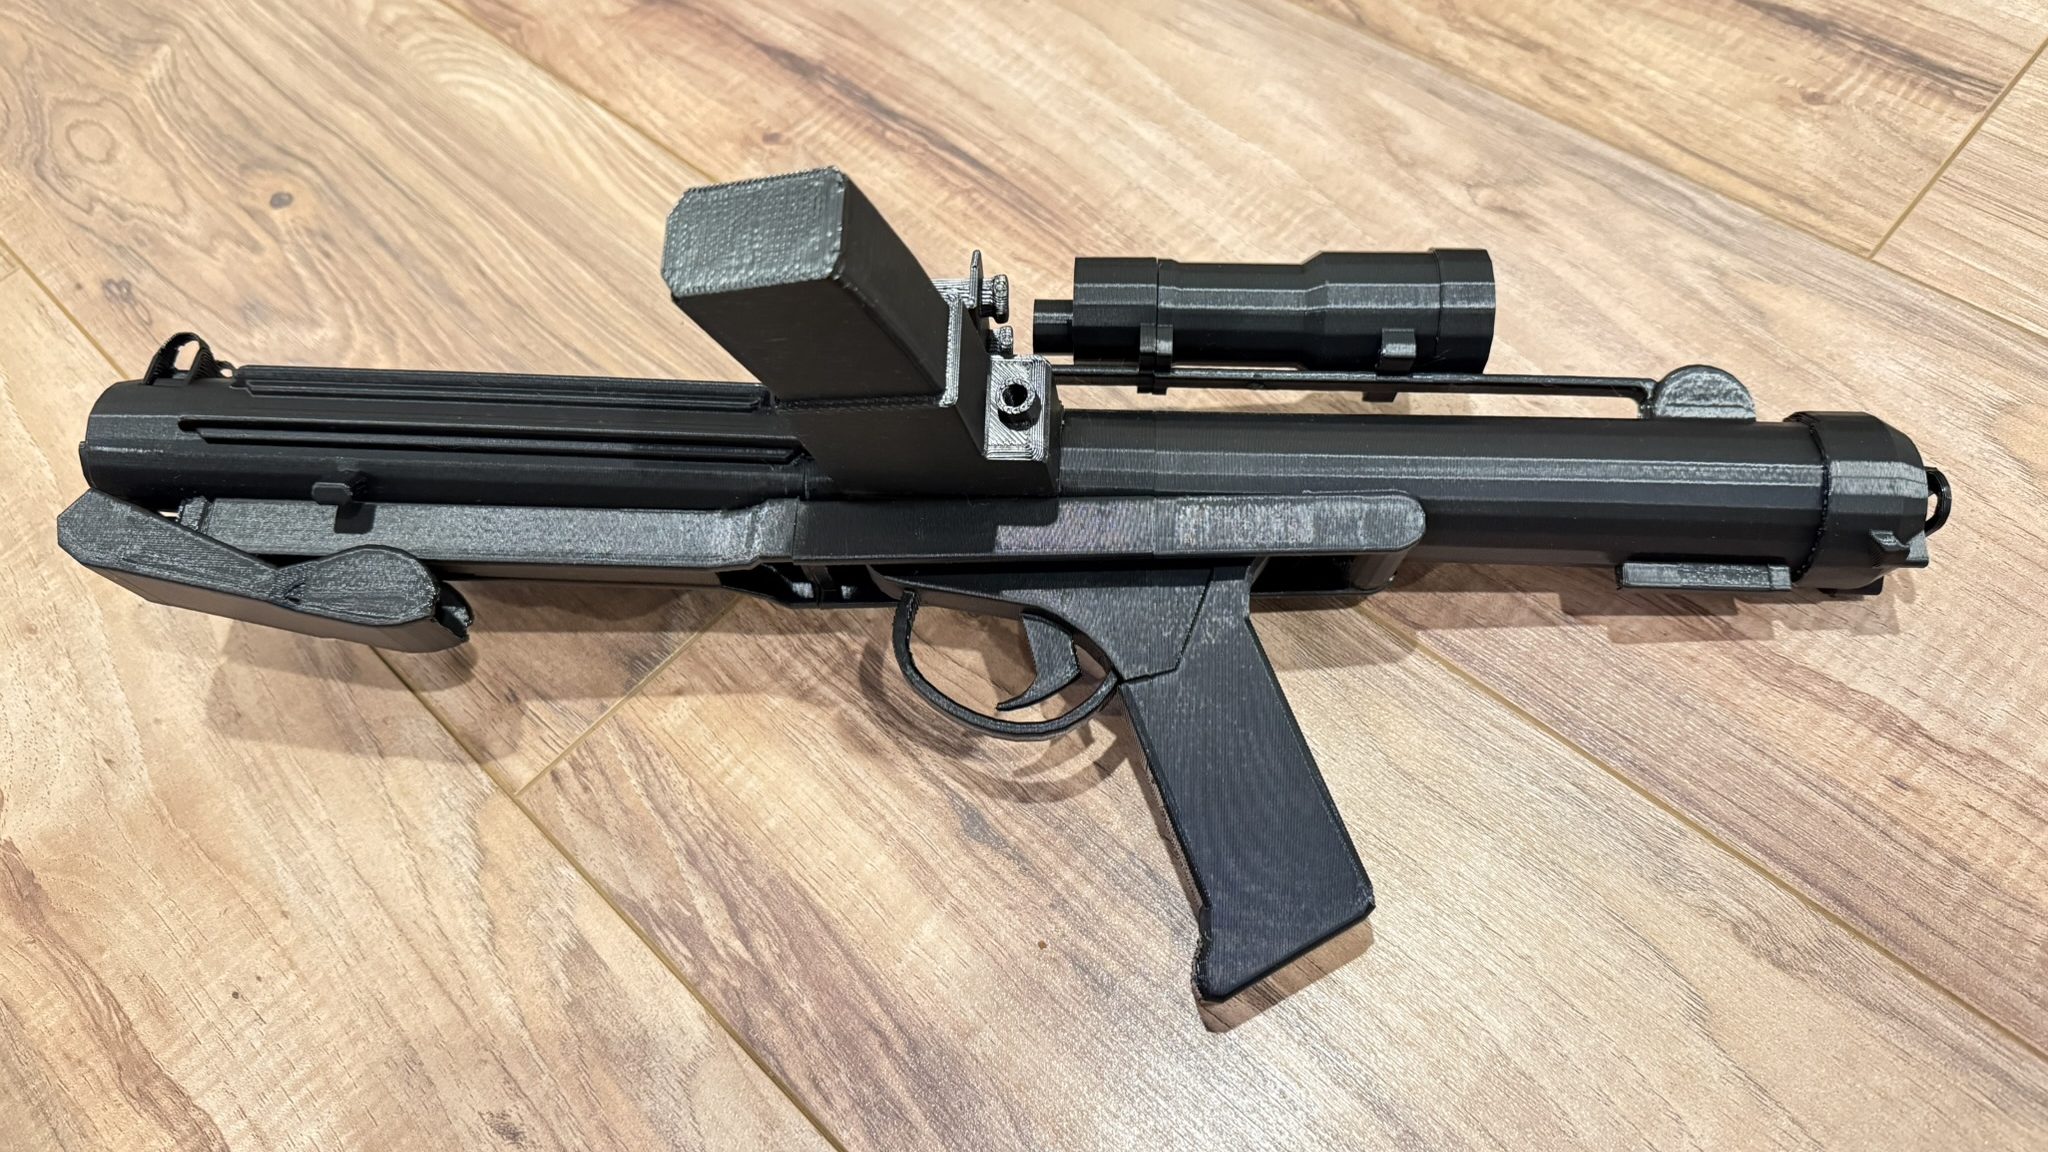
E11 Stormtrooper Blaster
• • • • • • • Assembly Instructions • • • • • • •
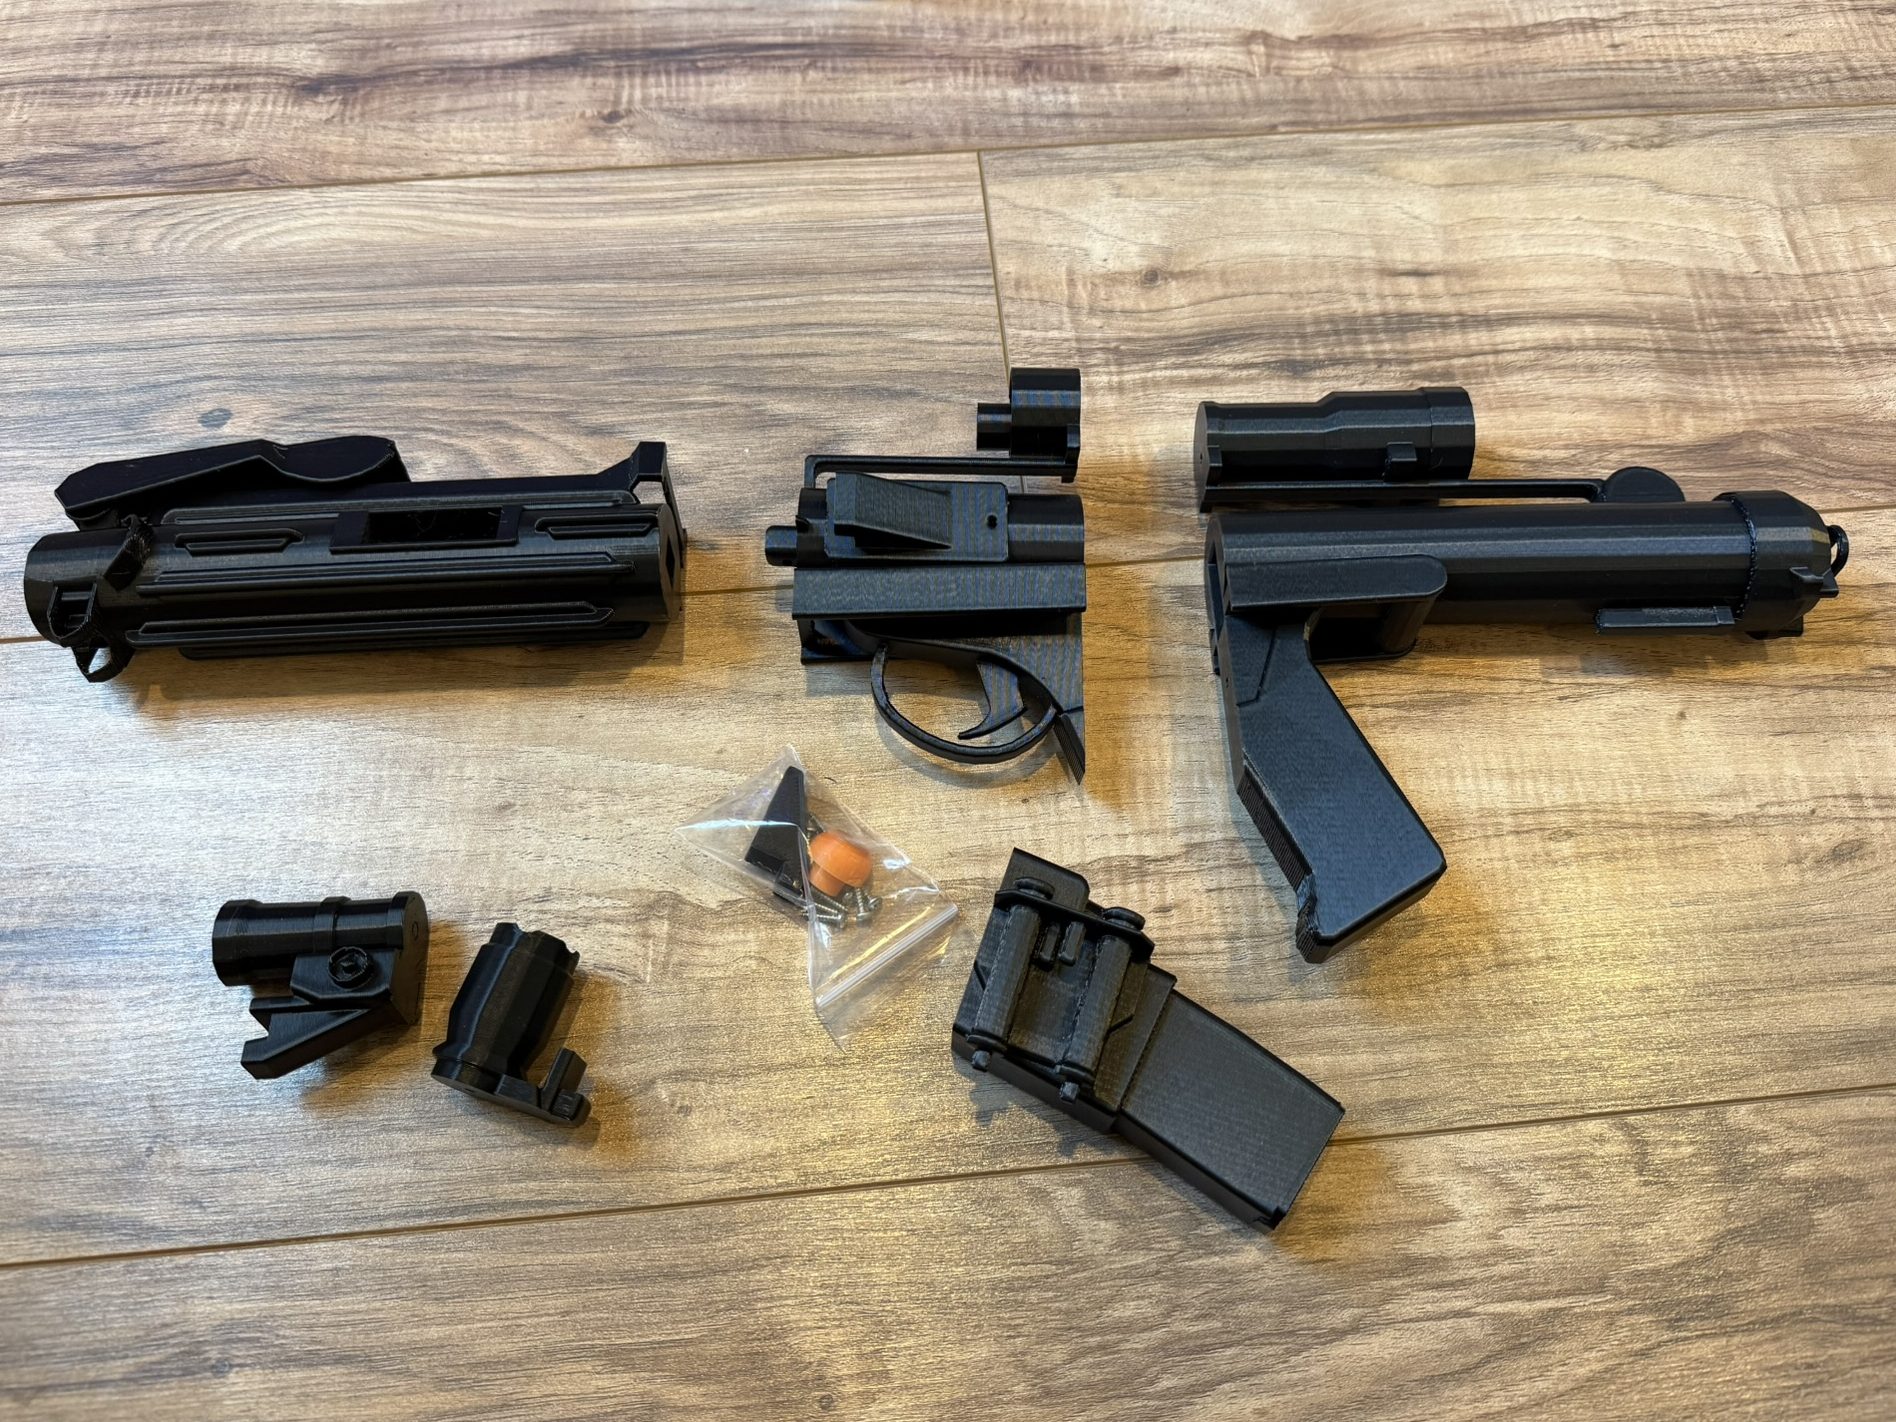
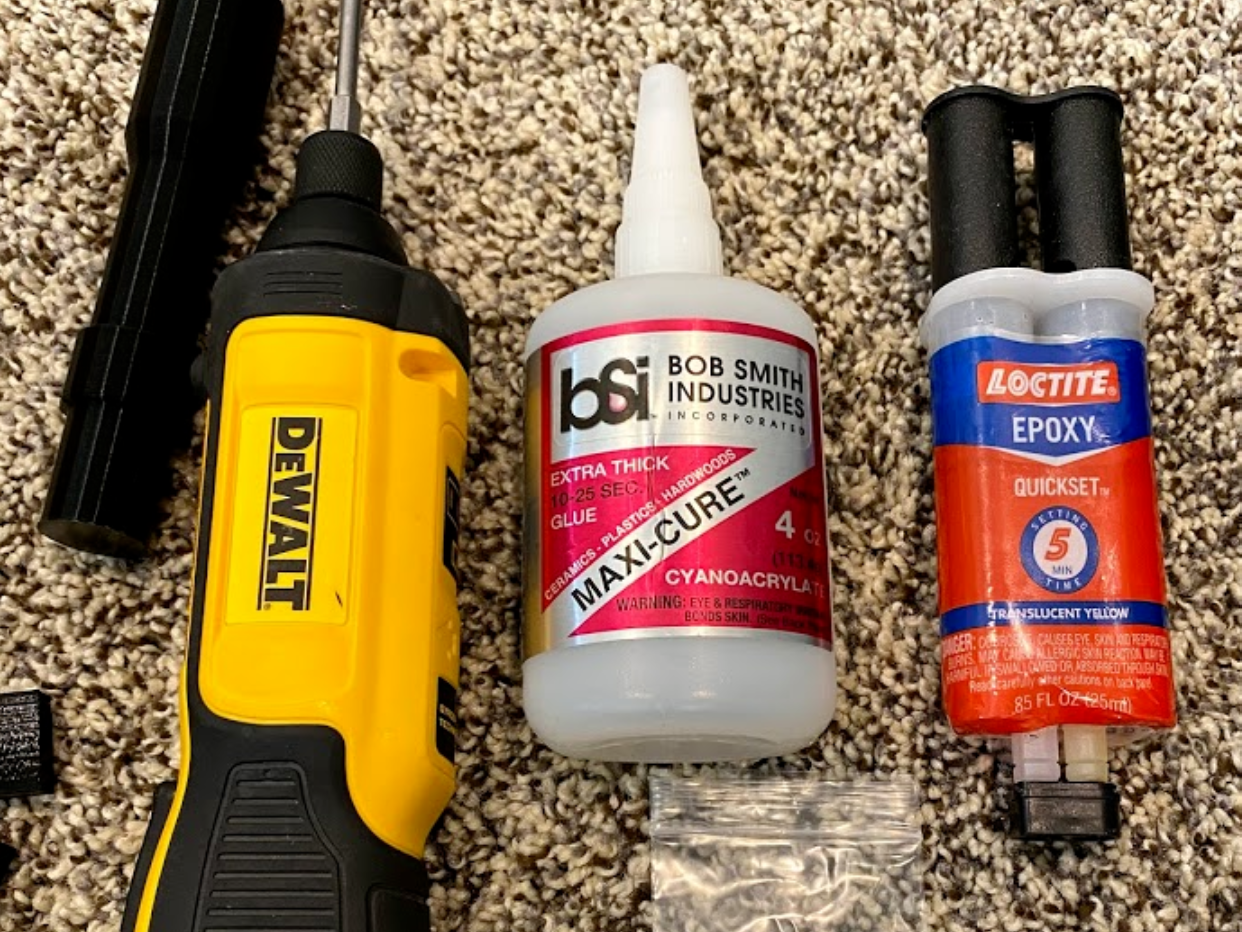
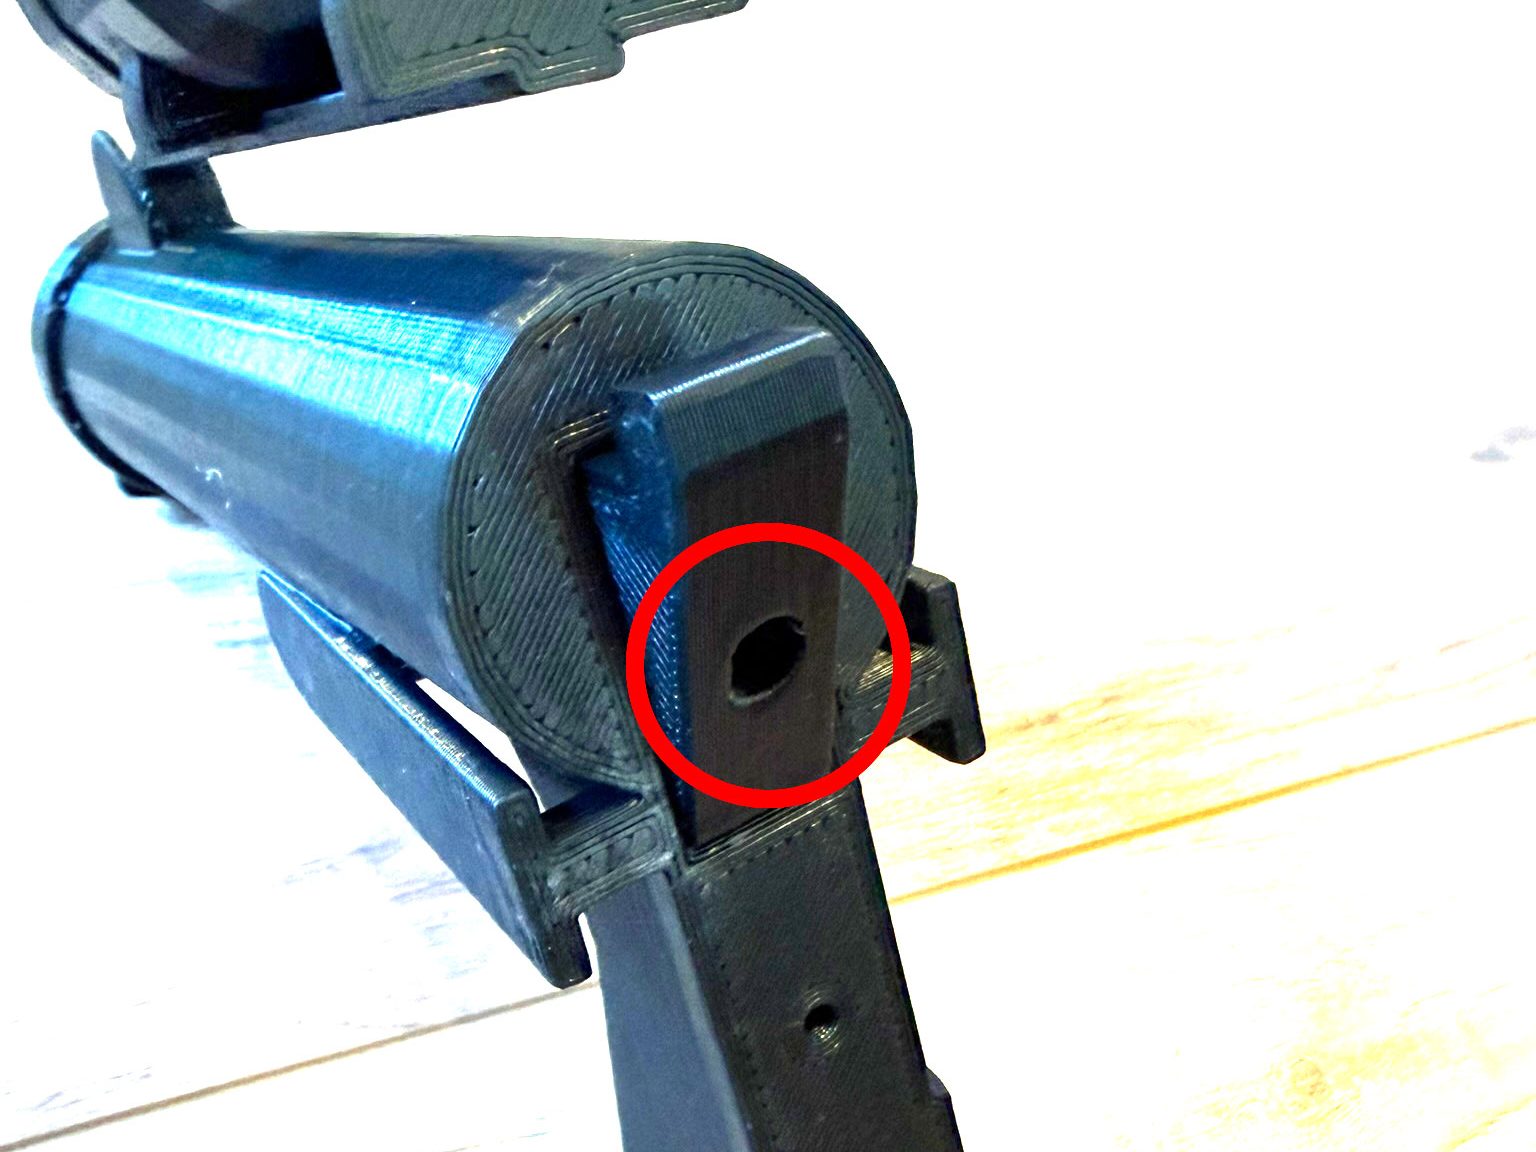
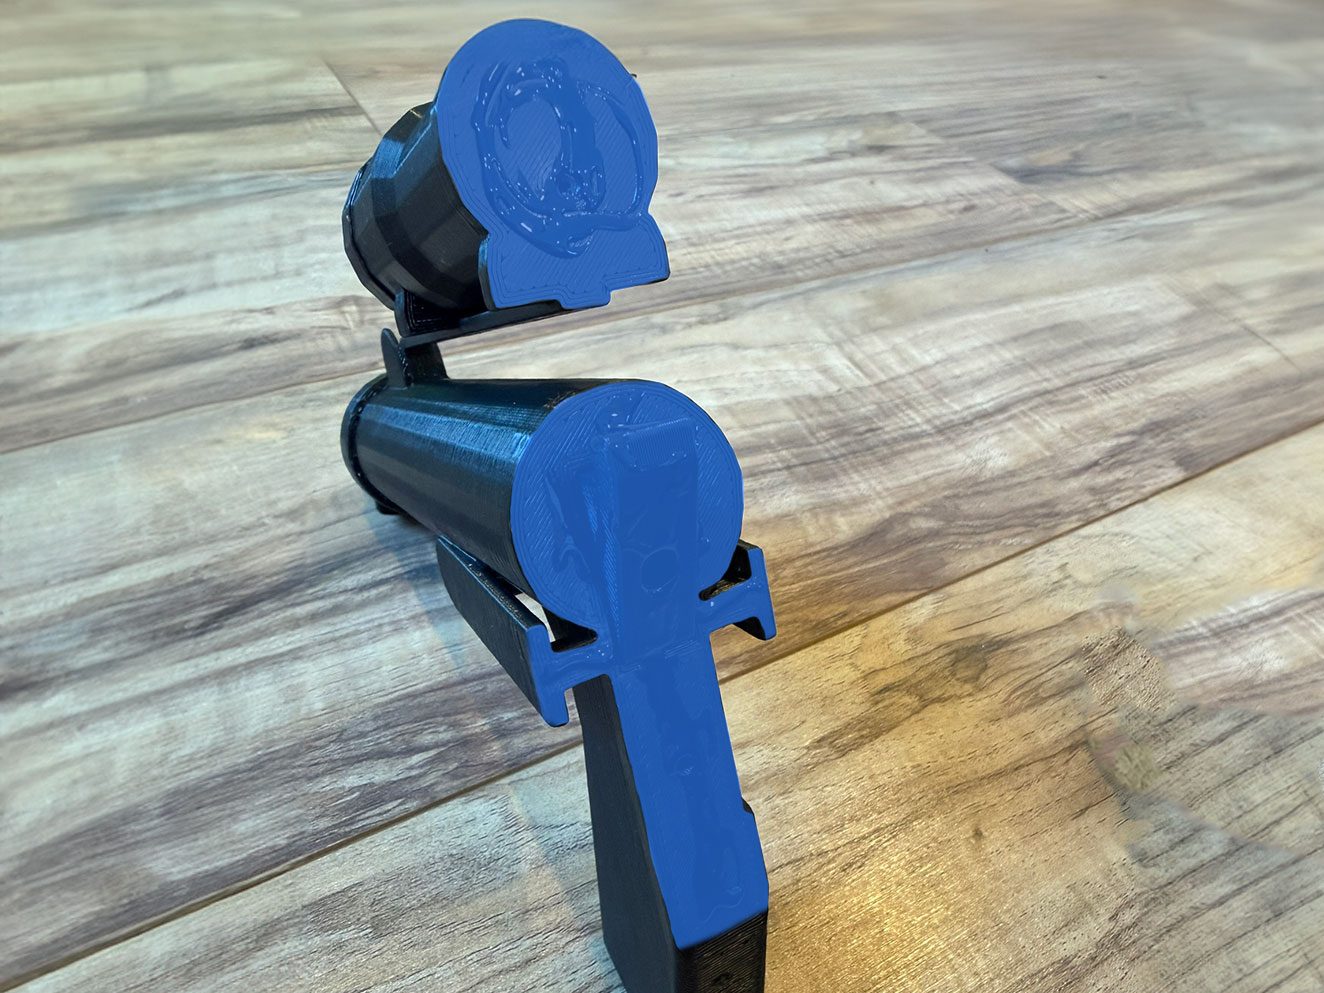
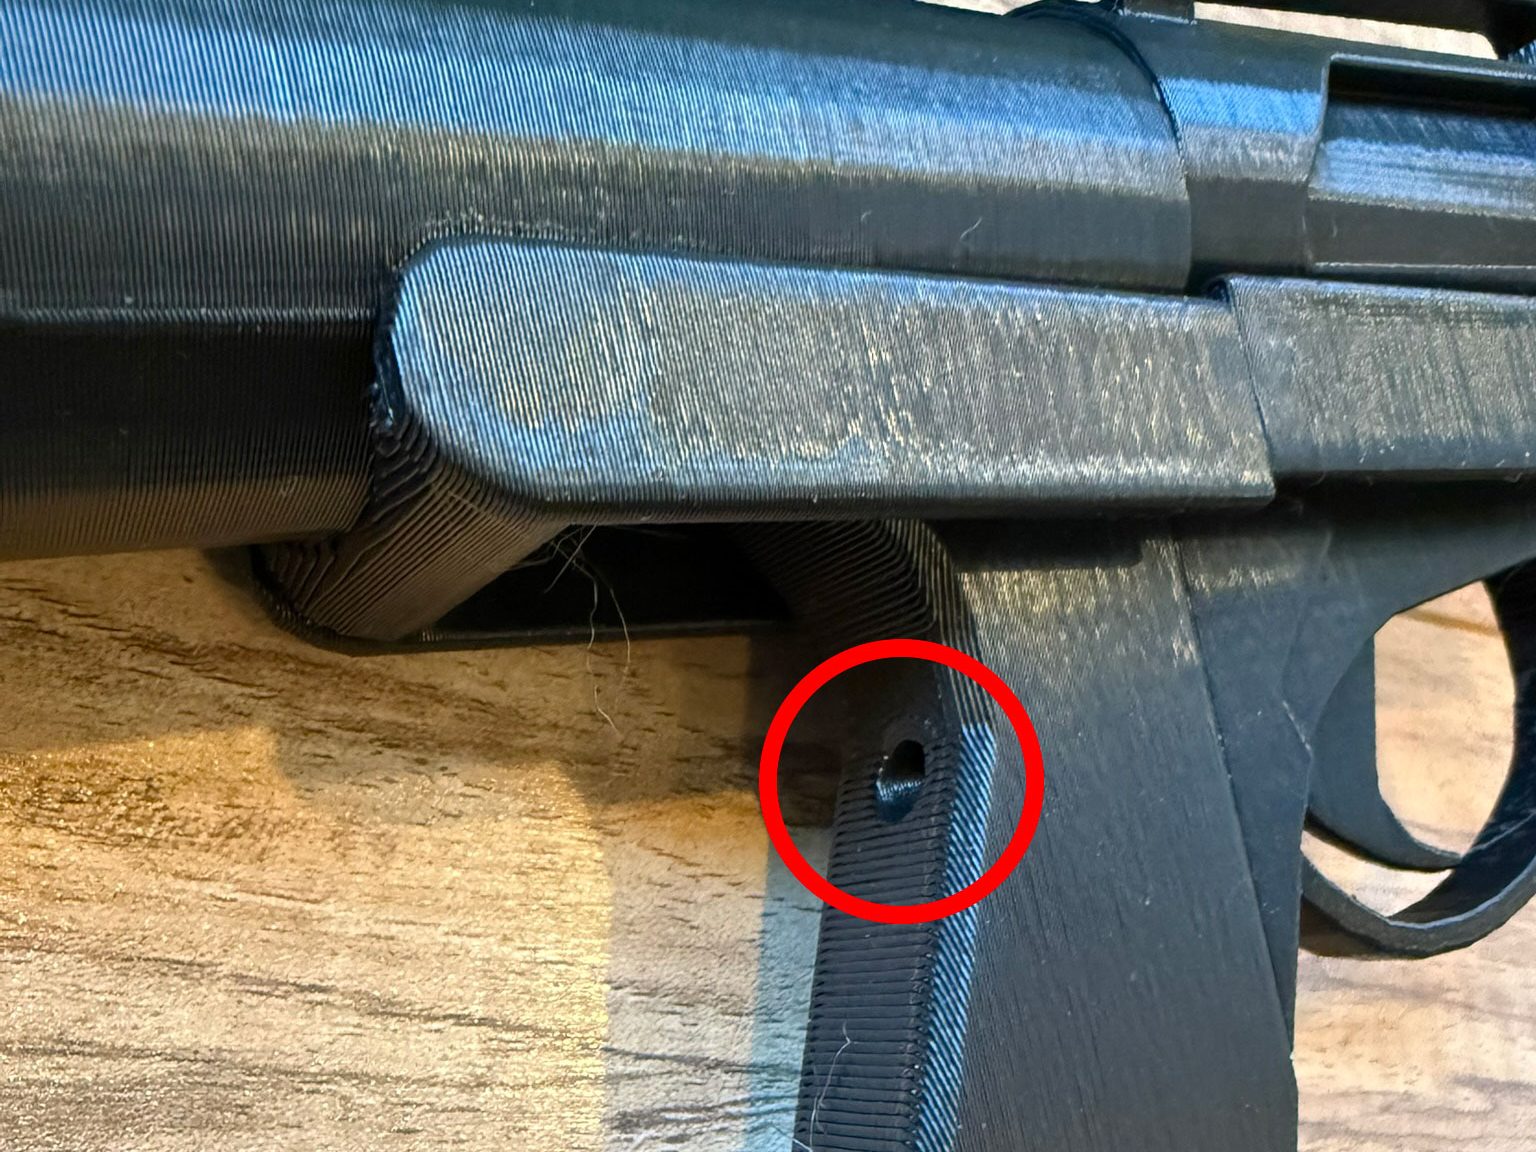
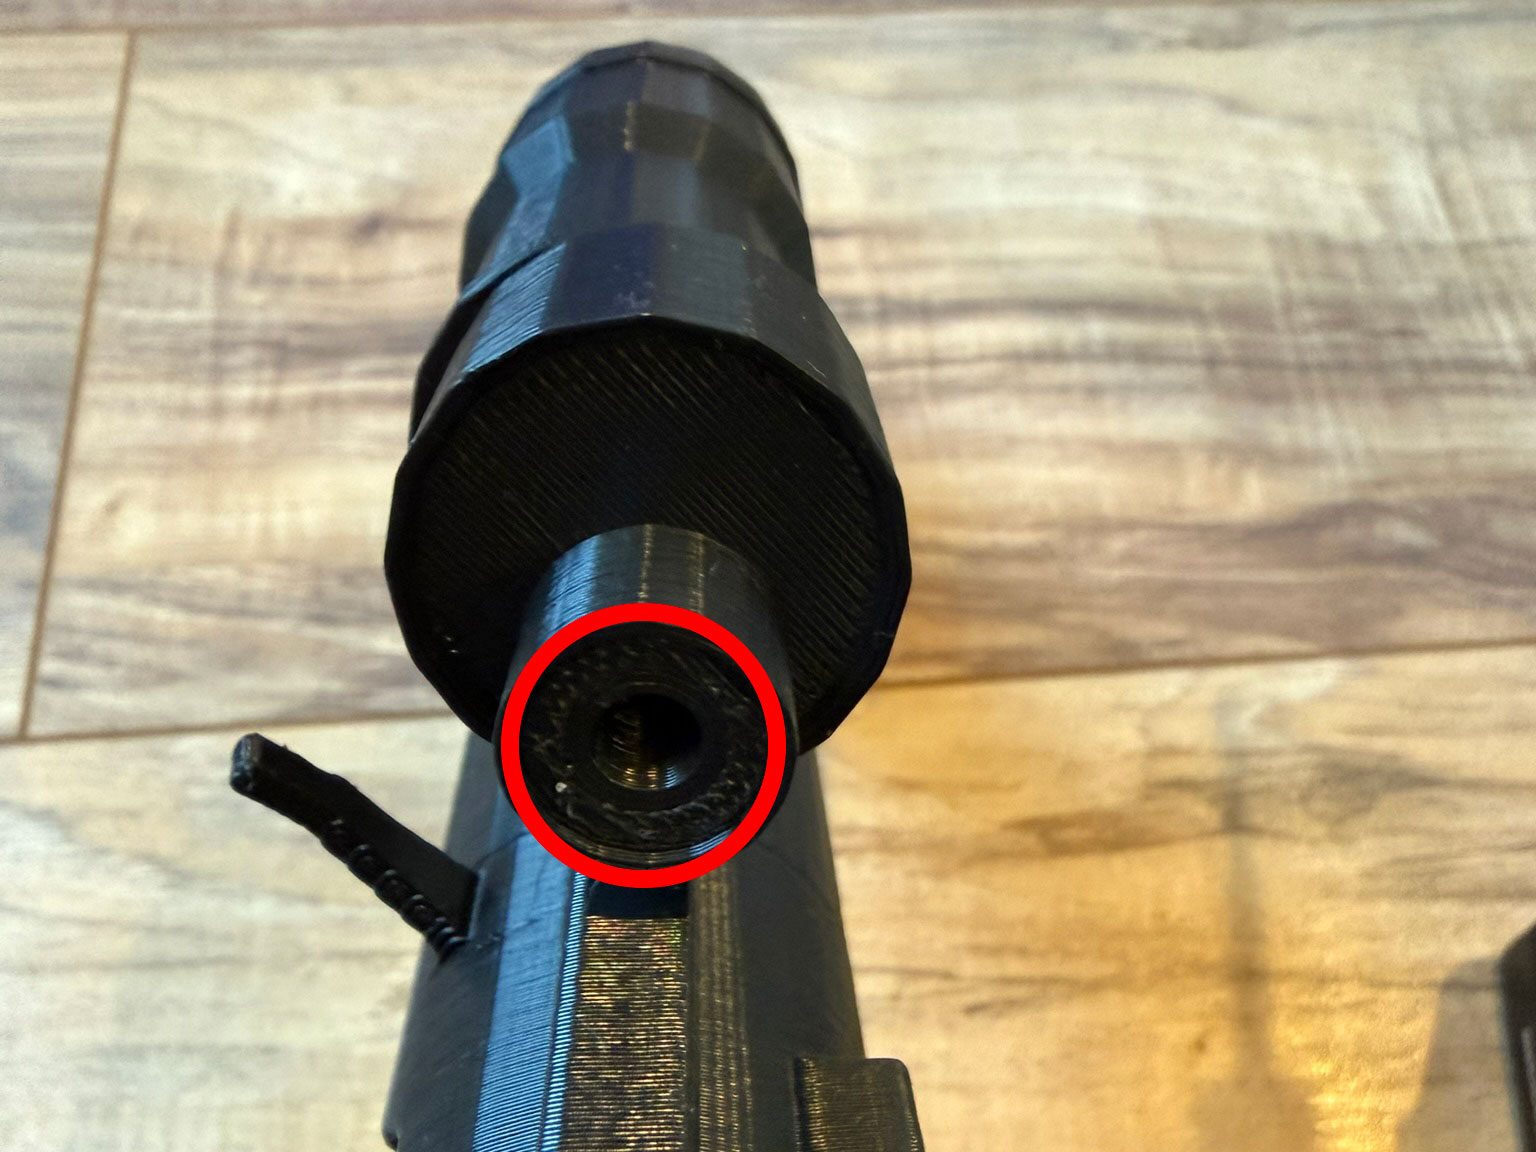
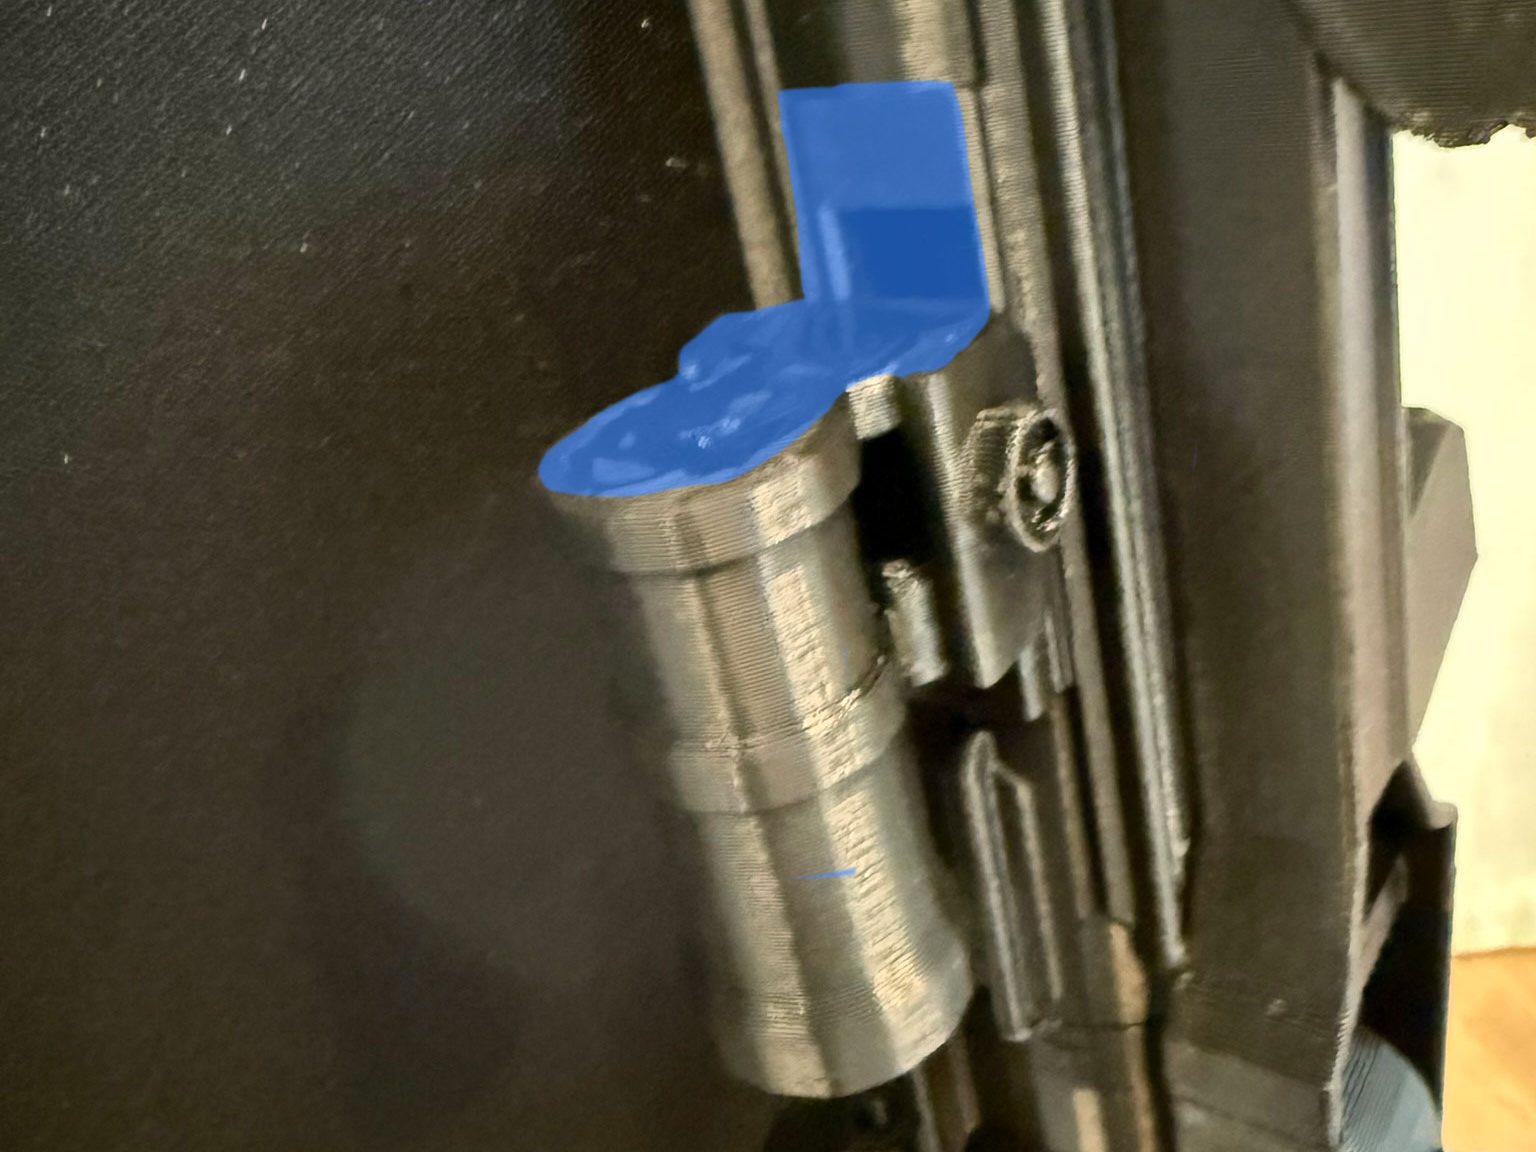
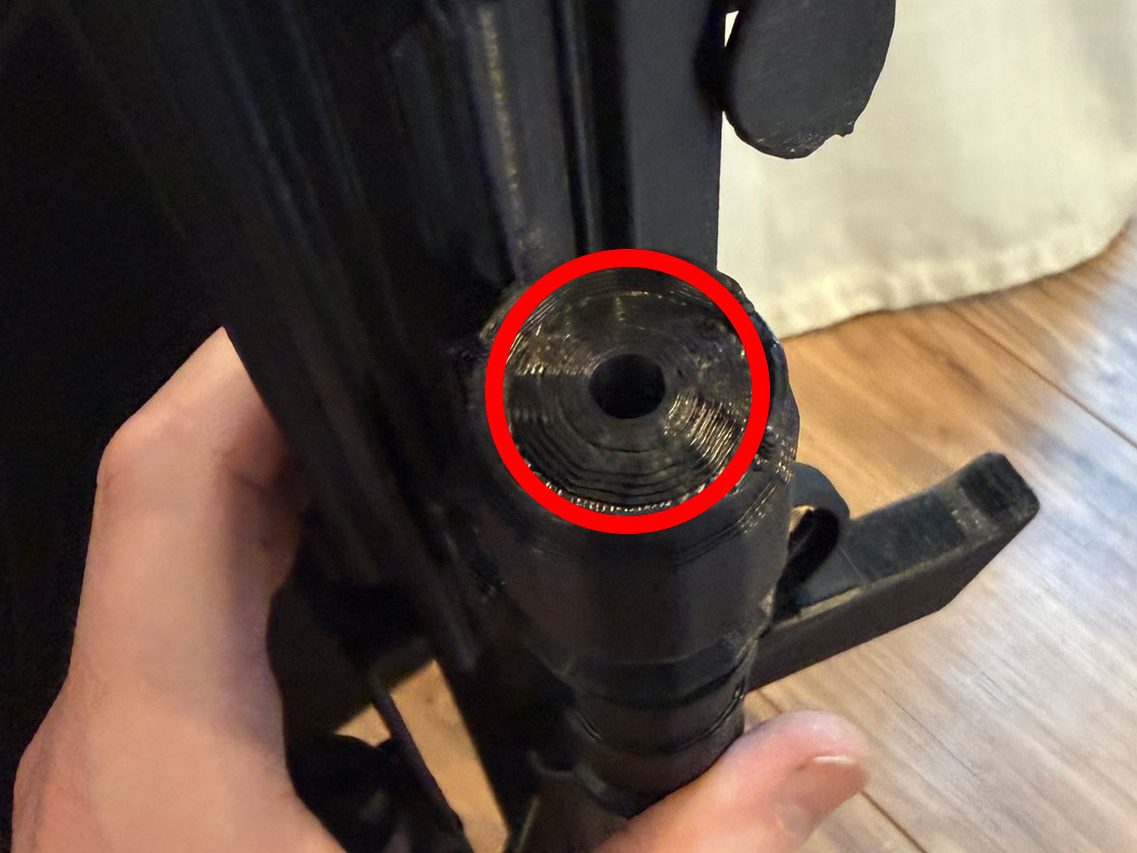
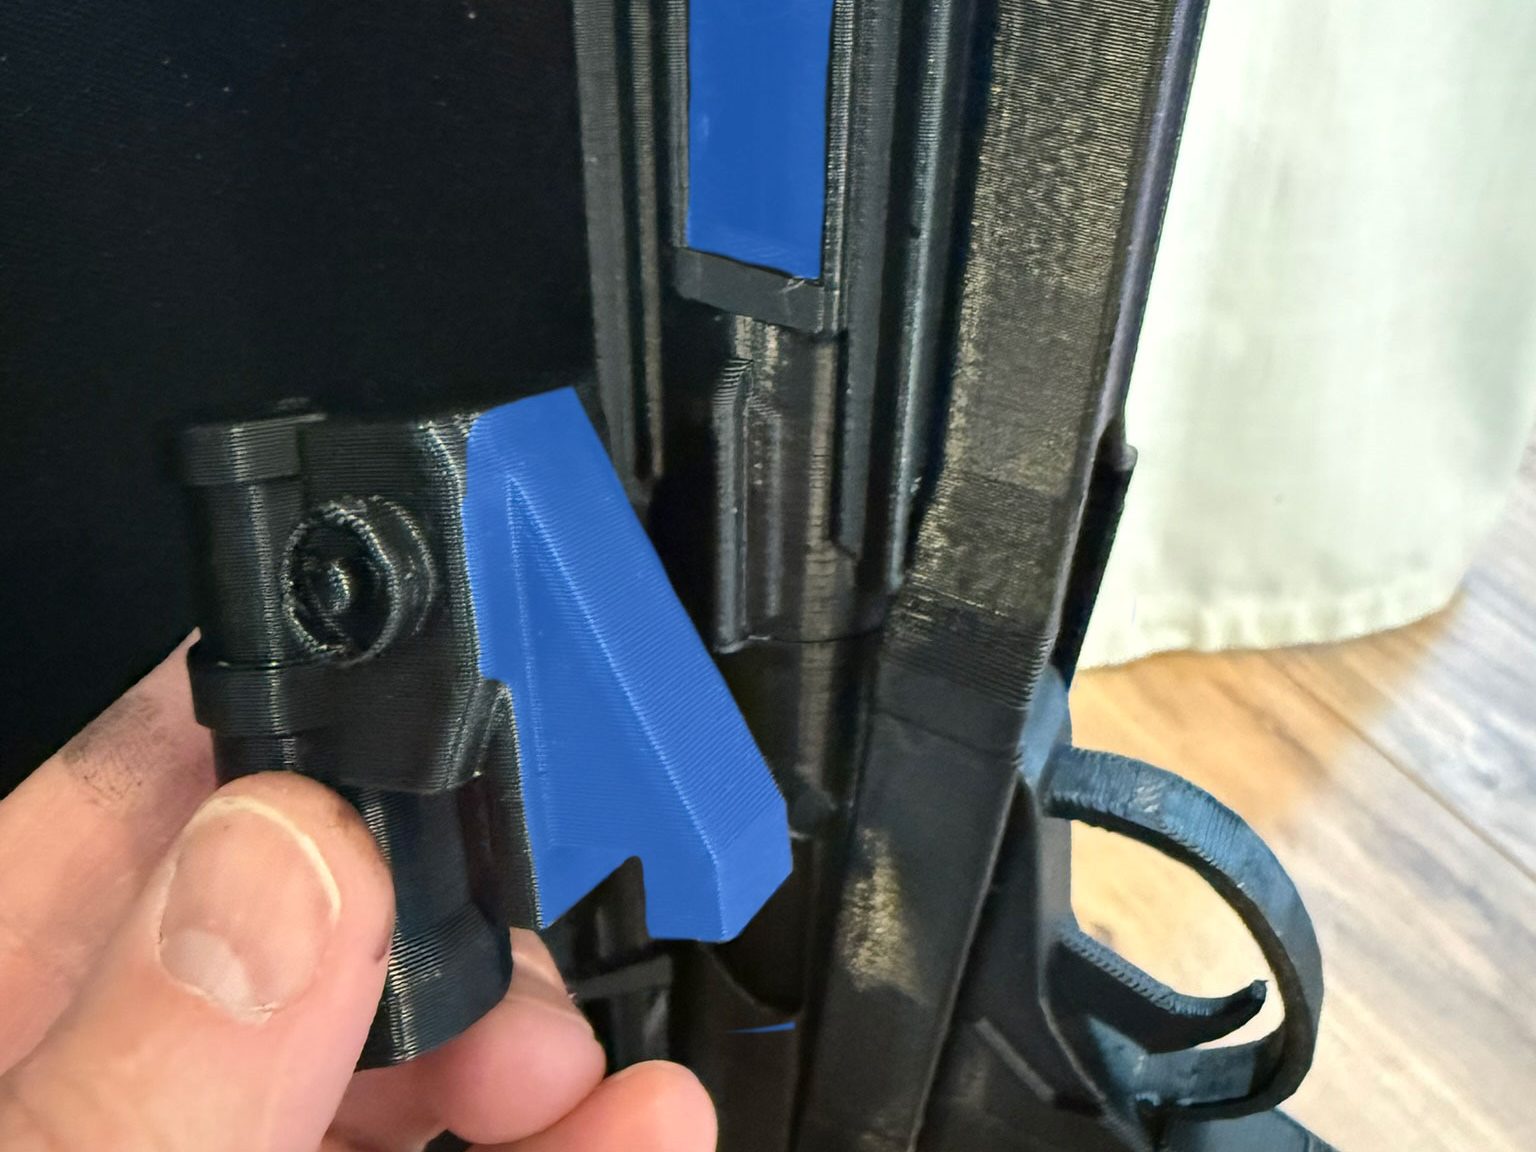
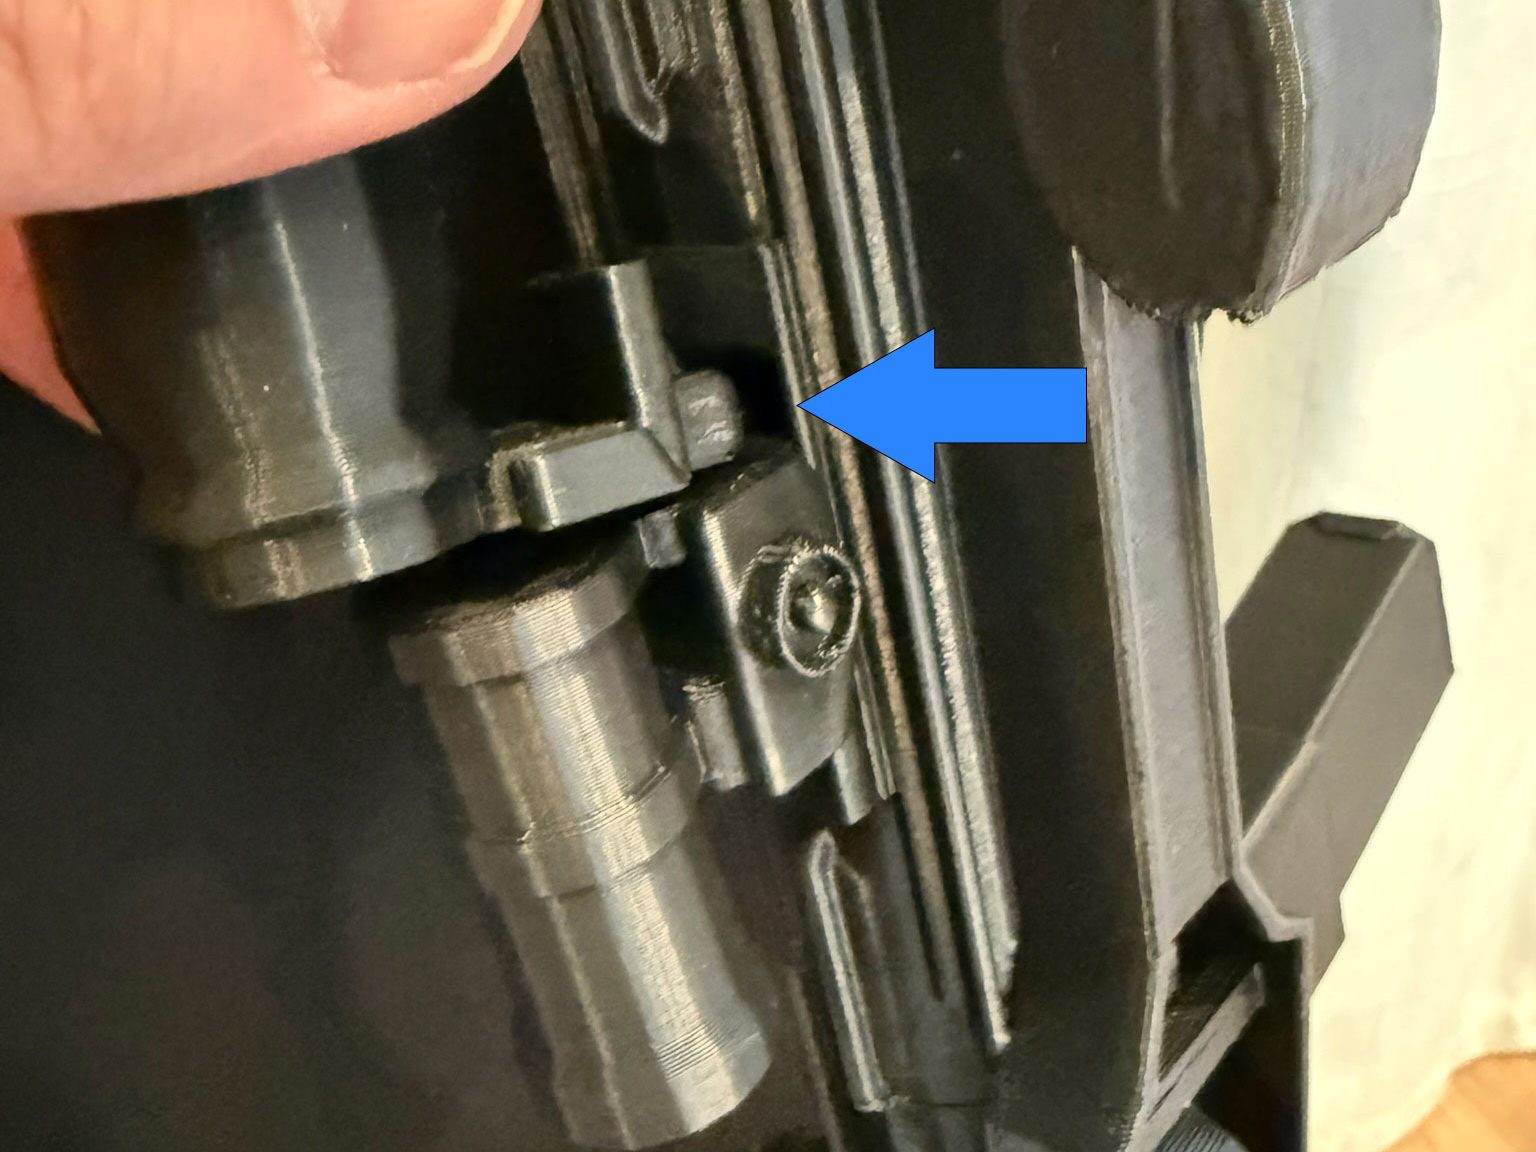
Assembly
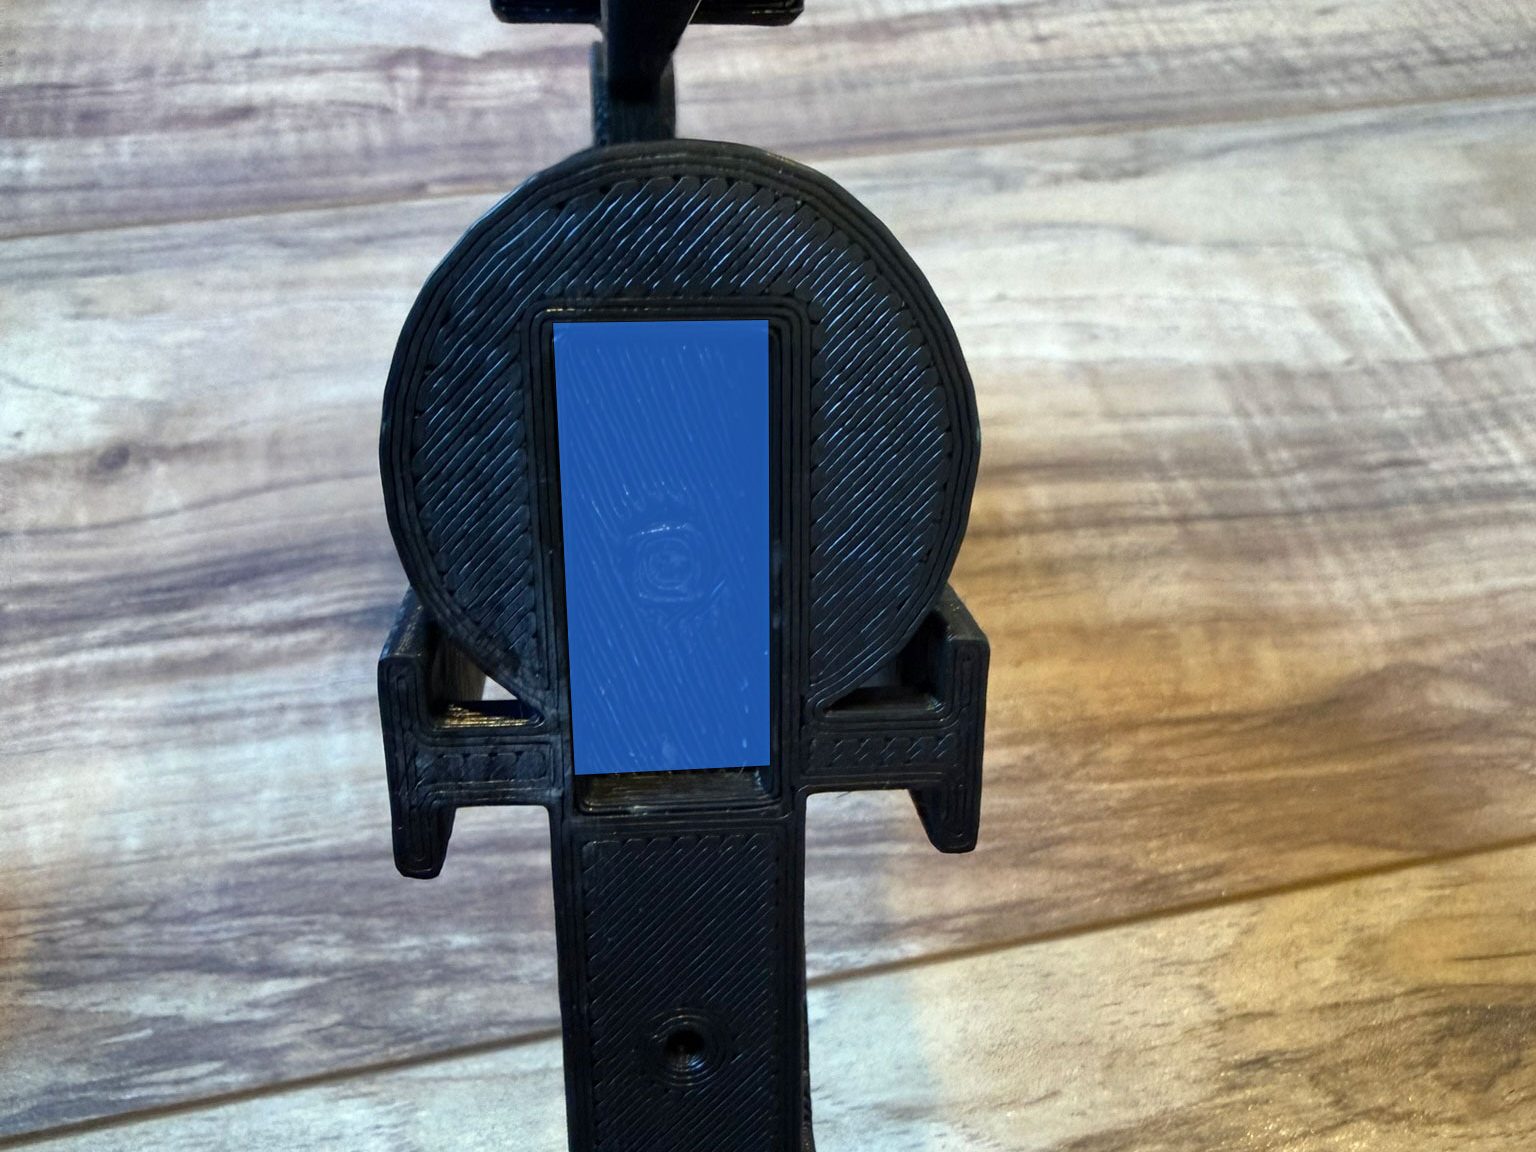

Painting
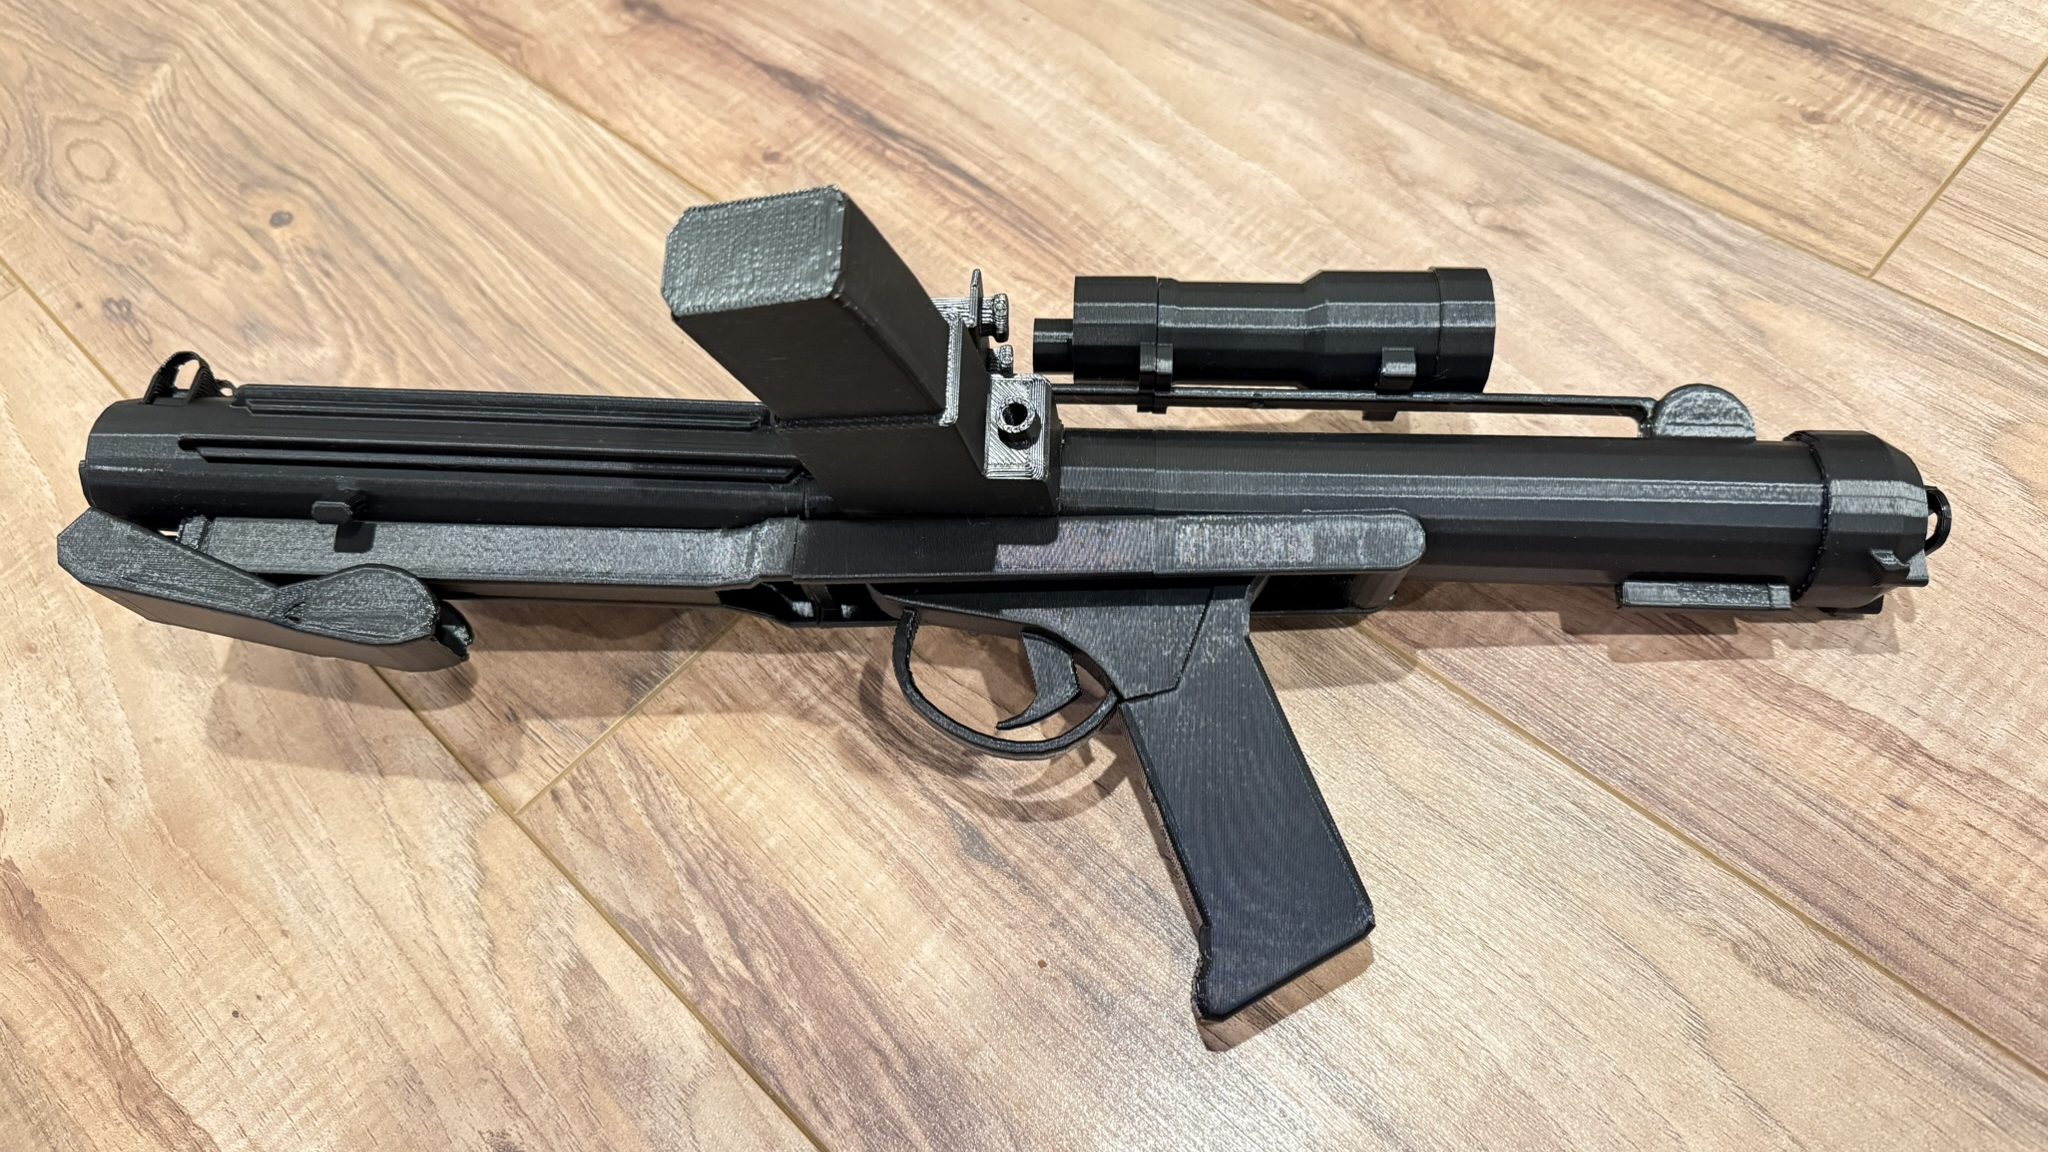
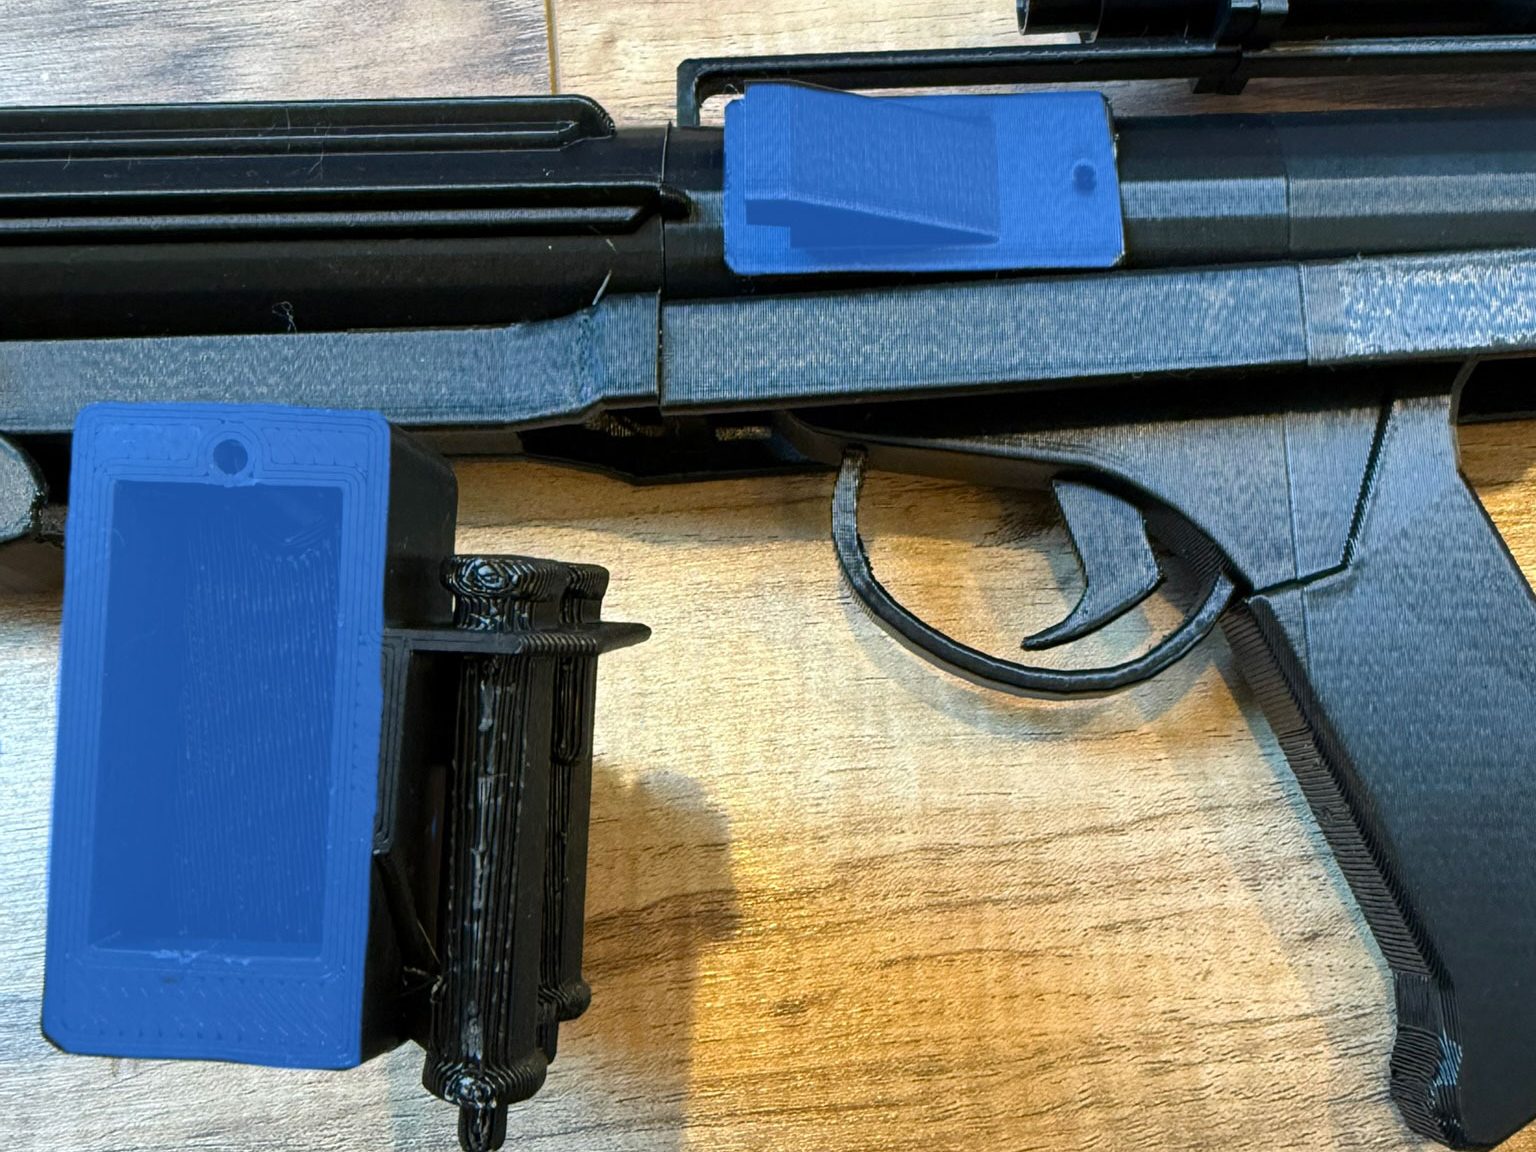
The gun is ready to be painted. Here is an example of how I painted the above model. You can fill the connecting parts with glazing putty and lightly sand it smooth. but I didn’t bother with that in the above example. Please note the plastic used in this model is pla which is strong but will melt if you sand it with a power sander. I also skipped the primer in this example as well.
If you want to get technical, you can brush on detail colors. I recommend Vallejo paint from amazon if you take that route.
